Creating and using account statements for contacts and/or patients.
With Semble, you can group several invoices for a particular patient into a single document.
Note: To create and manage account statements, you must have a role assigned to you that gives you editing permissions for Patients and Invoices.
In this article:
Create an Account Statement
You can create an account statement for a patient or a contact at any time.
1. Go to the Patients or Contacts tab and select the patient or contact who you want to create an account statement for.
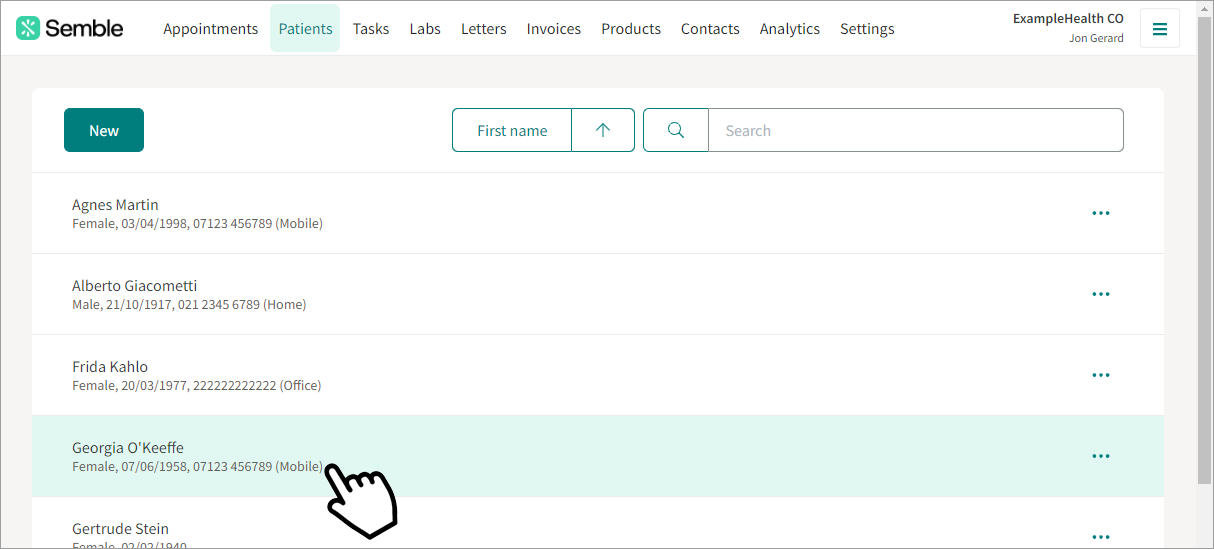
2. Go to the Account statements tab.
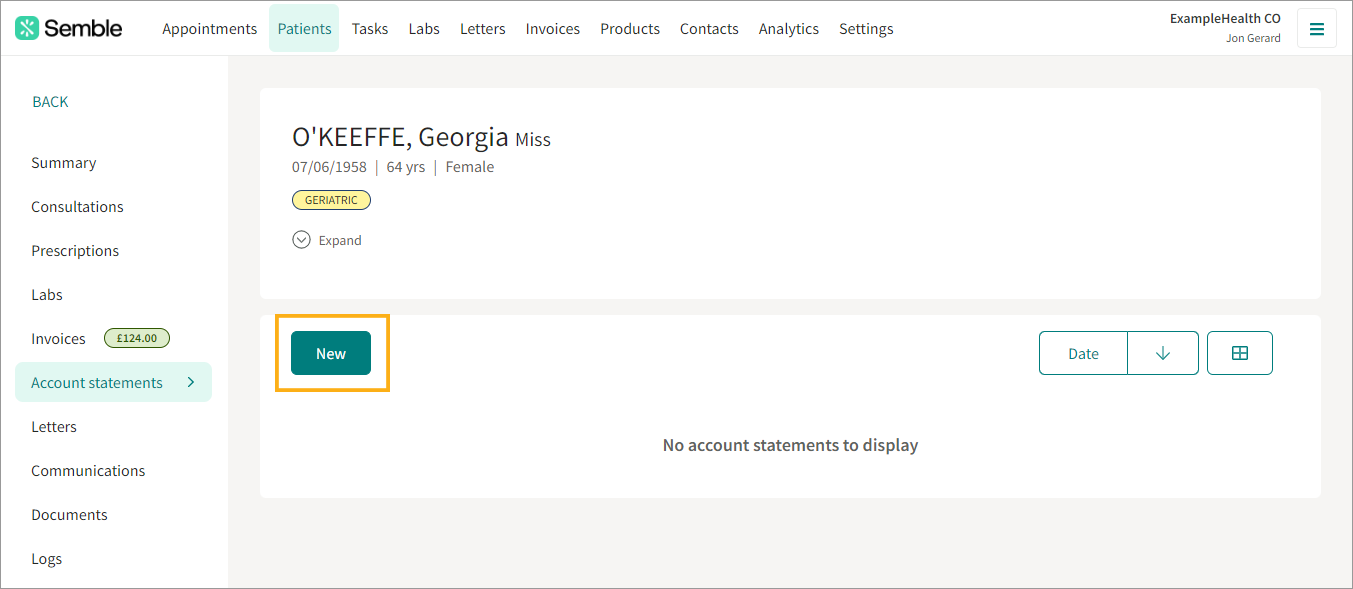
3. Click New.
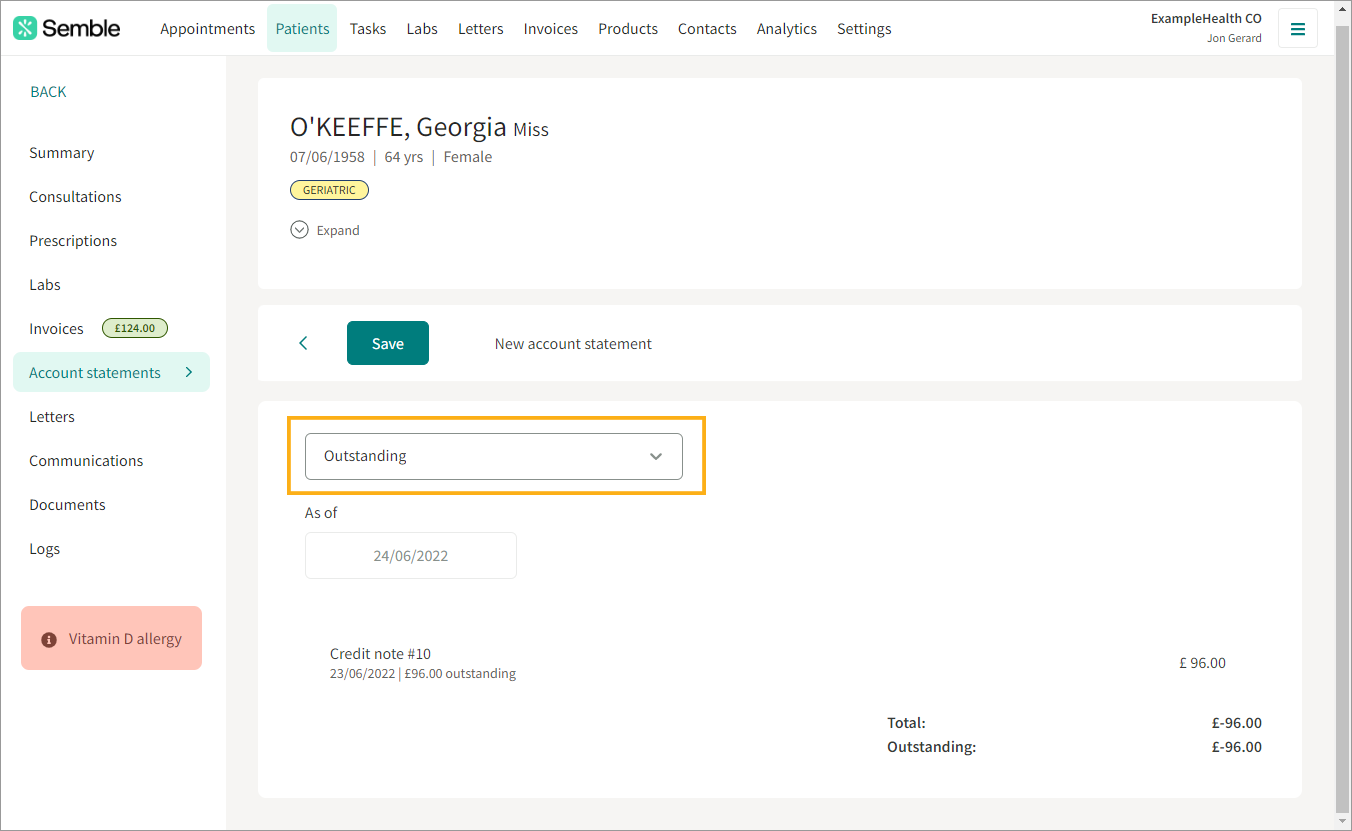
4. Select the type of account statement that you want to generate from the dropdown menu.
-
Outstanding: Create an account statement that lists only the patient's outstanding bills
-
Activity: Create a complete account statement from a chosen date range
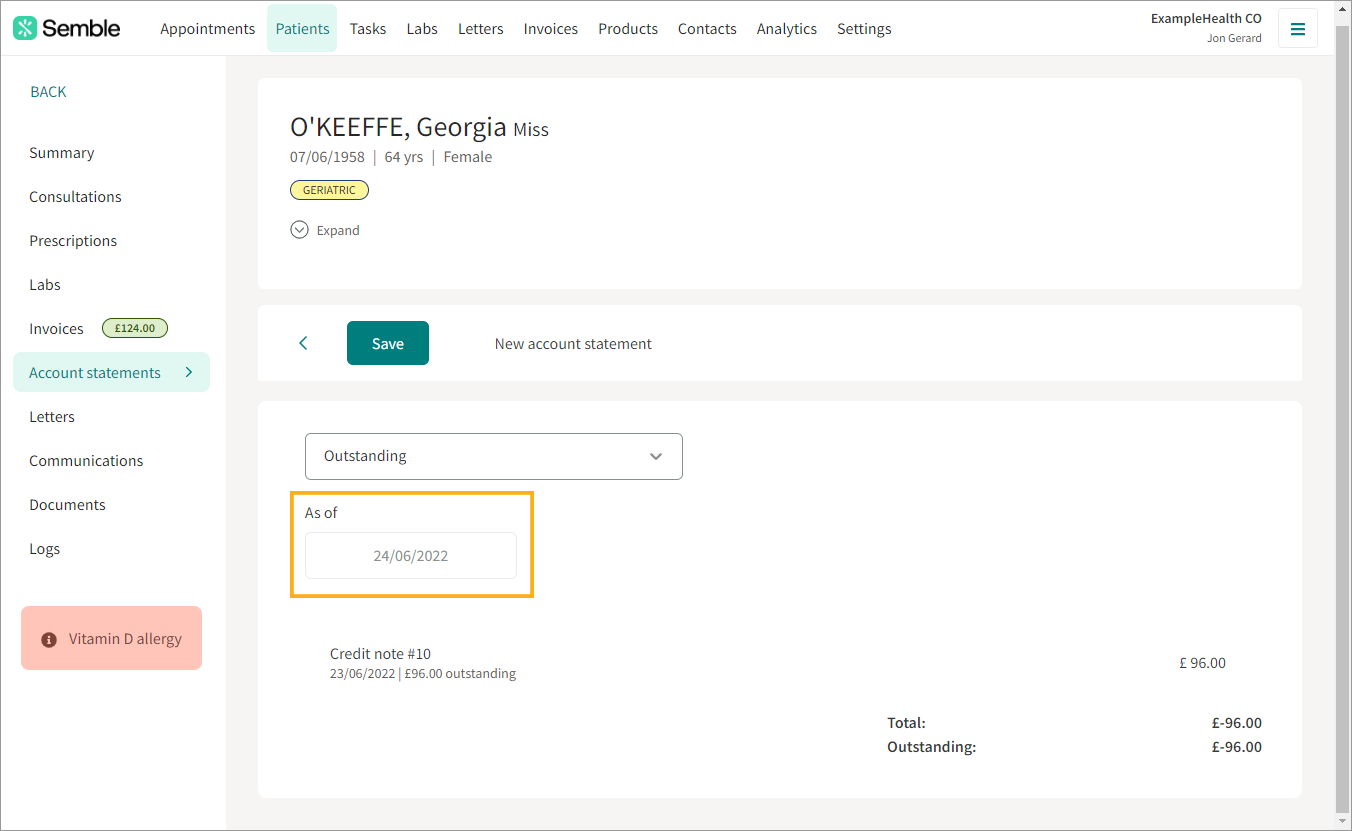
5. Select the date range that you want to generate the account statement for. Note: The date picker will be different depending on the type of account statement that you are generating.
6. Click Save.
The account statement is added to the Account statements tab.
Note: If an invoice was billed to a contact (e.g., an insurance provider), the account statement must be run from the billed contact, not the patient.
Print an Account Statement
You can print an account statement at any time from the Patients page:
1. Select the patient who you want to print an account statement for.
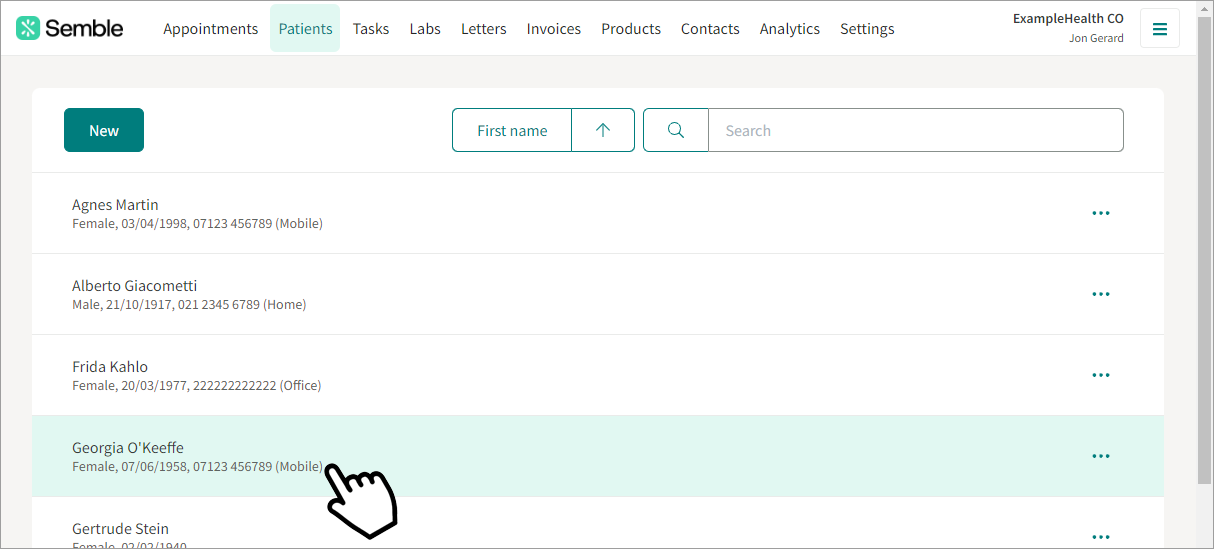
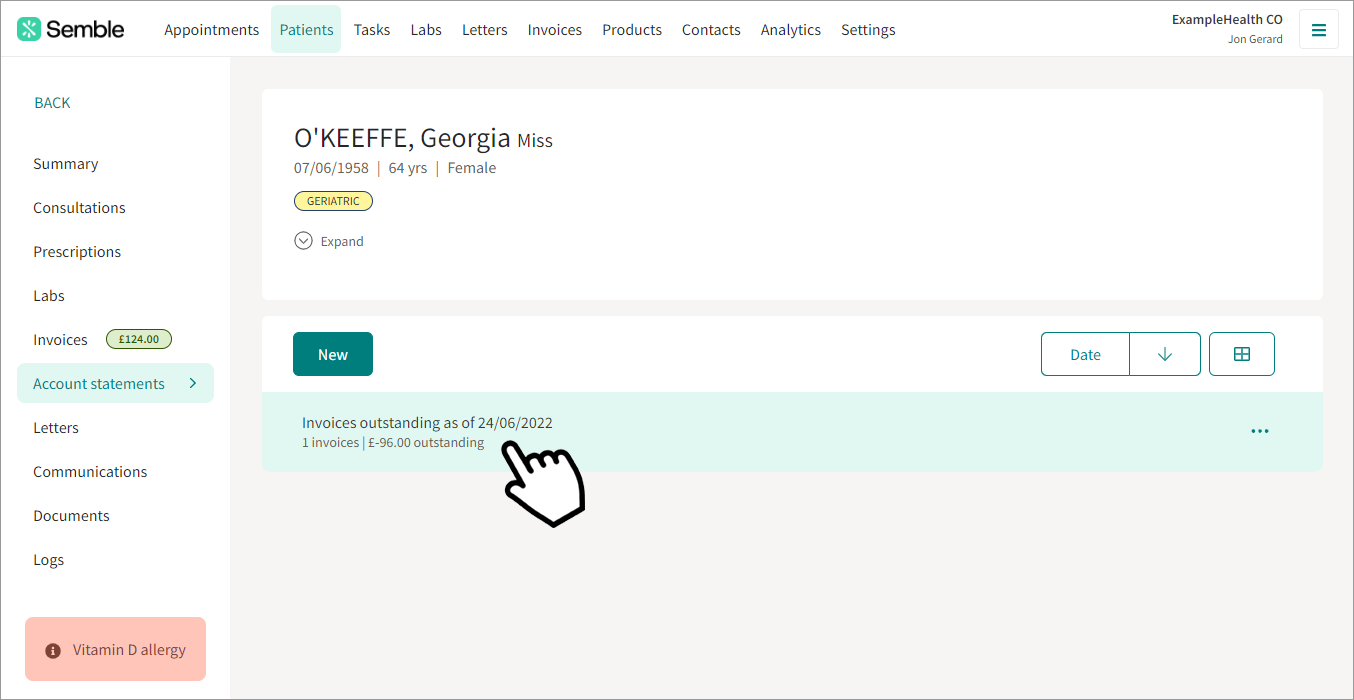
2. Go to the Account statements tab.
3. Select the account statement that you want to print.
4. Click the print icon in the top right-hand corner.
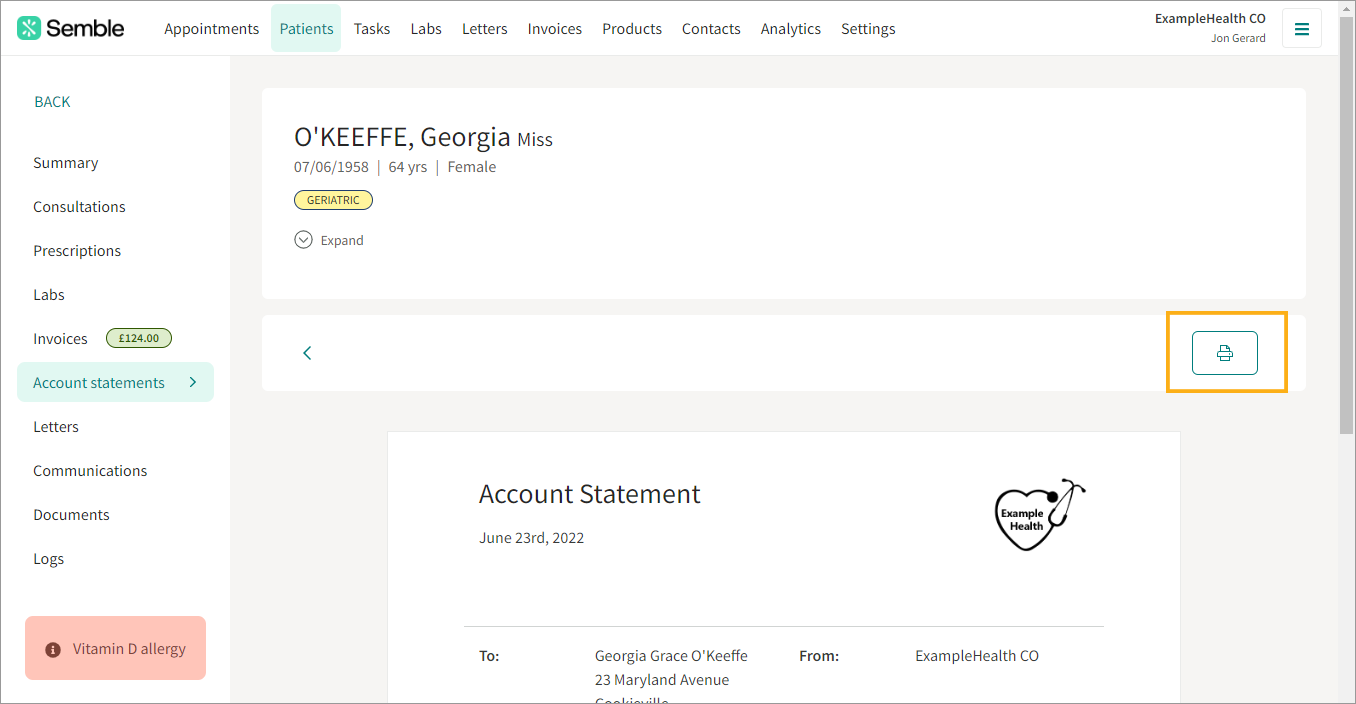
The account statement opens as a PDF in a new browser tab.
5. Print or download the PDF as you normally would.

Delete an Account Statement
You can delete a patient's account statement at any time, from the Patients page:
1. Select the patient who you want to delete an account statement for.
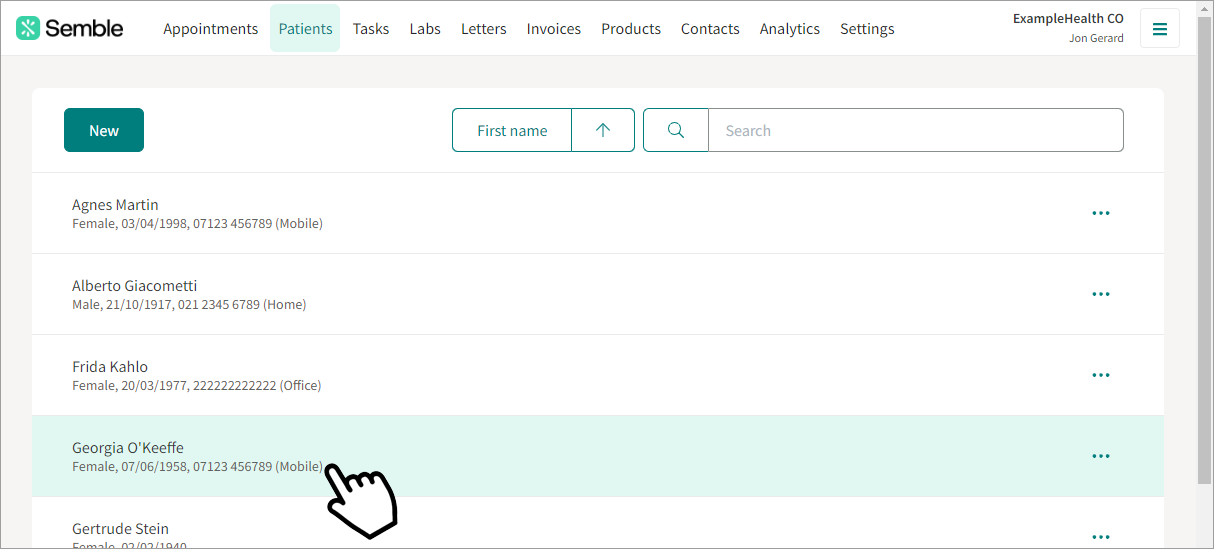
2. Go to the Account statements tab.
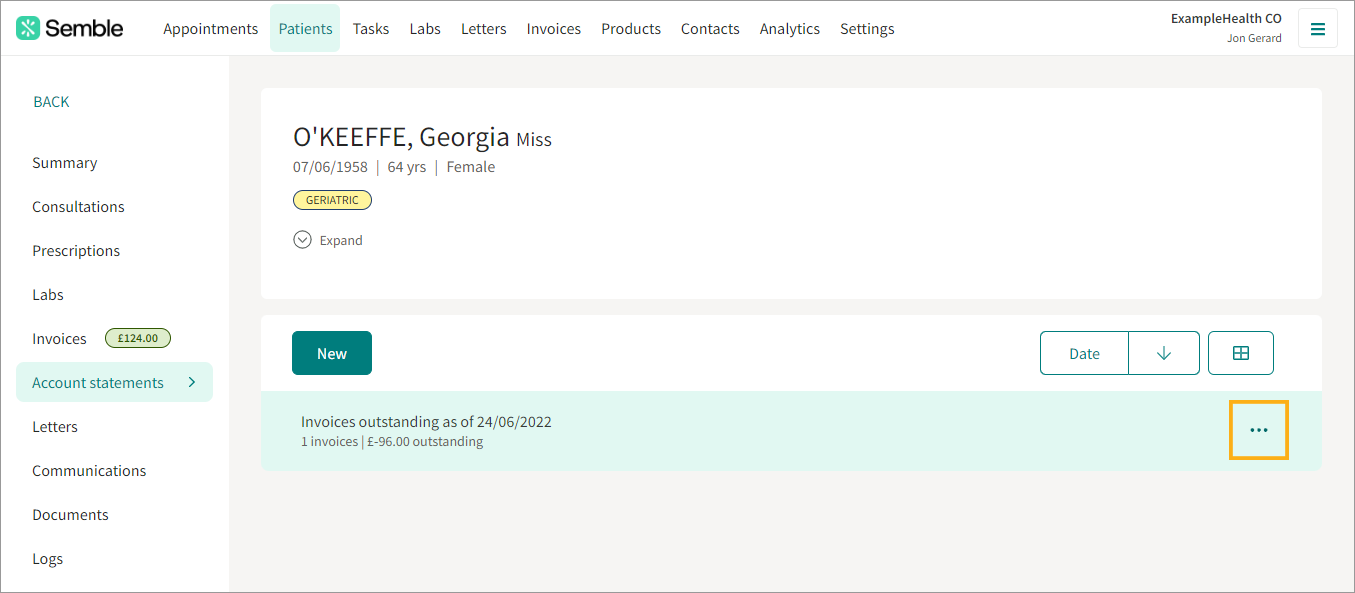
3. Click the more options icon next to the account statement that you want to delete.
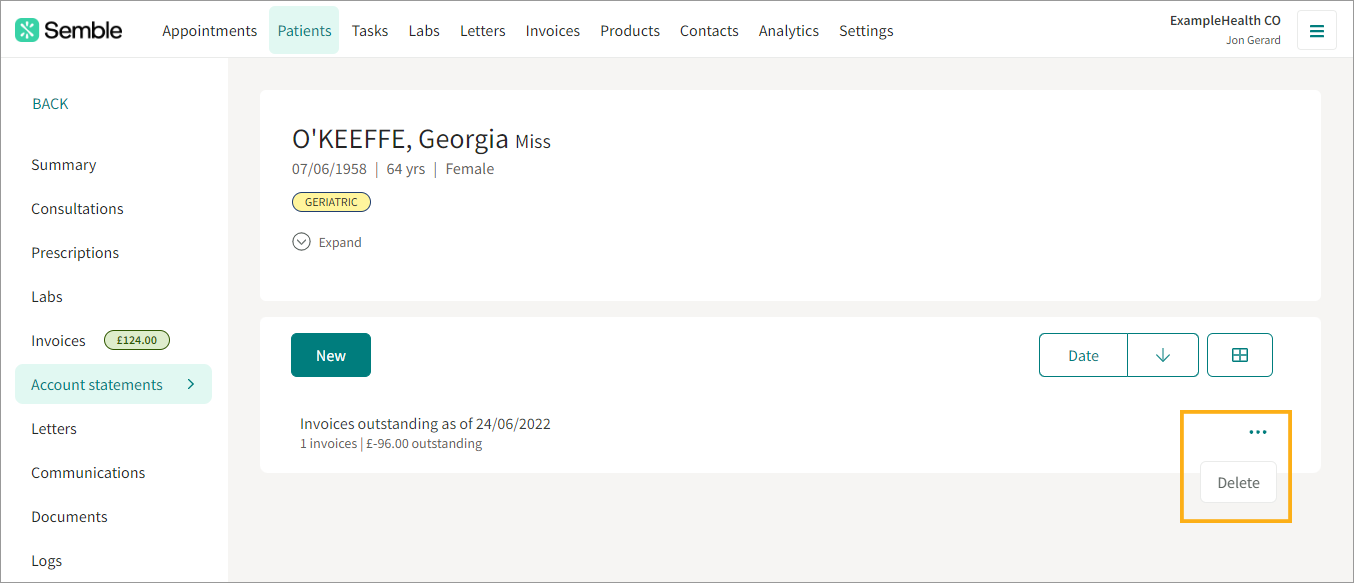
4. Click Delete.
5. Confirm the deletion.
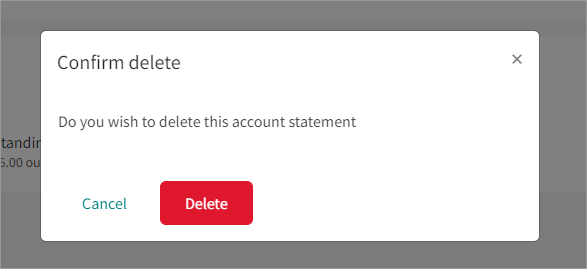
The account statement is removed from the patient record.
You can recreate a new account statement at any time by following the steps above.