How to set up automated email and SMS messages for cancellations
This article is about how to create email and SMS cancellation templates for patient bookings.
Note: To set up automated cancellation messages, you must have a role assigned to you that gives you editing permissions for SMS and email template settings and Products.
In this article:
Create a Cancellation Template
You can create a cancellation template at any time from the Settings page:
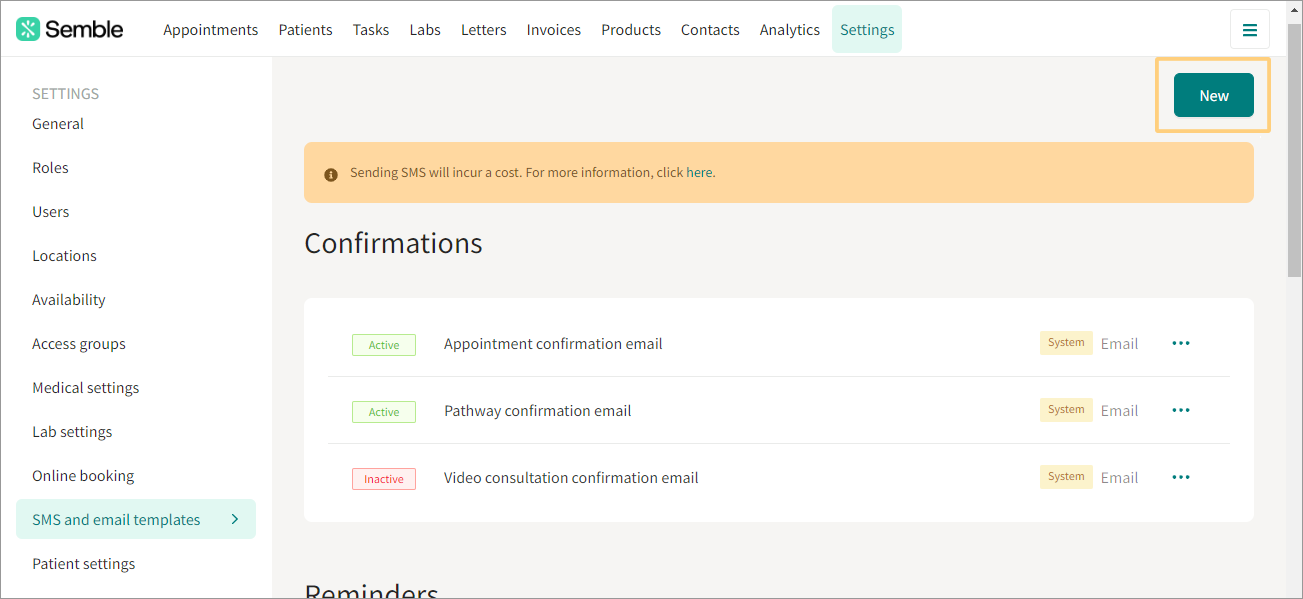
1. Go to the SMS and email templates tab.
2. Click New in the top right-hand corner.
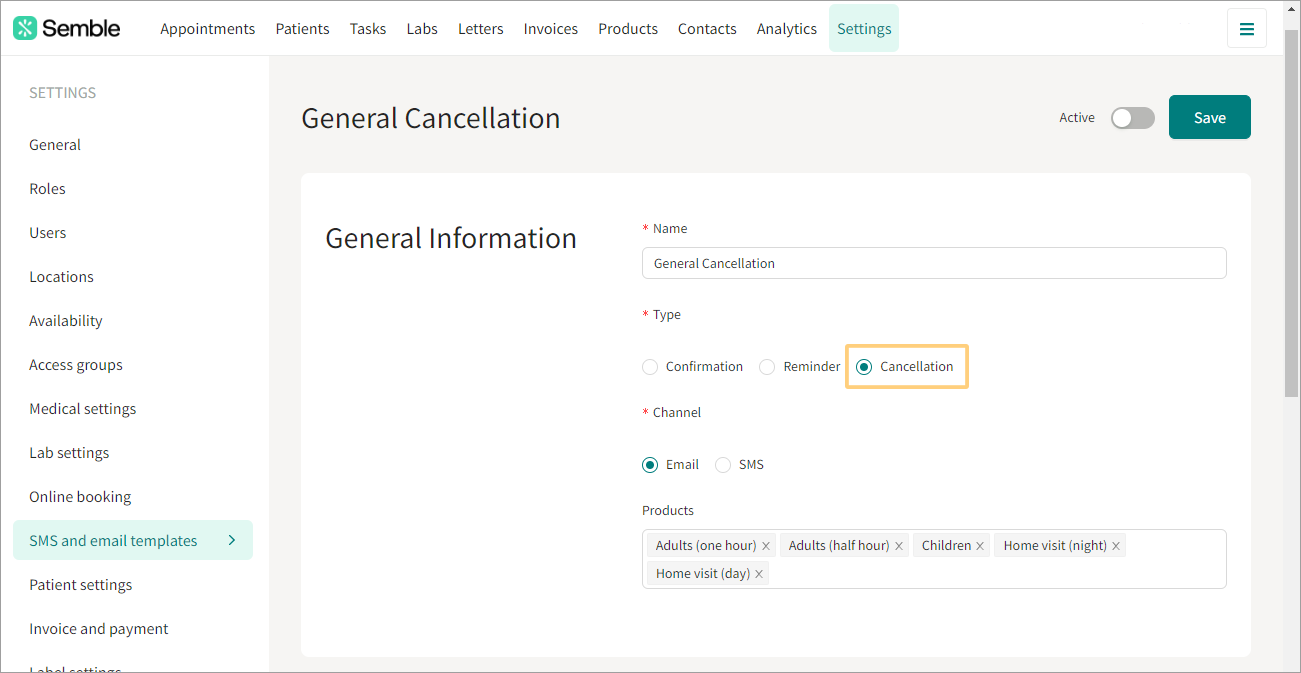
3. Fill out the General information for the cancellation template.
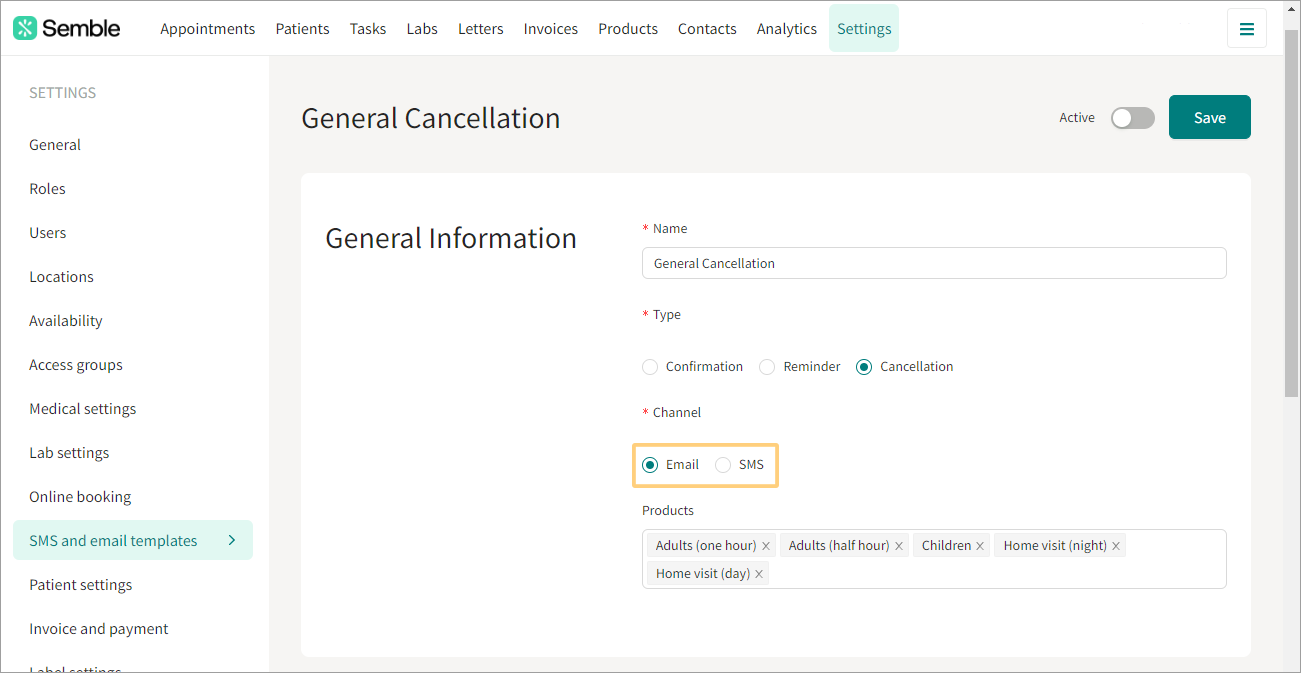
4. Select whether you want the cancellation template to be email or SMS.
5. Enter the content for the email or SMS. You can directly type in the text editor, or click on the Tags to insert customised information, such as a patient's last name.
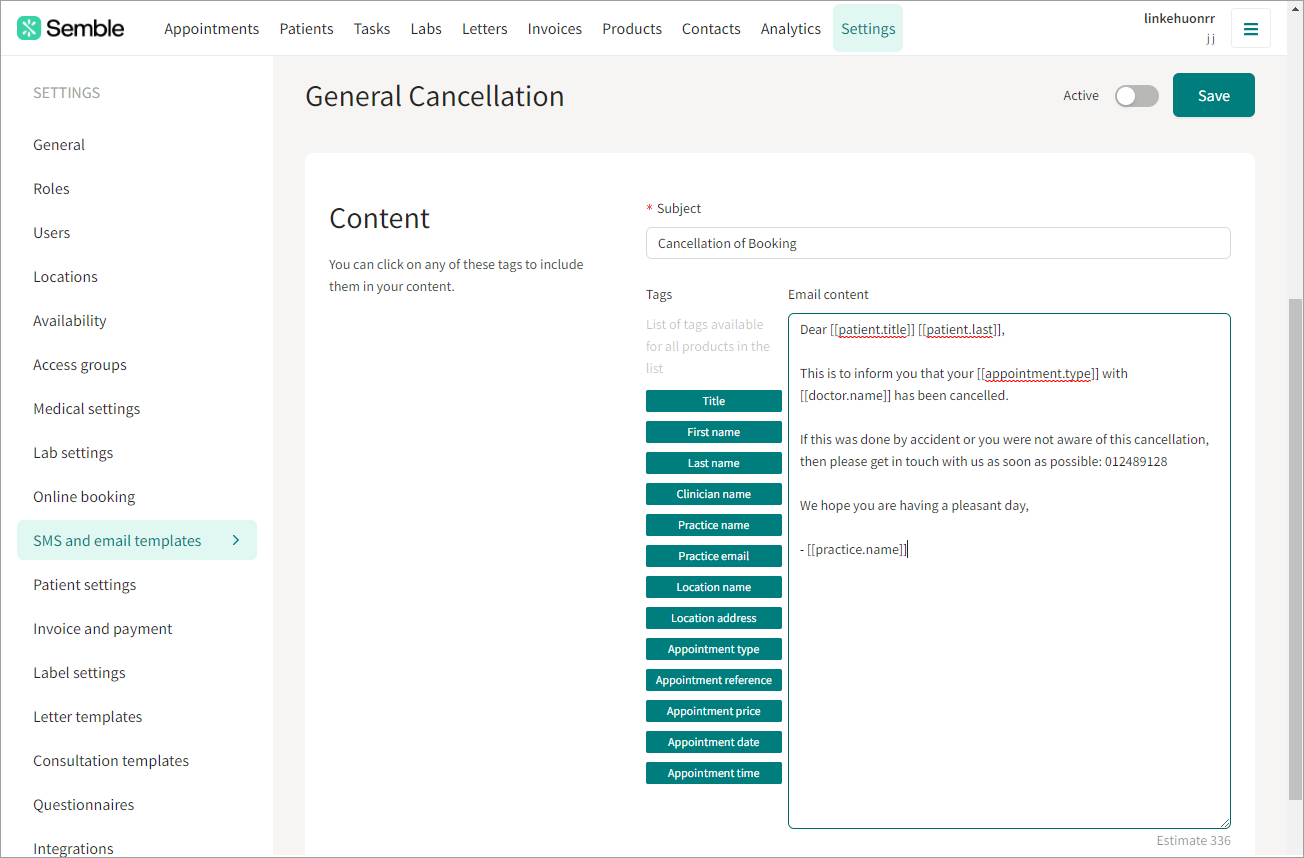
6. Tick Active at the top of the screen to make the cancellation template available to use.
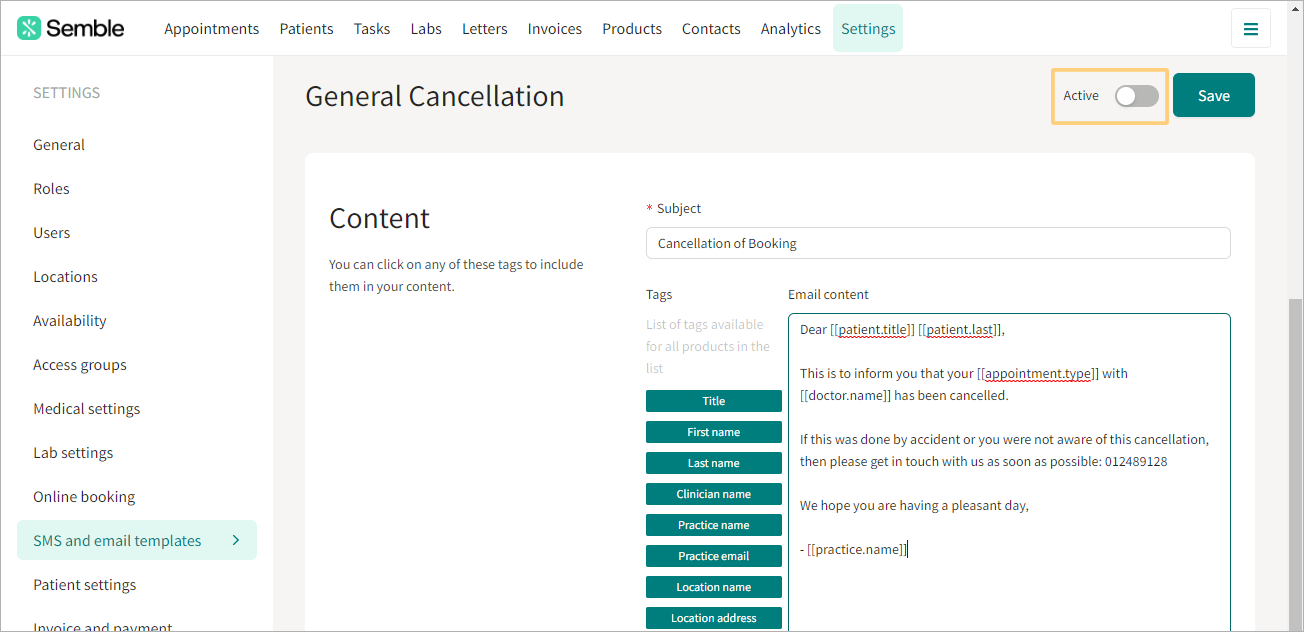
7. Click Save.
Link a Product to a Cancellation Template
When you have created and made active a cancellation template, you can then link it to a product from the Products page:
1. Select the product.
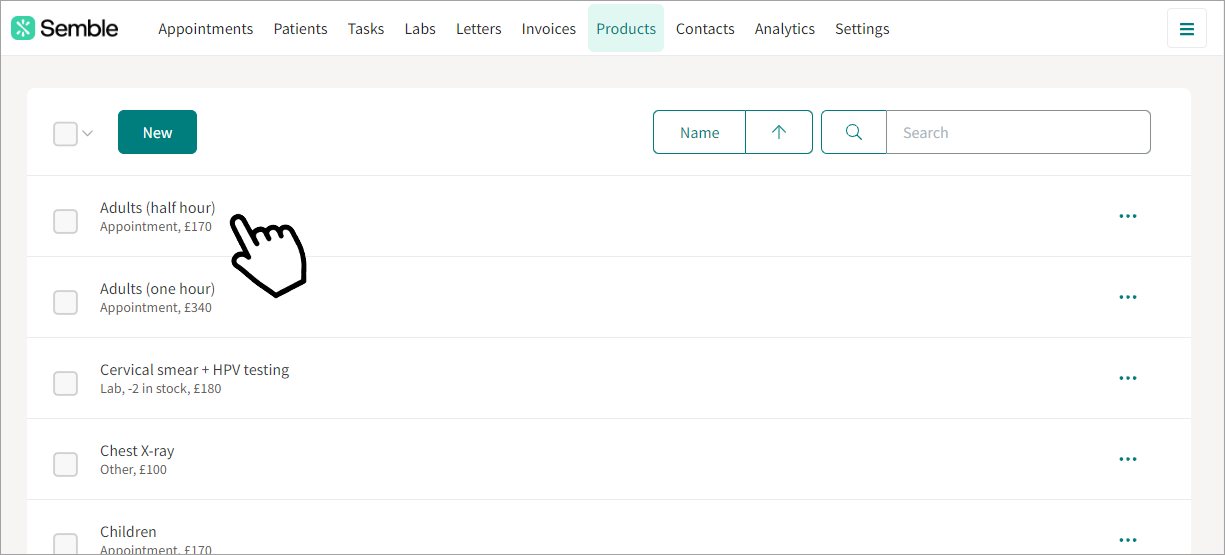
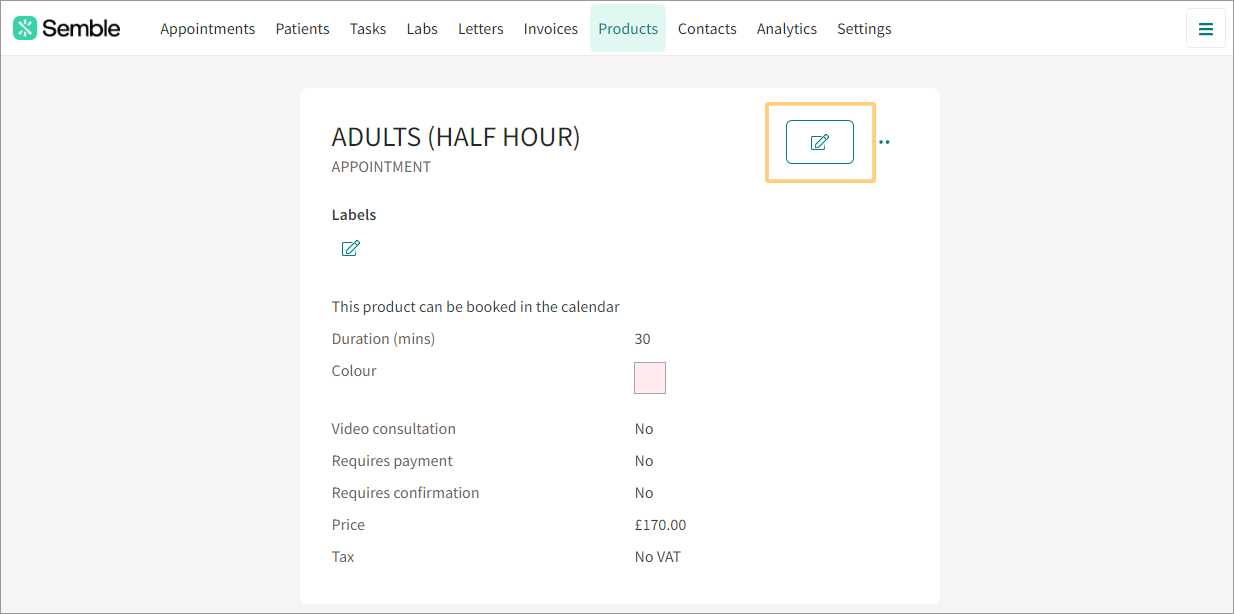
2. Click the edit icon in the top right-hand corner.
3. Scroll down to the Confirmation and Reminders section.
4. Use the dropdown menus to select the cancellation template that you want.
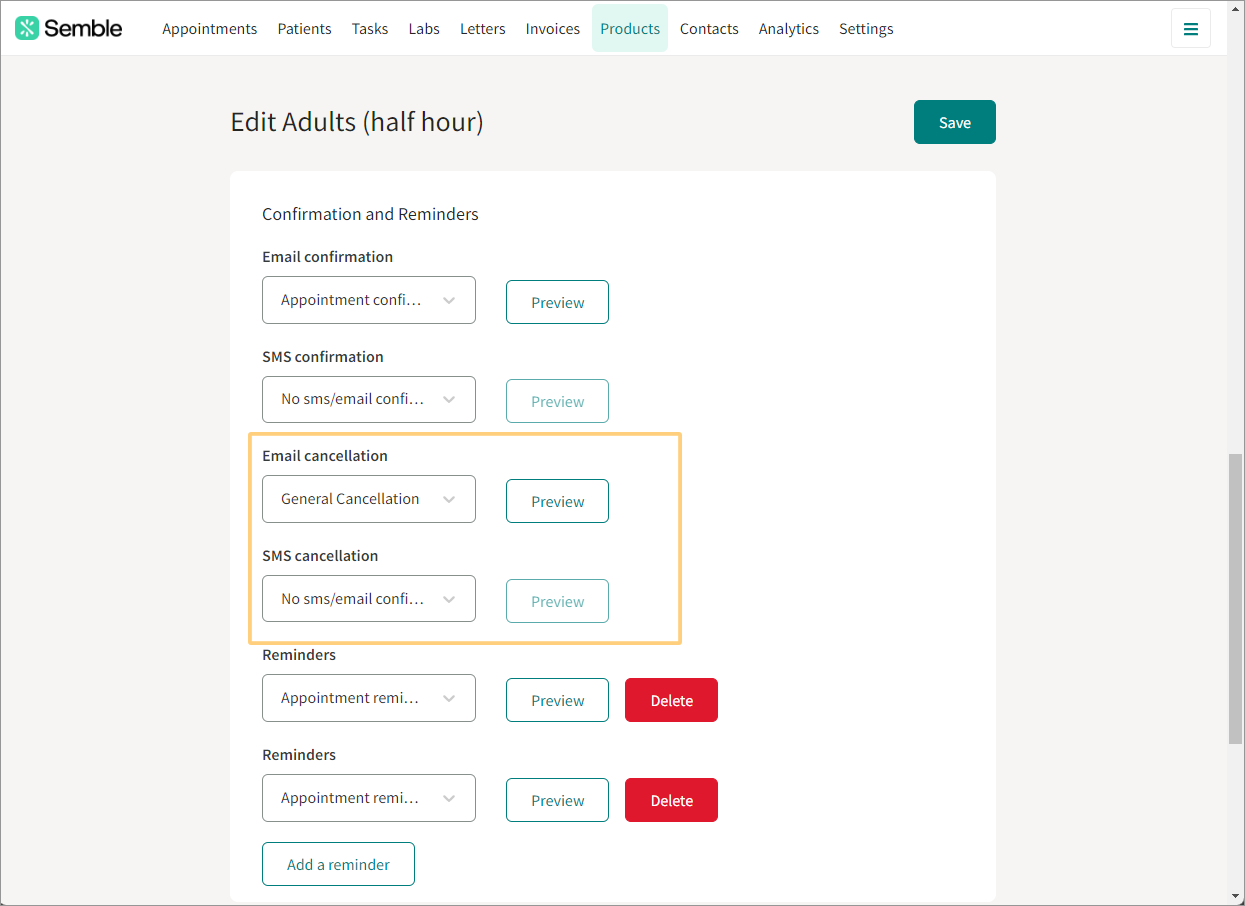
5. Click Save at the top of the screen.
When you now cancel an appointment with that product, your set cancellation email or SMS is sent automatically to the patient.
Edit a Cancellation Template
You can edit a custom cancellation template at any time from the Settings page:
1. Go to the SMS and email templates tab.
2. Click the more options icon next to the cancellation template that you want to edit or delete.
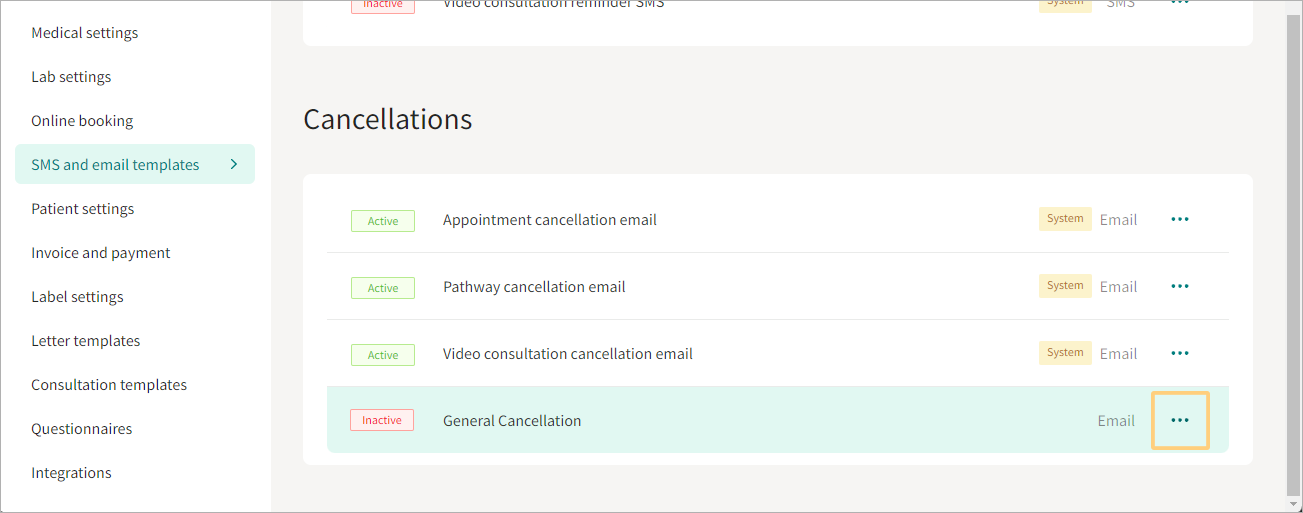
3. Select Edit.
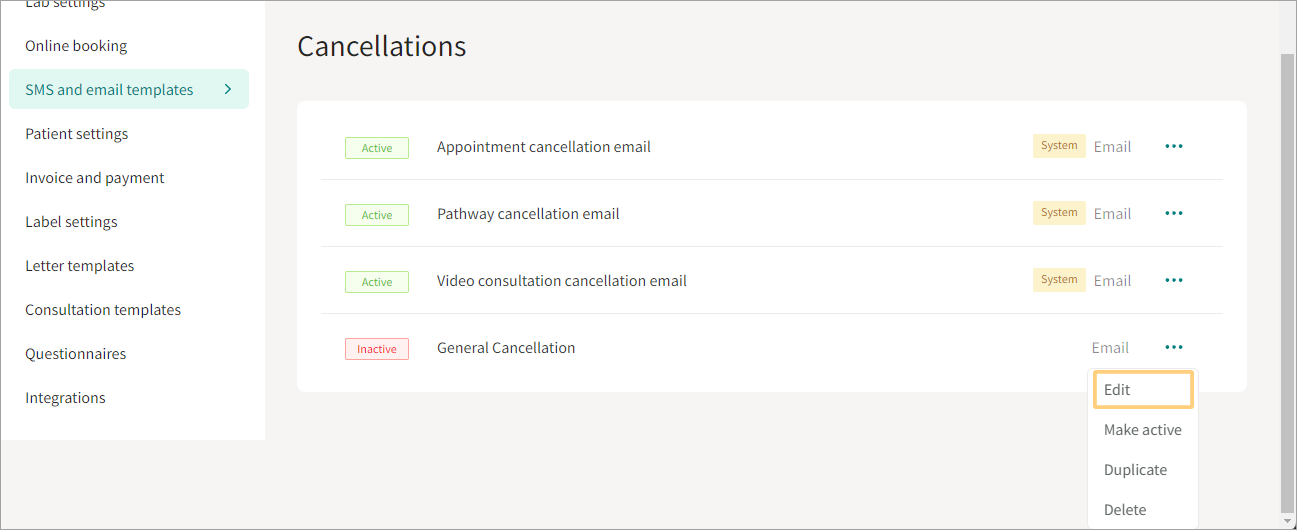
4. Make the edits you want.
5. Click Save in the top right-hand corner of the page.
Delete a Cancellation Template
You can delete a custom cancellation template at any time from the Settings page:
1. Go to the SMS and email templates tab.
2. Click the more options icon next to the template that you want to delete.
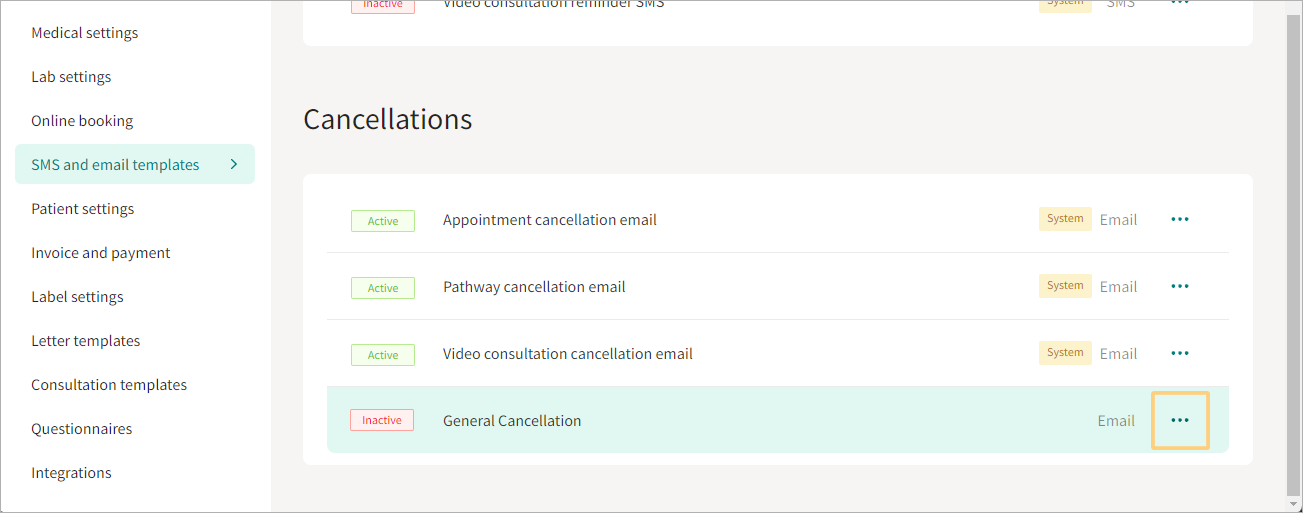
3. Select Delete.

4. Click Delete to confirm the deletion.
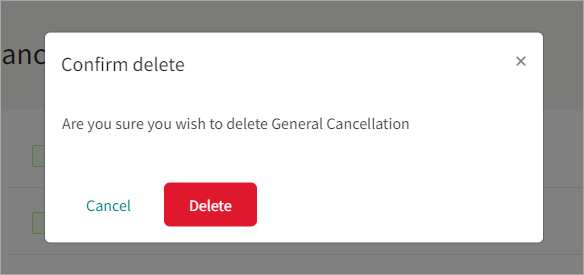
The template is deleted from Semble.
Find out which patient cancelled their appointment
Set Up Cancellation Email Destination
Before you find out which patient cancelled their appointment, you must first check where your practice's automated cancellation emails are sent to, from the Settings page.
1. Go to the General tab.
2. Scroll down to the Incoming email section.
3. Enter an email into the When a patient books online notify this email
4. Click Save at the top of the page.
Cancellation notification emails will now be sent to that email address. When a patient cancels their appointment, you can now identify who it was.
See which Patient Cancelled their Appointment
When you know where your practice's automated cancellation emails are sent to, you can find out which patient cancelled their appointment, by looking at the patient ID in the cancellation email you will receive from us:
1. Open the cancellation notification email.
2. You can click on the link which will redirect you to Semble, to the right patient. If you cannot click on the link, note down the Patient ID.
3. Go to the Patients page in Semble.
4. Select any patient.
5. Replace the patient ID in the URL of the page with the patient ID that you noted down from the cancellation email:
Make sure you insert the copied patient ID after the patient/ part of the URL, and before the /summary part of the URL:
app.semble.io/patient/PATIENTID/summary
6. Go to the new URL. You are redirected to the patient's Summary page.
7. (Optional) Scroll down to the Appointments section to see which specific appointment the patient cancelled:


