How to set up and use diagrams for consultations
In this article:
Add a Diagram to Consultation Notes
Linked articles:
Overview of Consultation Notes
Enable Consultation Diagrams
You can enable consultation diagrams for your practice from the Settings page:
1. Go to the Medical settings tab.
2. Scroll down to the Consultations section.
3. Tick the Diagram box.
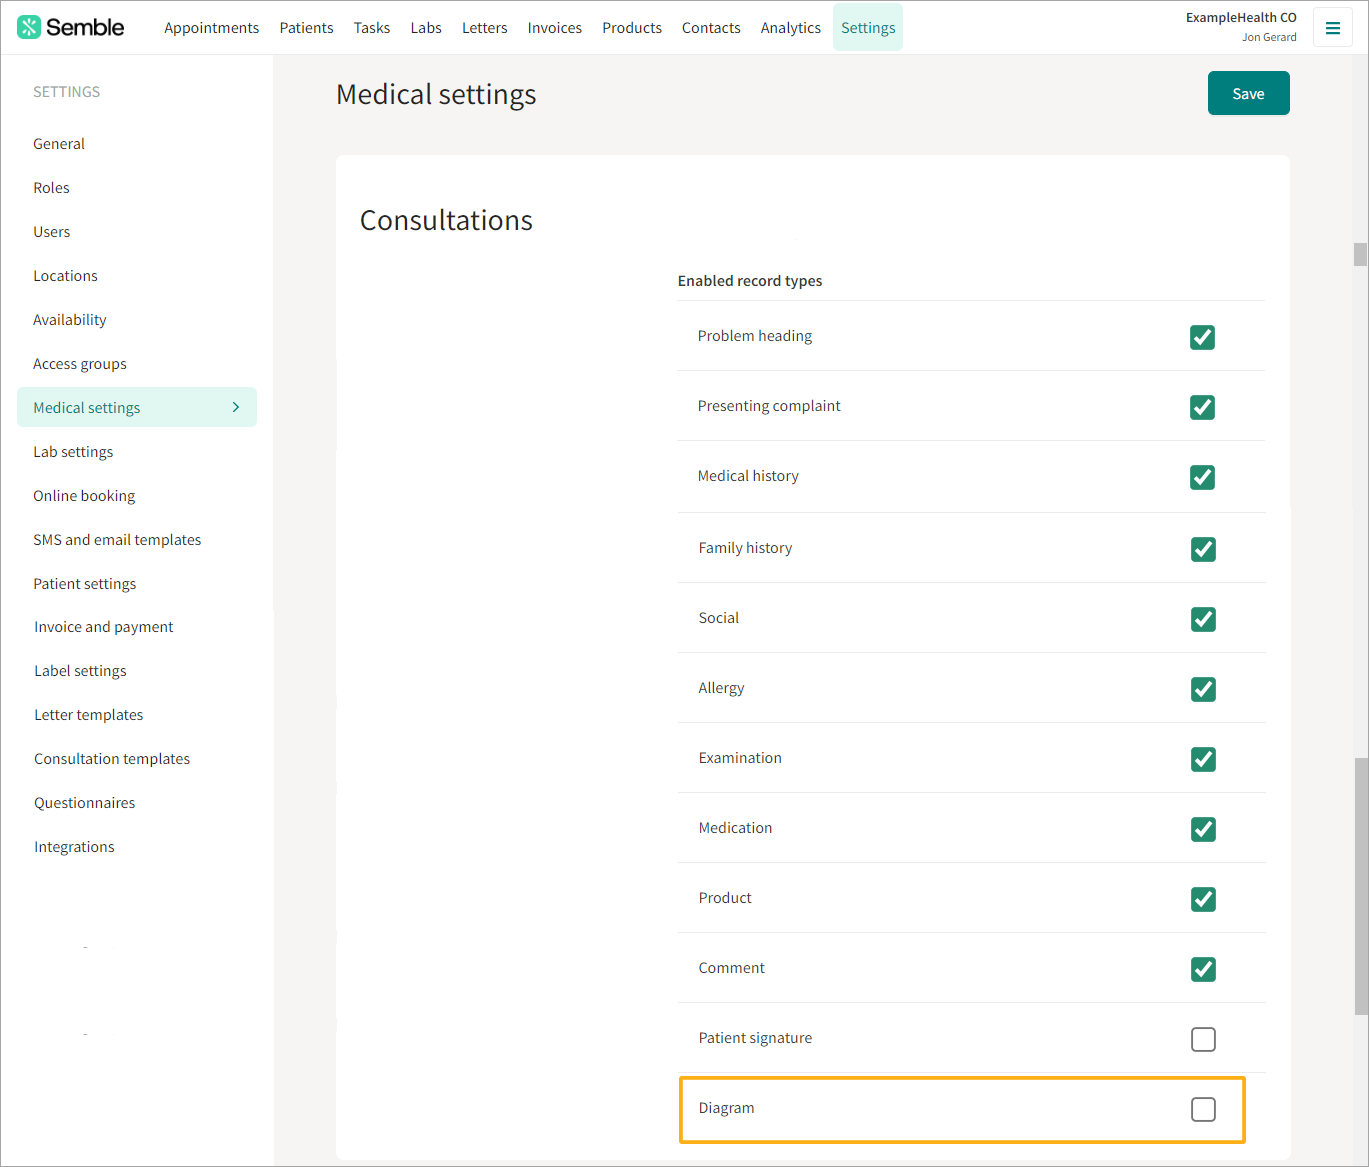
4. (Optional) Drag and drop any images from your device that you want uploaded to your diagram library.
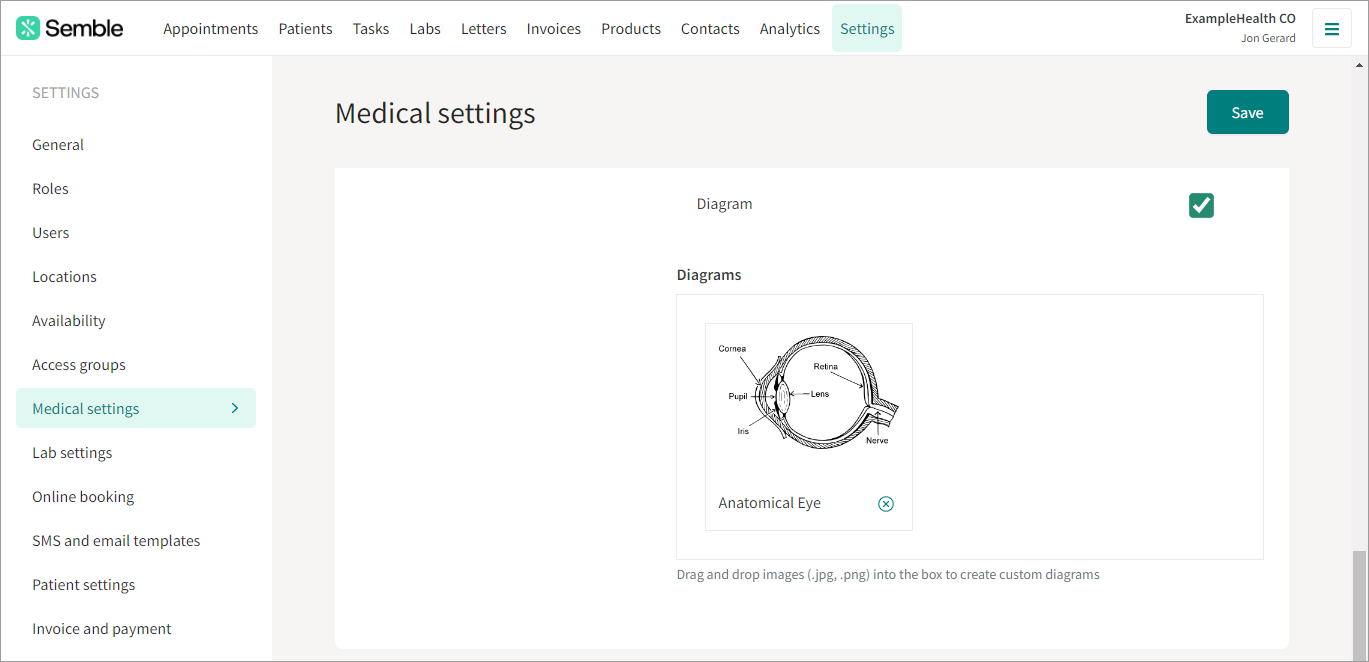
5. Click Save at the top of the page.
Clinicians will now be able to add diagrams to any patient consultation notes.
Add Custom Diagrams
Once you have enabled consultation diagrams in your medical settings, you can also add your custom diagrams to use them when creating a consultation note.
1. In the diagram box, you can drag and drop any image:

2. You will then be requested to name the diagram and upload it.

3. Save the edit by clicking on the Save button on the top right-hand side.
Once saved, you will be able to use the diagram to your consultation notes.
Add a Diagram to Consultation Notes
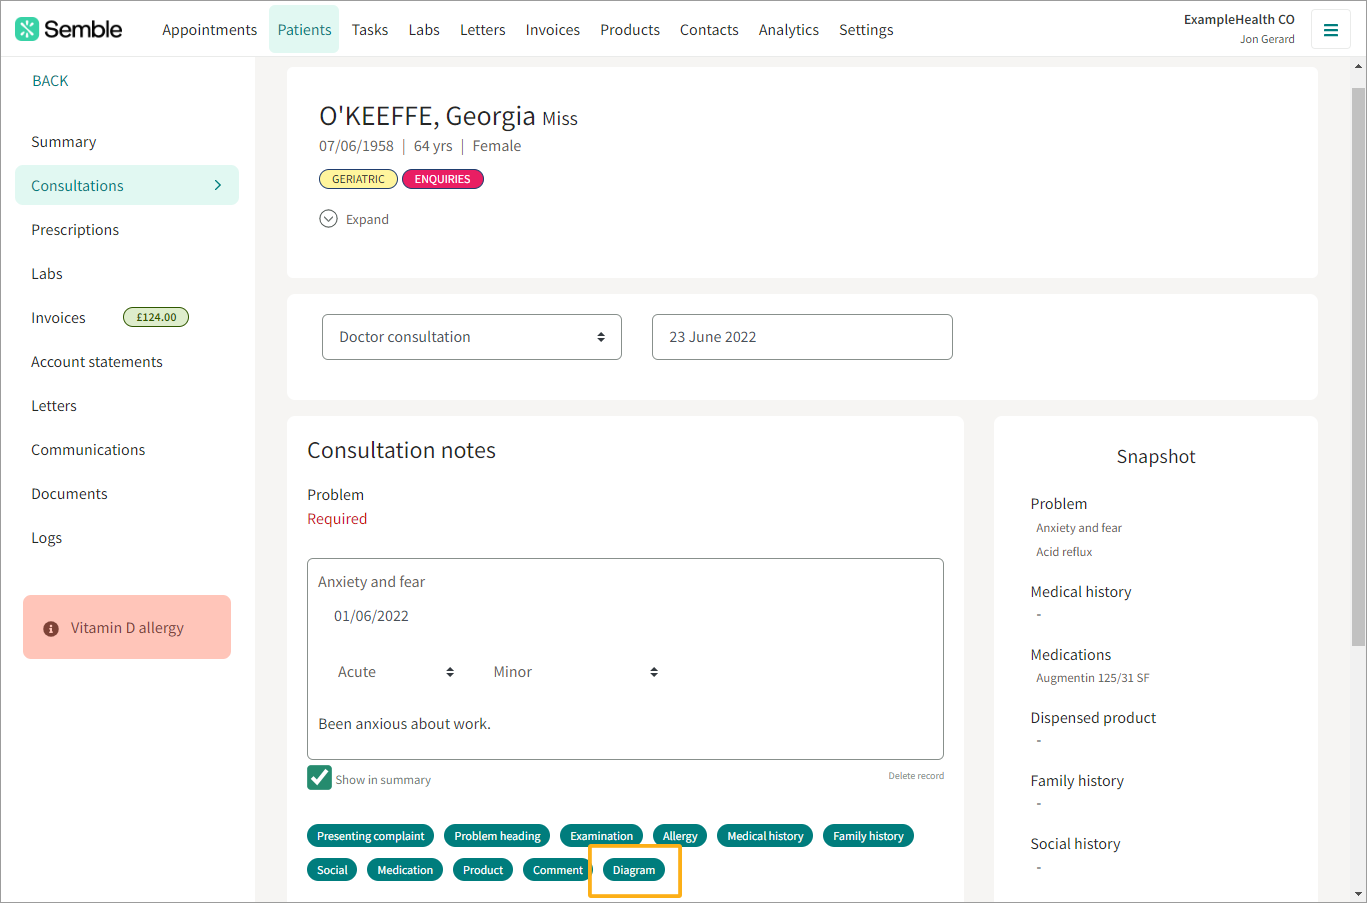
When you have enabled consultation diagrams for your practice, you can add a diagram to any consultation notes:
1. Create a new consultation note as you normally would. For more information on how to do this, see here.
2. Select Diagram from the tags at the bottom.
3. Enter a title and any comments about the diagram.
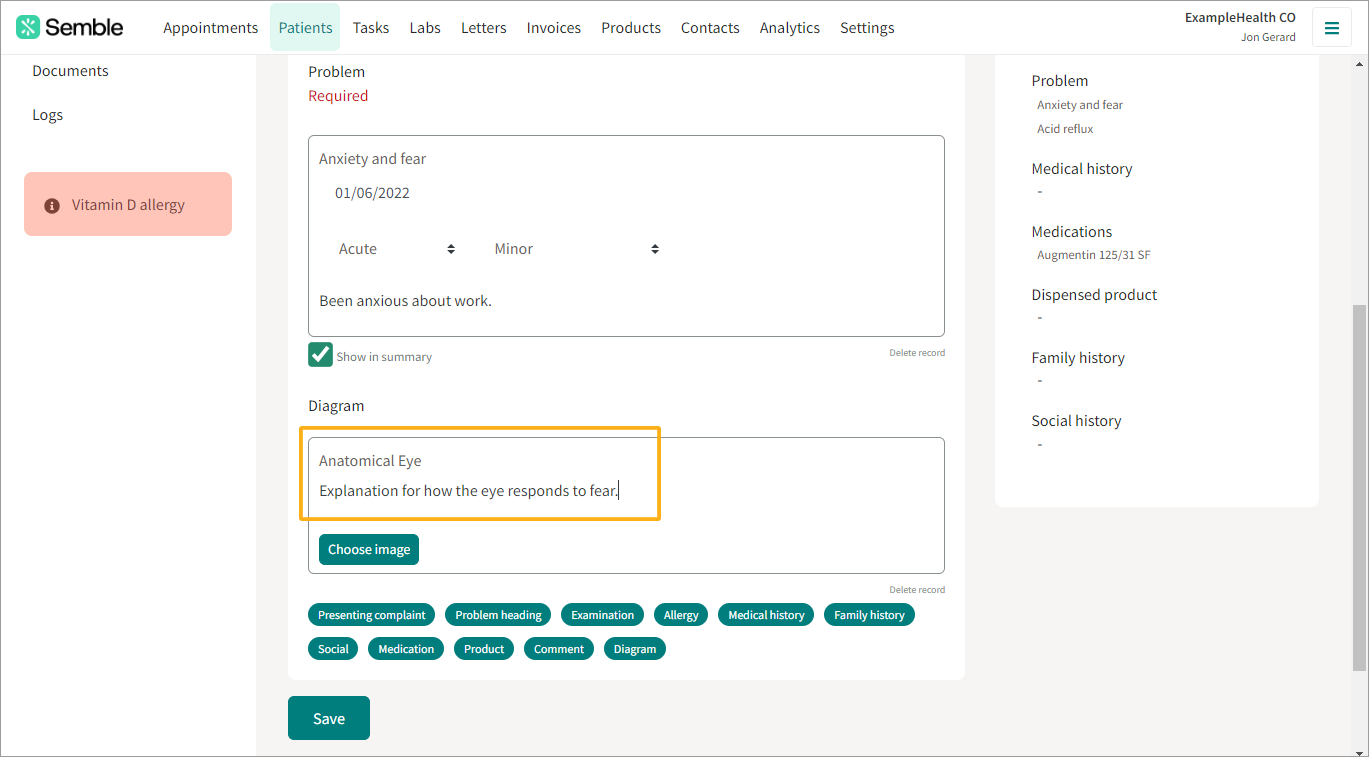
4. Click Choose image.
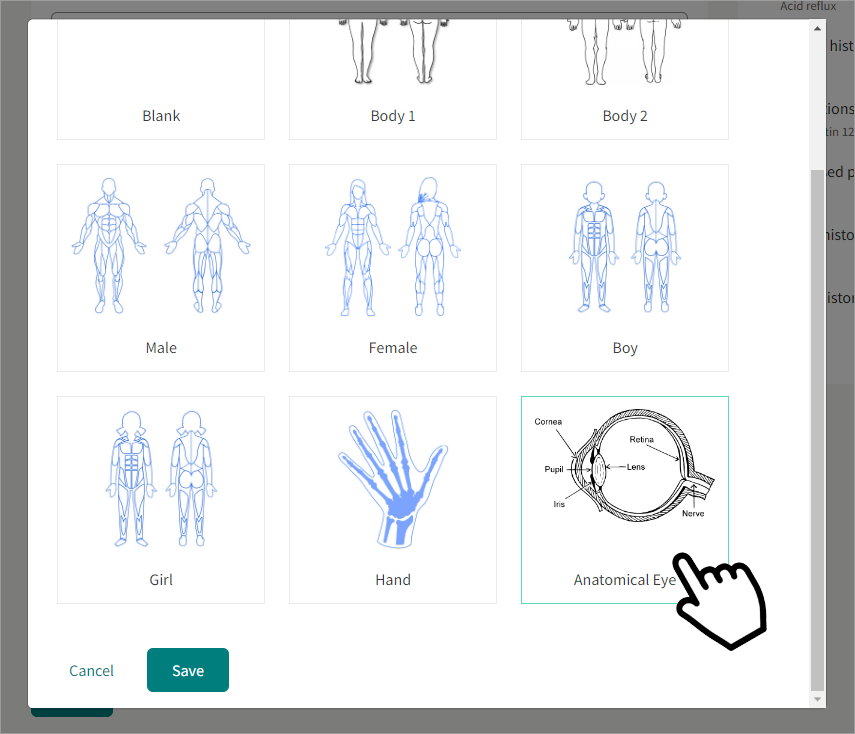
5. Select the diagram that you want to use.
6. (Optional) Click and drag your mouse to annotate the diagram. At the top you can choose a pen colour, and use the two arrows to undo or redo any annotations.
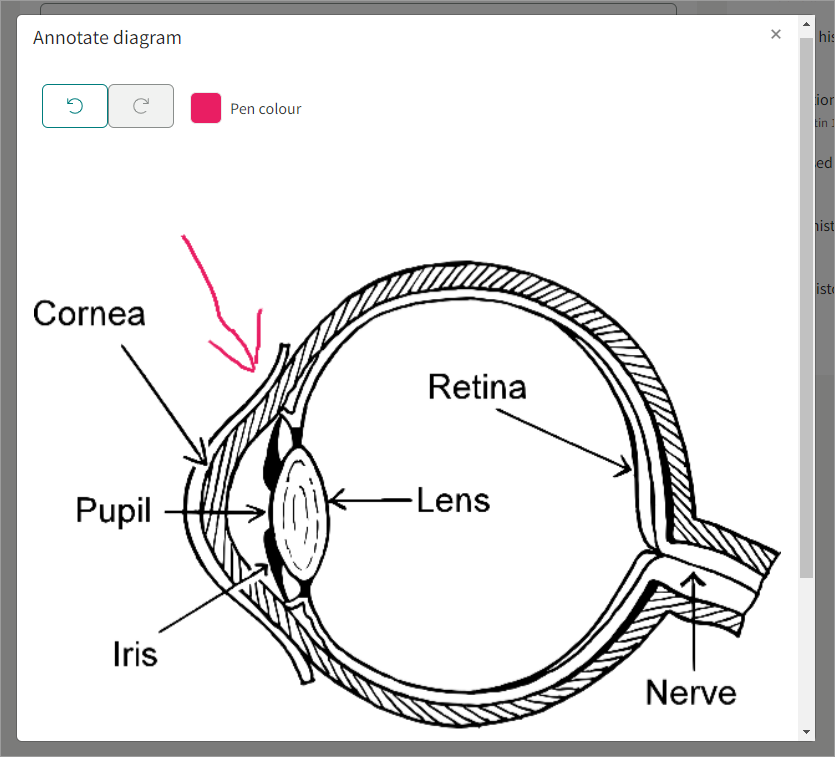
7. Click Save.
The diagram appears in the consultation notes:
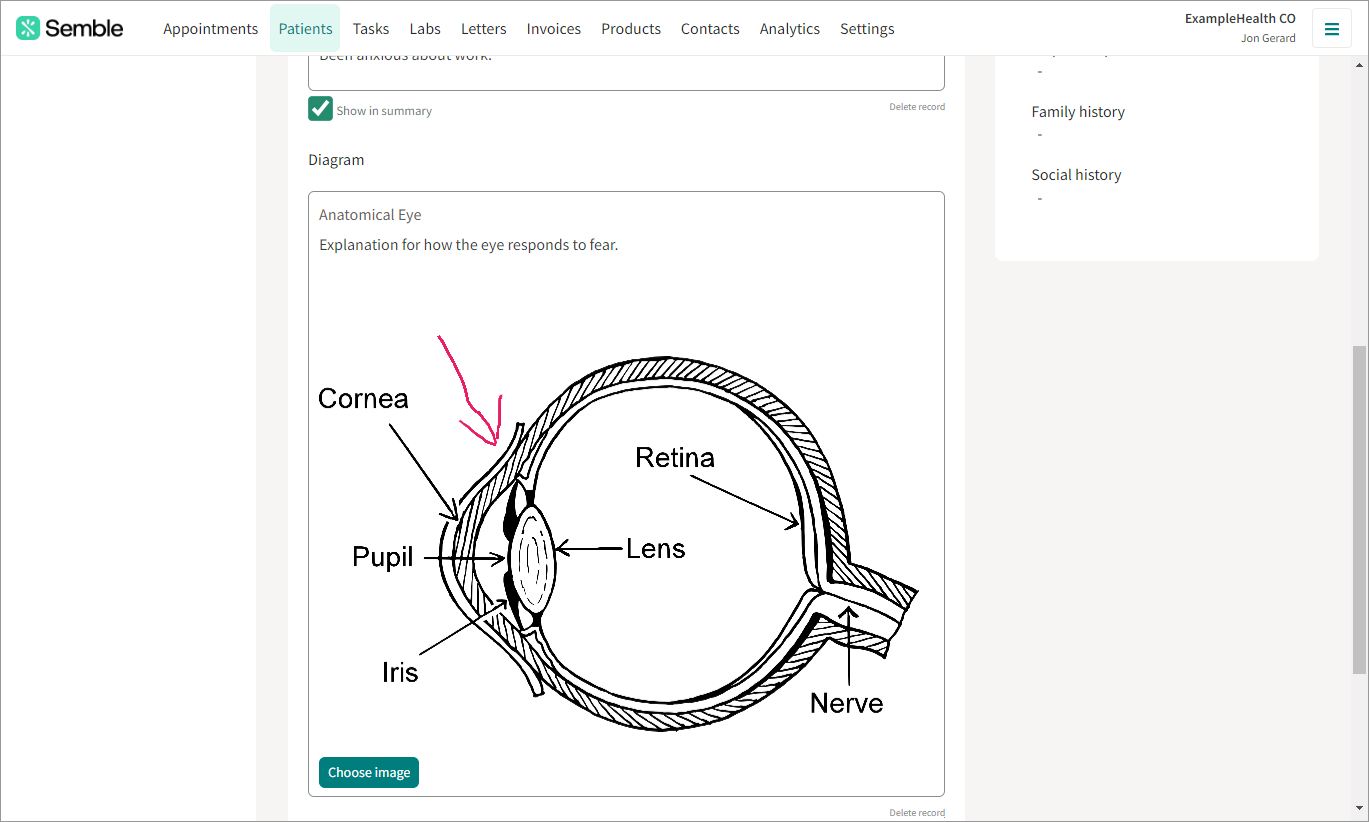
8. Finish the consultation notes as you normally would, then click Save.