How to use Xero and what the Xero integration fields in Settings mean
Xero is an online software tool that simplifies accounting tasks for businesses. When this integration is set up, invoices and payments created in Semble are automatically uploaded to Xero, even if payment is not recorded at the time of the invoice creation.
Requirement: Before you attempt to integrate Xero with Semble, you must first set up a Xero account: www.xero.com/uk/signup/
In this article:
Configure a Product to a Xero Account
Handling multiple line items with different Xero information
Xero Integration Settings
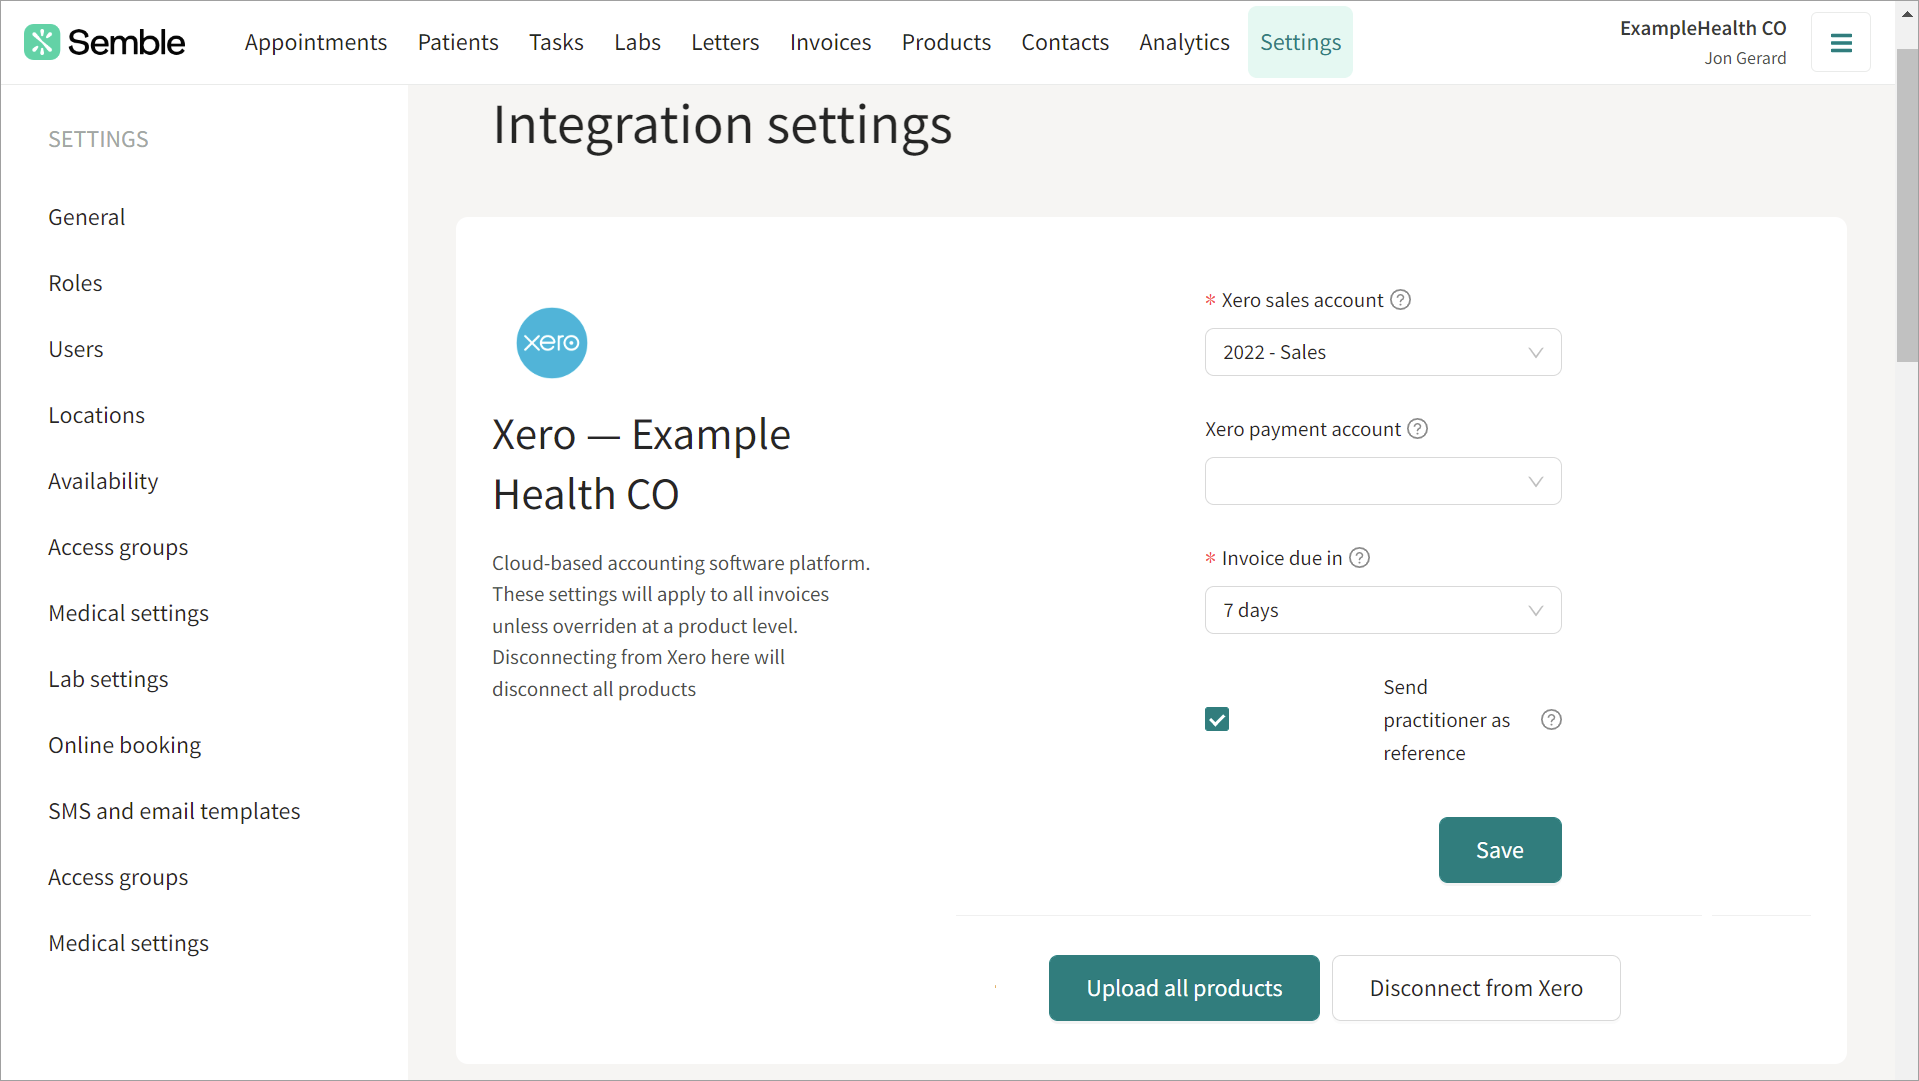
When your practice has fully set up Xero, some new fields will appear in the Integrations tab in Settings:
-
Xero sales account: Where both paid and unpaid invoices are uploaded to in Xero. An example name could be '200 - Sales' - please note that this must be marked as "Revenue" for Account Type in Xero and not "Sales"
-
Xero payment account: Where your paid invoices go in Xero. An example name could be '160 - Revenue'
-
Invoice due in: Where you select how long patients have to pay off their invoice
-
Send practitioner as reference: Tick this box to have the clinician's name appear in the 'reference' field on invoices sent to Xero

Note: To keep any changes you have made to the integration, you must click Save.
Configure a Product to a Xero Account
When you have fully set up the Xero integration, you can configure your products to invoice to a specific Xero account:
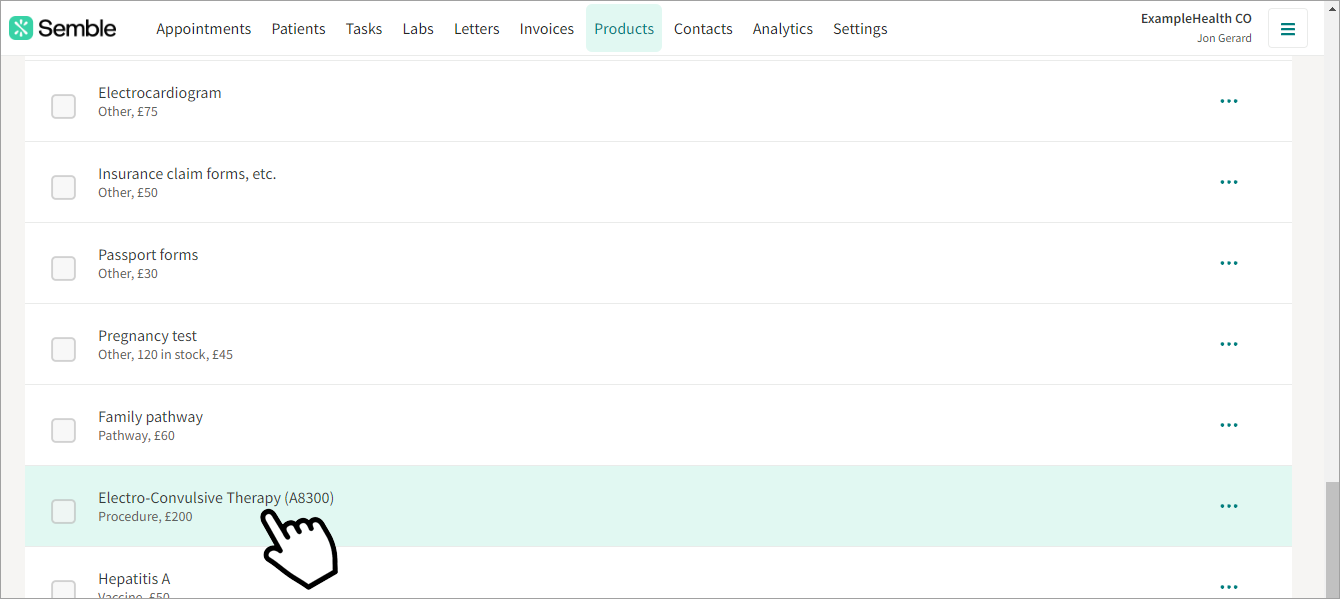
1. Go to the Products page.
2. Select the product you want to configure Xero with.

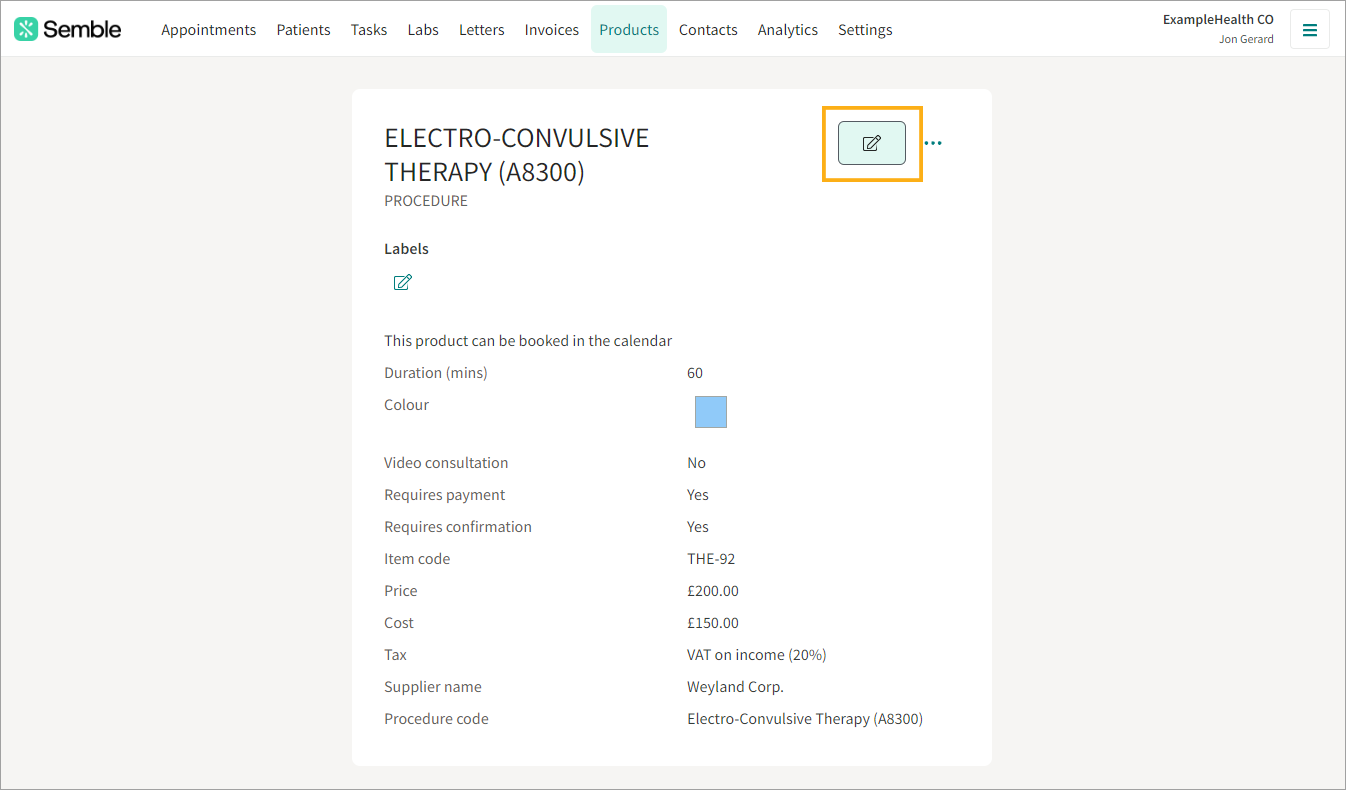
3. Click the edit icon in the top right-hand corner.

4. Scroll down to the Xero section, then use the two dropdowns to select the Sales Account and Payment Account that you want to link the product to.

5. Click Save.
Now, when that product is added to an invoice, it will be processed by the Xero account that you have configured for it.
Handling multiple line items with different Xero information
For a Xero invoice to be correctly processed, all products within the invoice must have the same Xero settings for the "Payment account."
If you have an invoice with two (or more) line items where some products have no Xero info linked and other products have Payment Account 1 linked, the entire invoice will default to the payment account set up in Settings > Integrations > Xero.
This ensures consistency in processing, even if some products lack specific Xero account details.
Note: While the "Payment account" settings must be consistent, the "Sales account" settings can indeed be different.
What Data is Sent to Xero?
The data flow between Semble and Xero is one way. Semble sends data to Xero, but Xero does not send data to Semble.
See the below table for information about what data flows from Semble to Xero for invoices and credit notes, and the place in Xero where this information can be found:

Note: Currently, refunds recorded on Semble are not sent to Xero. If you process a refund, you will need to manually update the invoice/credit note in Xero.
Integrate Xero with Semble
You can set it up from the Settings page:
1. Go to the Integrations tab.
2. Click the Connect with Xero button.
3. Allow Xero access to Semble.
The page refreshes, and the integration is added to Semble.
To finish setting up the integration, you must now configure Xero for Semble.
Configure Xero for Semble
With your Bank account
When you have added Xero to Semble, you must go to your Xero account to finish the integration:
1. Open the Accounting dropdown menu, then select Chart of accounts.
2. Select 'Add Bank Account' button:
3. Select your provider:
4. Select the button circled in red below:
Then, inserted the details your provider requires.
5. Fill in the details required and insert the account code:
6. Go back to Semble, select 'Settings' - 'Integrations'. Then select your Xero Payment Account and click Save button.
With your Sales account
1. Open the Accounting dropdown menu, then select Chart of accounts:
2.Select an account that you want Semble to be able to send invoices to.
3. Make sure the Account Type is set to Revenue.

4. Enter a unique code for the account.
Note: If you do not add the unique code, your invoice won't update to "Paid" in Xero.
5. Click Save at the bottom of the window.
6. Go back to Semble and refresh the Integrations tab.
9. Click Upload all products.
Your Xero integration is now fully set up.
Disconnect from Xero
You can disconnect Semble from Xero at any time:
1. Go to the Settings page.
2. Go to the Integrations tab.
3. Click Disconnect from Xero.

You are now disconnected from Xero. You can set up the Xero integration again at any time.
Troubleshooting Xero
Error: Invoice update failed. Invoice # must be unique
This error occurs when you try to save an invoice on Semble but to the number is already in use in Xero.
Solution: You can correct this error by deleting the invoice from Xero that has already been sent from Semble or you can edit the invoice number on Semble.
Error: Invoice update failed. Item code 'XXX' is not valid
This error occurs when your product on Xero and your product on Semble do not have the same product code.
In the example below, the product code on Semble is "DLDL" and on Xero it is "DLDL1"


Solution: Edit the product code so that it matches on both platforms.
Error: Failed to create invoice in Xero. You have reached the limit of invoices you can approve
This error occurs when the amount of invoices currently allowed to be published to Xero has been exceeded. This limit is imposed by Xero depending on the package your clinic is signed up for or this error occurs if you are on a trial of Xero, there is a limit of 10 accounts receivable and 10 accounts payable invoices that can be set to approved.
Solution: You will need to contact Xero Support.
Error: Invoice update failed. To update fields on a paid invoice line item, you must supply LineItemID.
This error occurs when attempting to edit and save an invoice while integrated with Xero. When using Xero, paid invoices cannot be edited.
I cannot see a payment account in the XERO drop down menu
You have likely already integrated with Xero, but for some reason, you may not see an option to select in the "Xero payment account" .
Solution: The reason for this is likely because you do not have a code inserted in your bank account. Click here to see how to proceed.


