This article is for how to create, edit, void invoices.
Note: To create and edit invoices you must have a role assigned to you that gives you the relevant editing permissions.
In this article:
Bill an External Payer for a Patient
Add a Discount Code to your Invoice
Enable Future Appointment Invoicing
Removing Line Items From an Invoice
Marking an Appointment as Billed
Linked articles:
Create an Invoice
You can create an invoice at any time from the Invoices page:
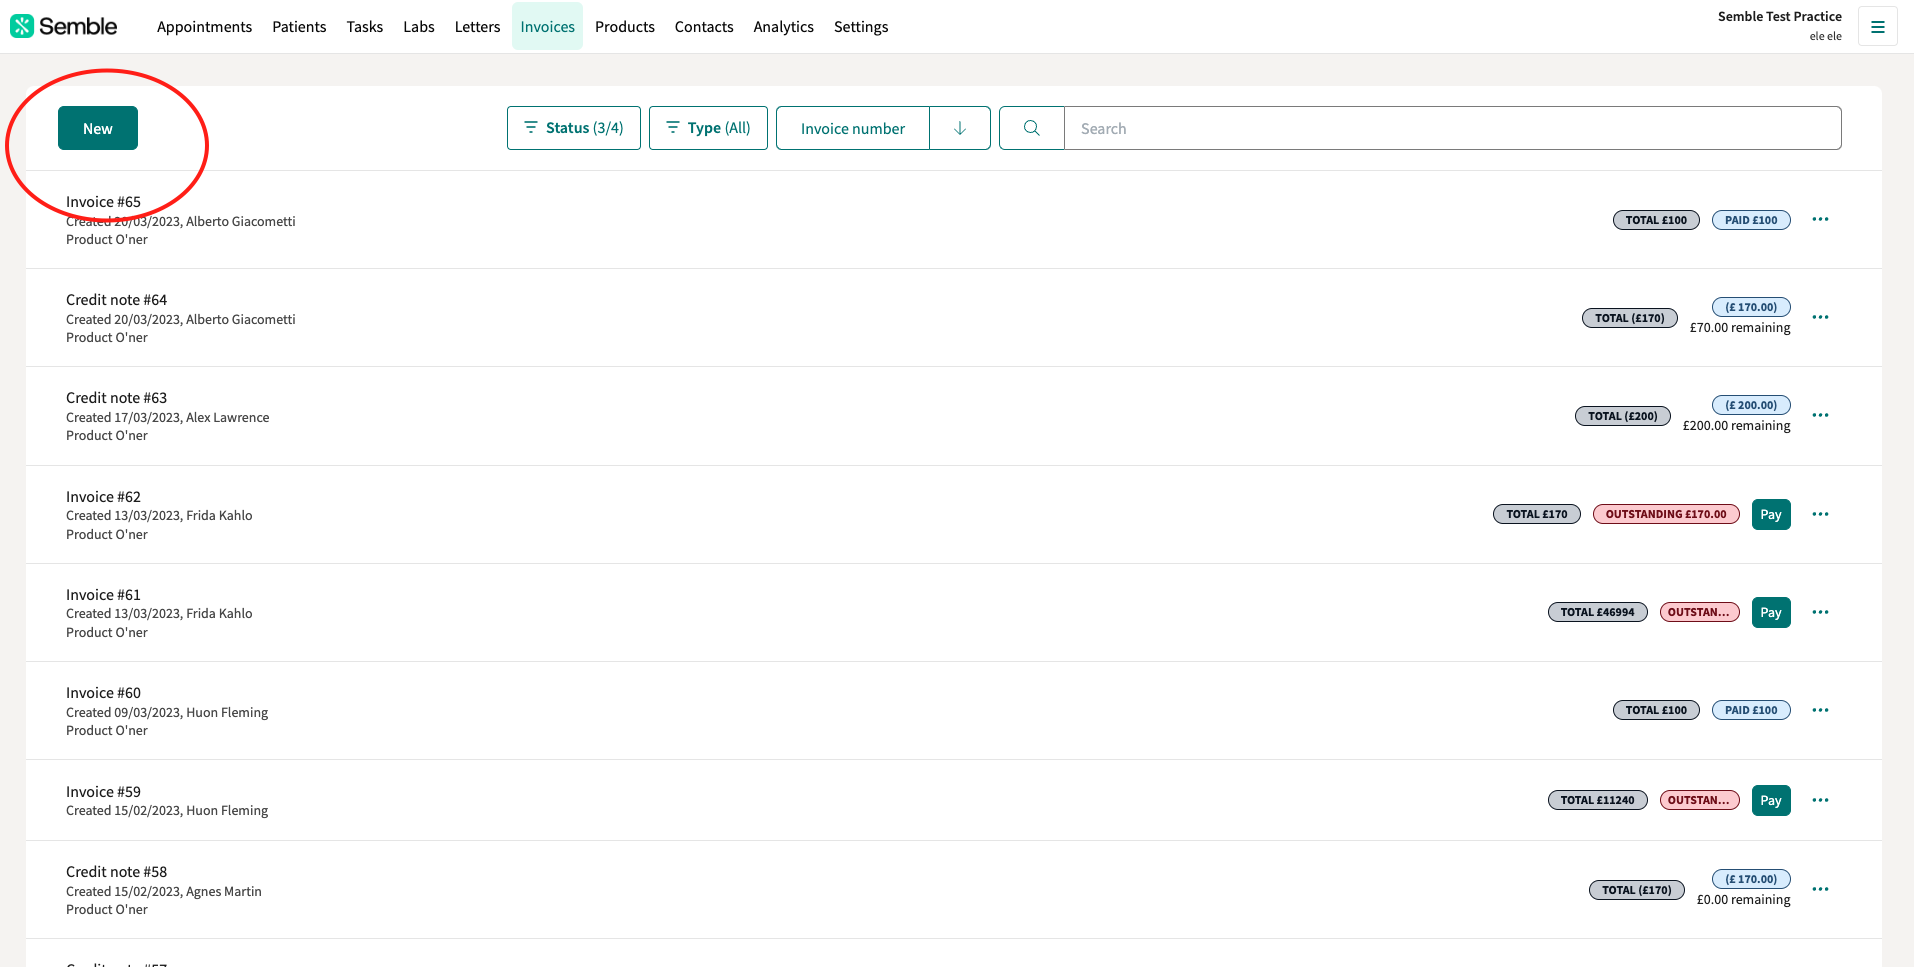
1. Select New in the top left-hand corner.
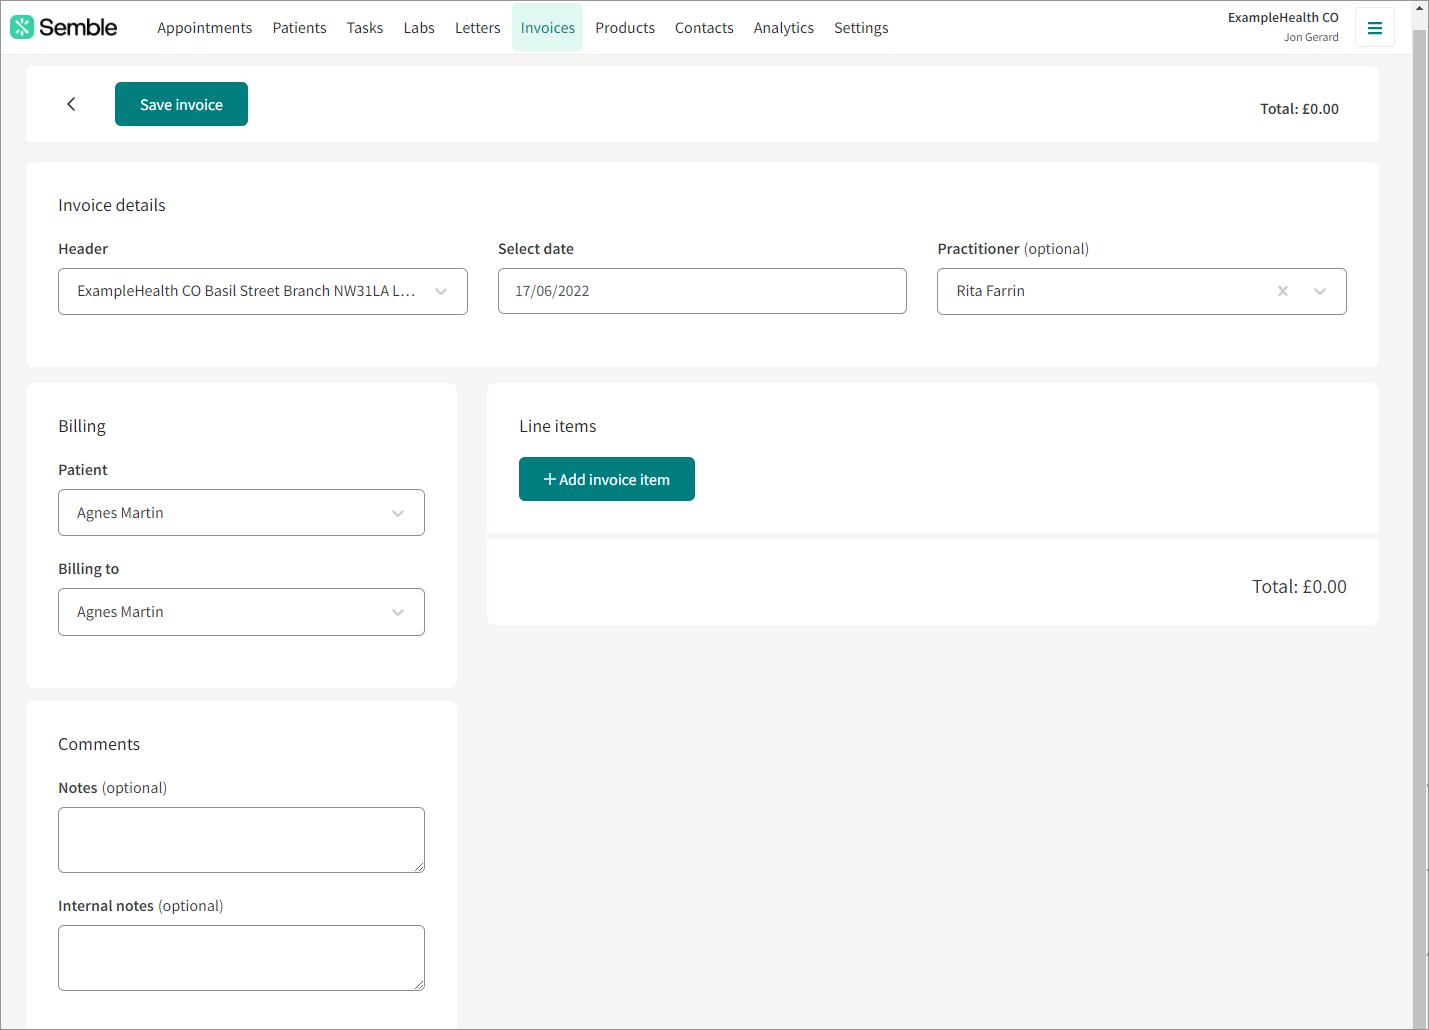
2. Fill out the details of the invoice:
- Header: Select the address which will display at the top of the invoice.
If there is no option click here to see how to add your header.
-
Date: The date the invoice was created
-
Practitioner: The practitioner who delivered the appointment. This is optional
-
Billing: Enter the patient, and the person or organisation who will settle the invoice. Depending on the patient you select, some details from the invoice may be automatically filled in
-
Comments: Add any notes to display on the invoice. You can also add internal notes that will not be displayed to the patient
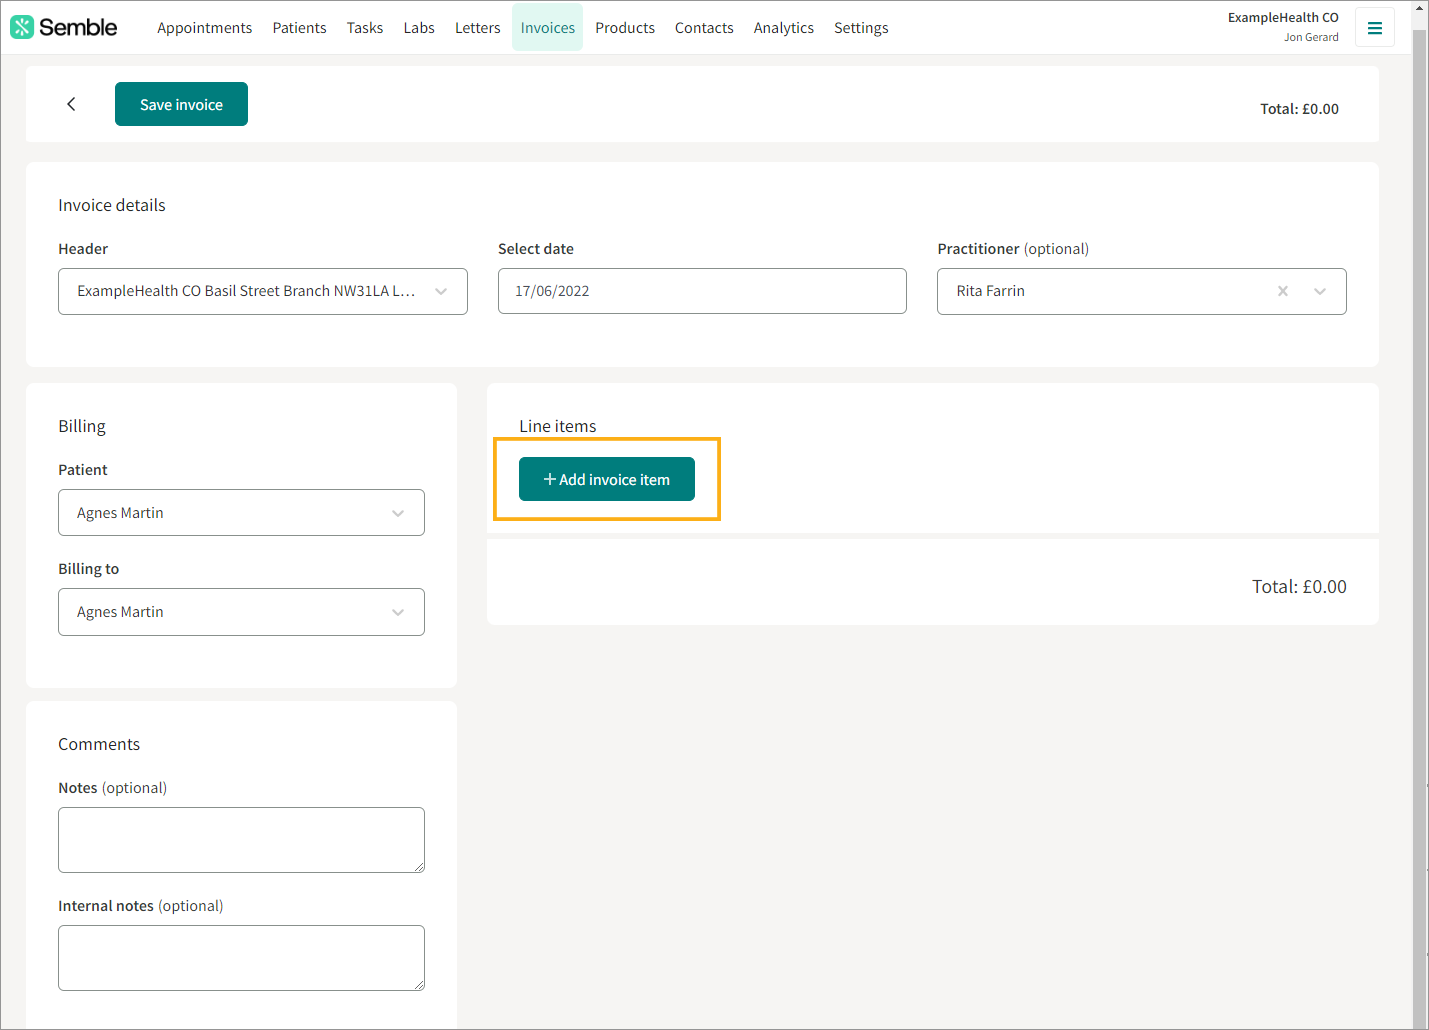
3. Click Add invoice item to add line items to the invoice.
4. Fill in the details of the line item:
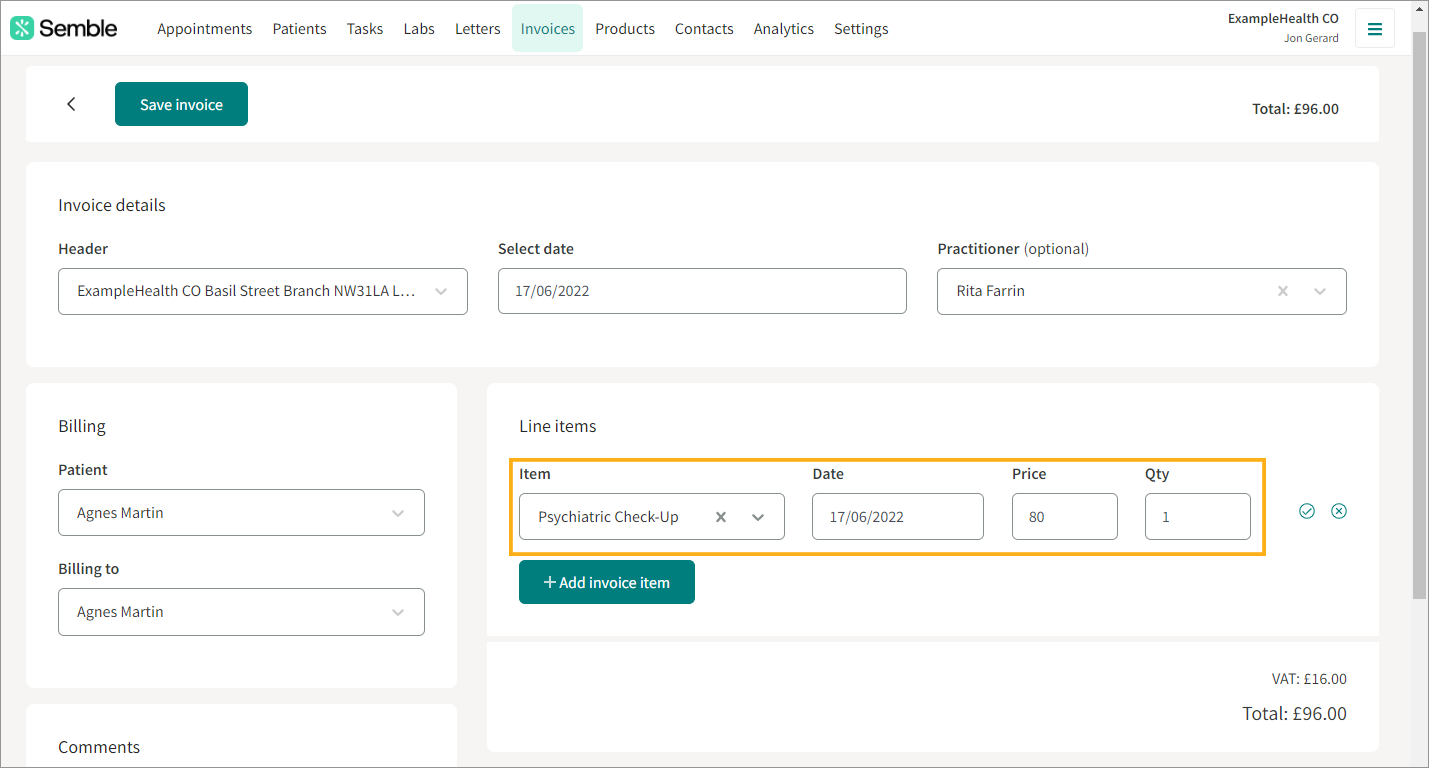
Note: VAT is added to the invoice automatically as you add a line item. The amount of VAT added depends on how you set up the product.
5. Click the tick icon to confirm the line item.
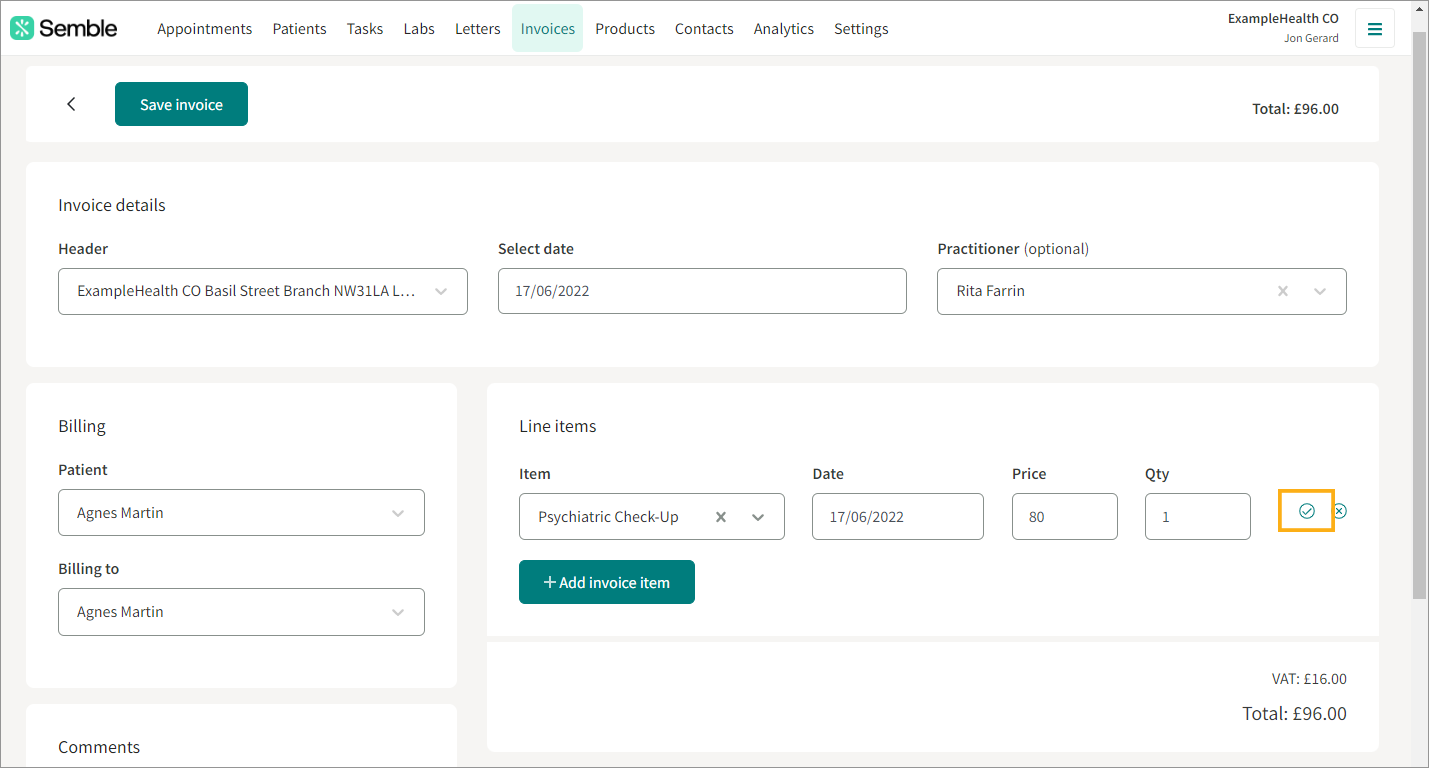
6. (Optional) Add the other line items for the invoice.
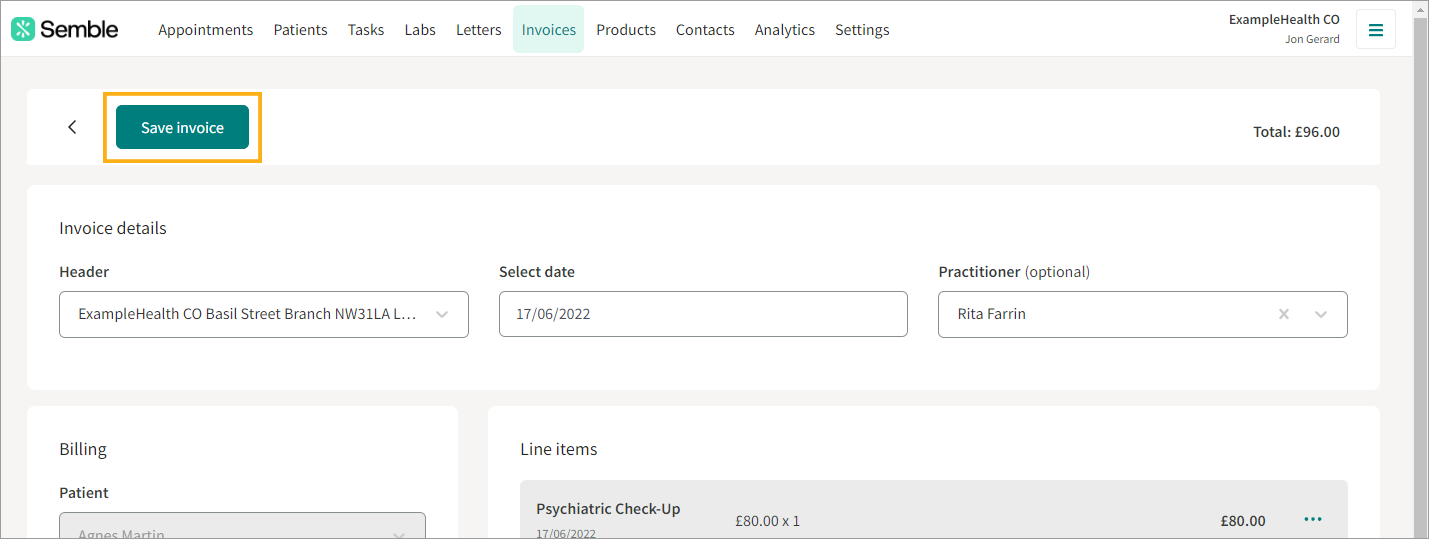
7. Click Save invoice in the top left-hand corner of the page.
You are redirected to the Patients page. The created invoice appears in both the patient records and on the Invoices page.
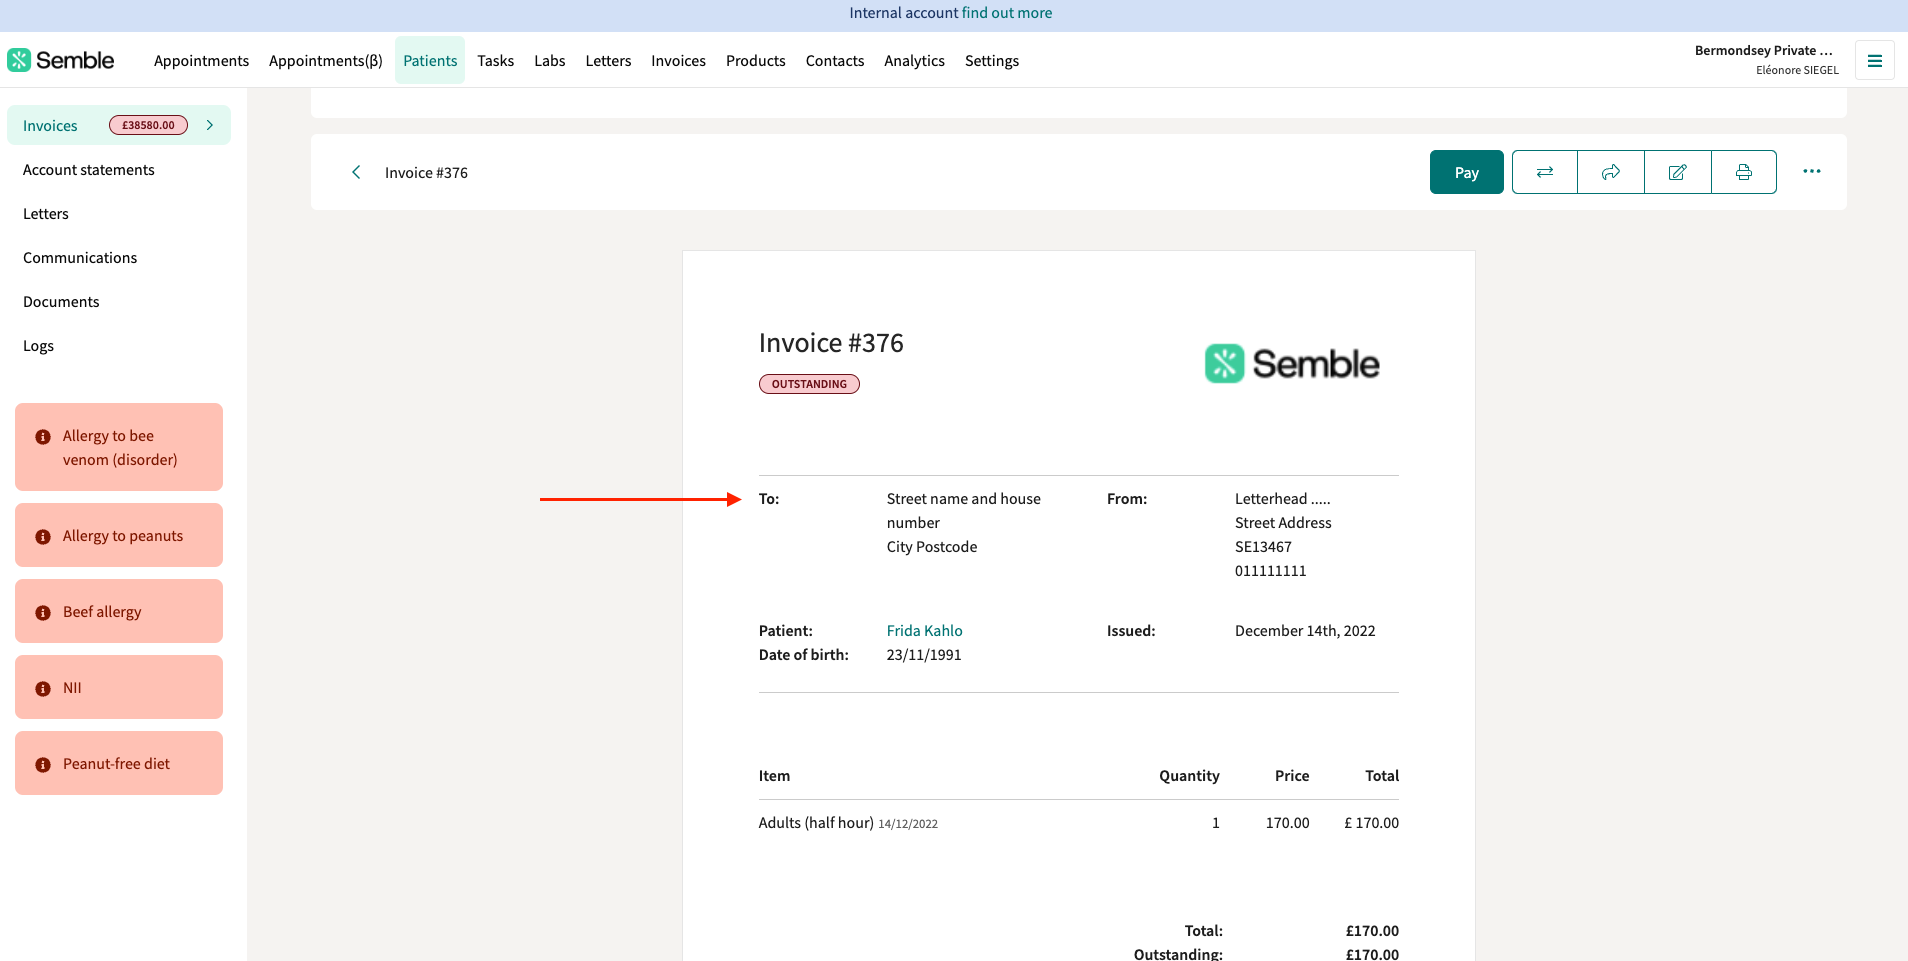
8. Your invoice is now created, you will see the payer's details within the "To:" section:
Edit an Invoice
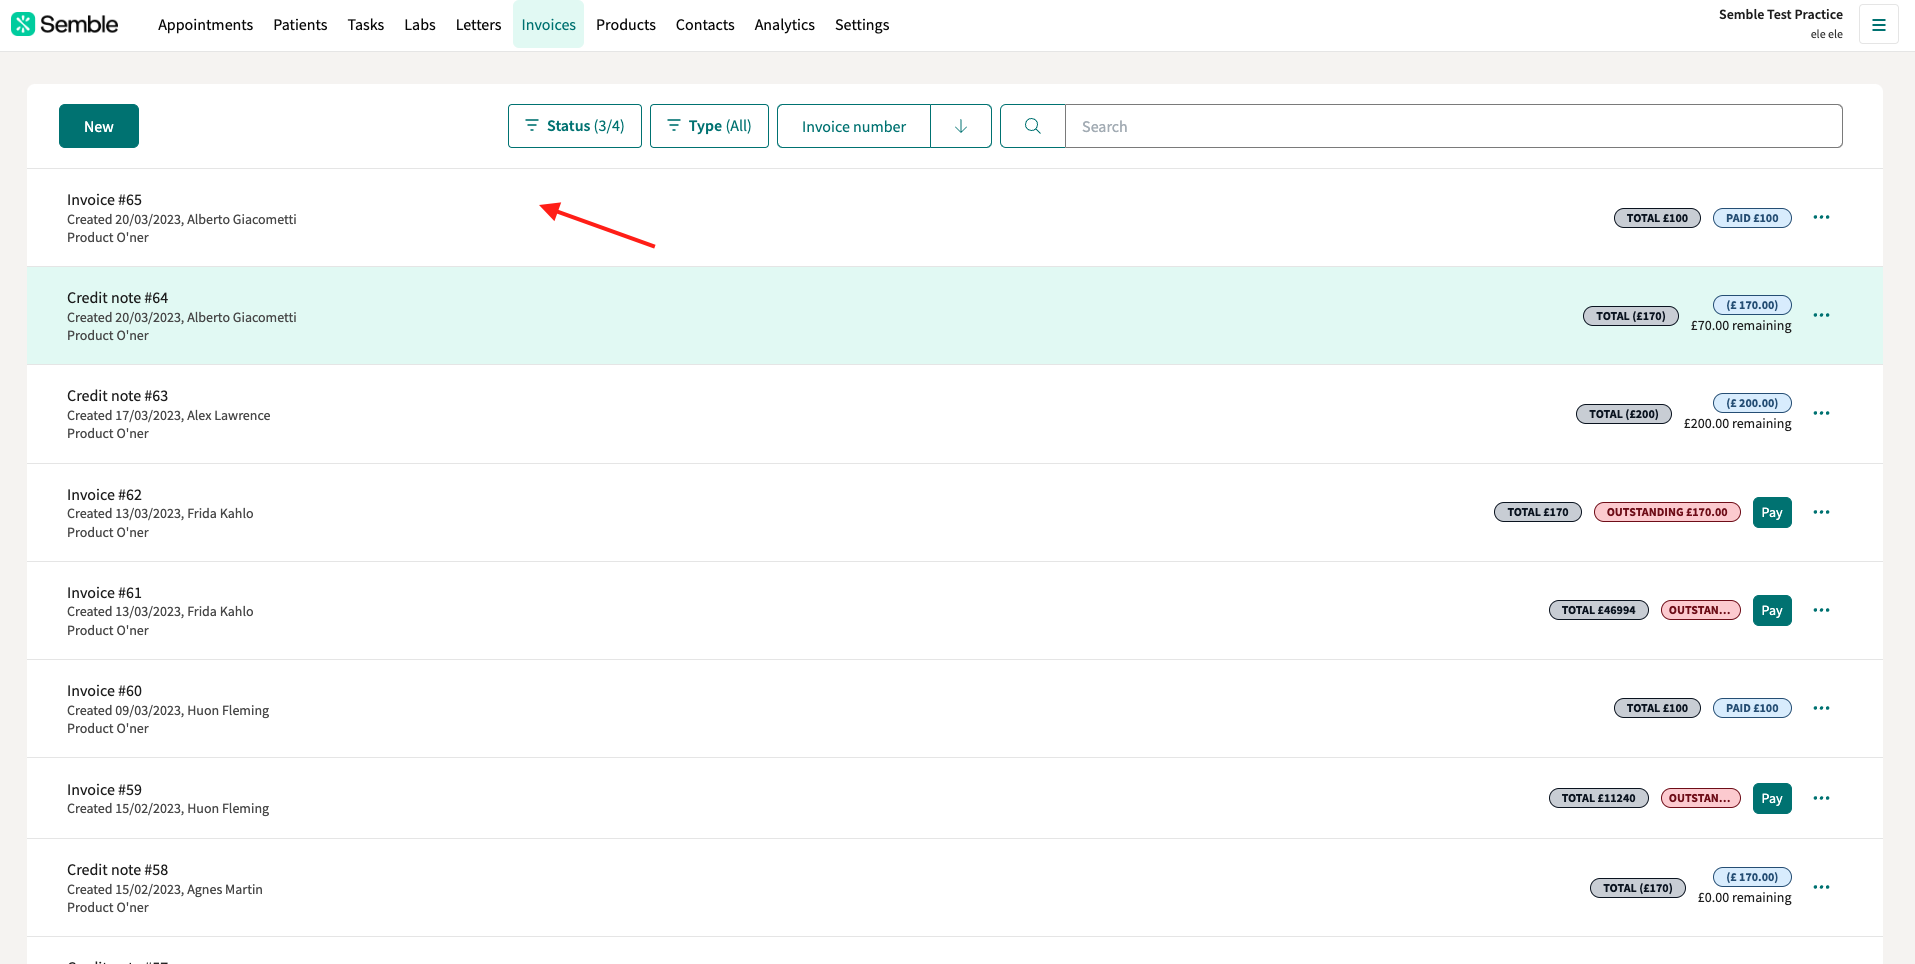
1. Go to the Invoices page.
2. Click on the invoice you want to edit.
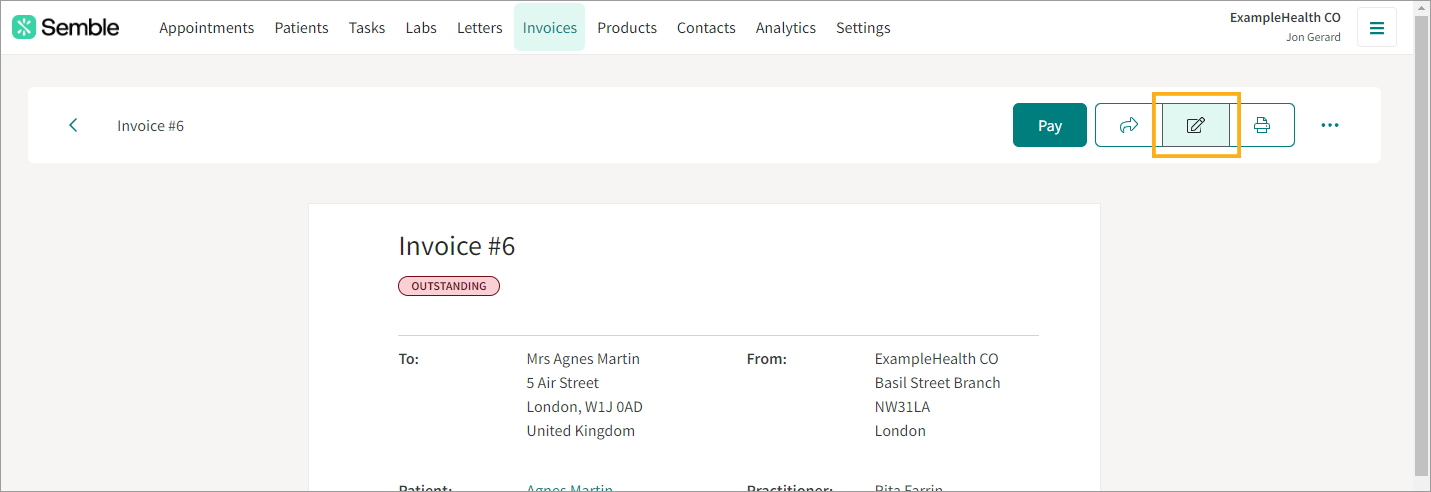
3. Select the edit icon in the top right-hand corner.
4. Make the changes you want.
5. Click Save invoice.
Currently you cannot edit a paid invoice when you are integrated with Xero.
Void an Invoice
You can void an invoice at any time from the Invoices page:
1. Click the more options icon next to the invoice that you want to void.
2. Select Void.
3. Click Void to confirm.
The invoice is removed from the Invoices page.
Currently you cannot unvoid an invoice once voided, you will need to recreate it. You can see your voided invoices by filtering your invoices.
Bill an External Contact for a Patient
Note: In order to bill a contact (eg. insurance provider, paying account...) on behalf of a patient, you will need to add the contact as a relationship. Click here to see how to do this.
When you have linked an external payer to a patient, you can bill them for the patient's invoices:
1. Start creating an invoice as you normally would. 2. Go to the Billing section of the invoice, and select the external payer who you want to bill from the To dropdown.
3. Finish filling out the invoice as you normally would.
4. Click Save invoice.
The invoice is created, with the selected contact as the payer:
Add a Discount Code to your Invoice
We do not currently have a feature that allows you to create discount codes, this would need to be done manually at the moment by following the steps below:
1. Create a new product called "Discount." Set the Type to Other and set the Price to £0.

2. Apply the Discount: On the invoice, add the "Discount" product as a line item and enter the discount as a negative amount (e.g., -£15 for a £15 discount).
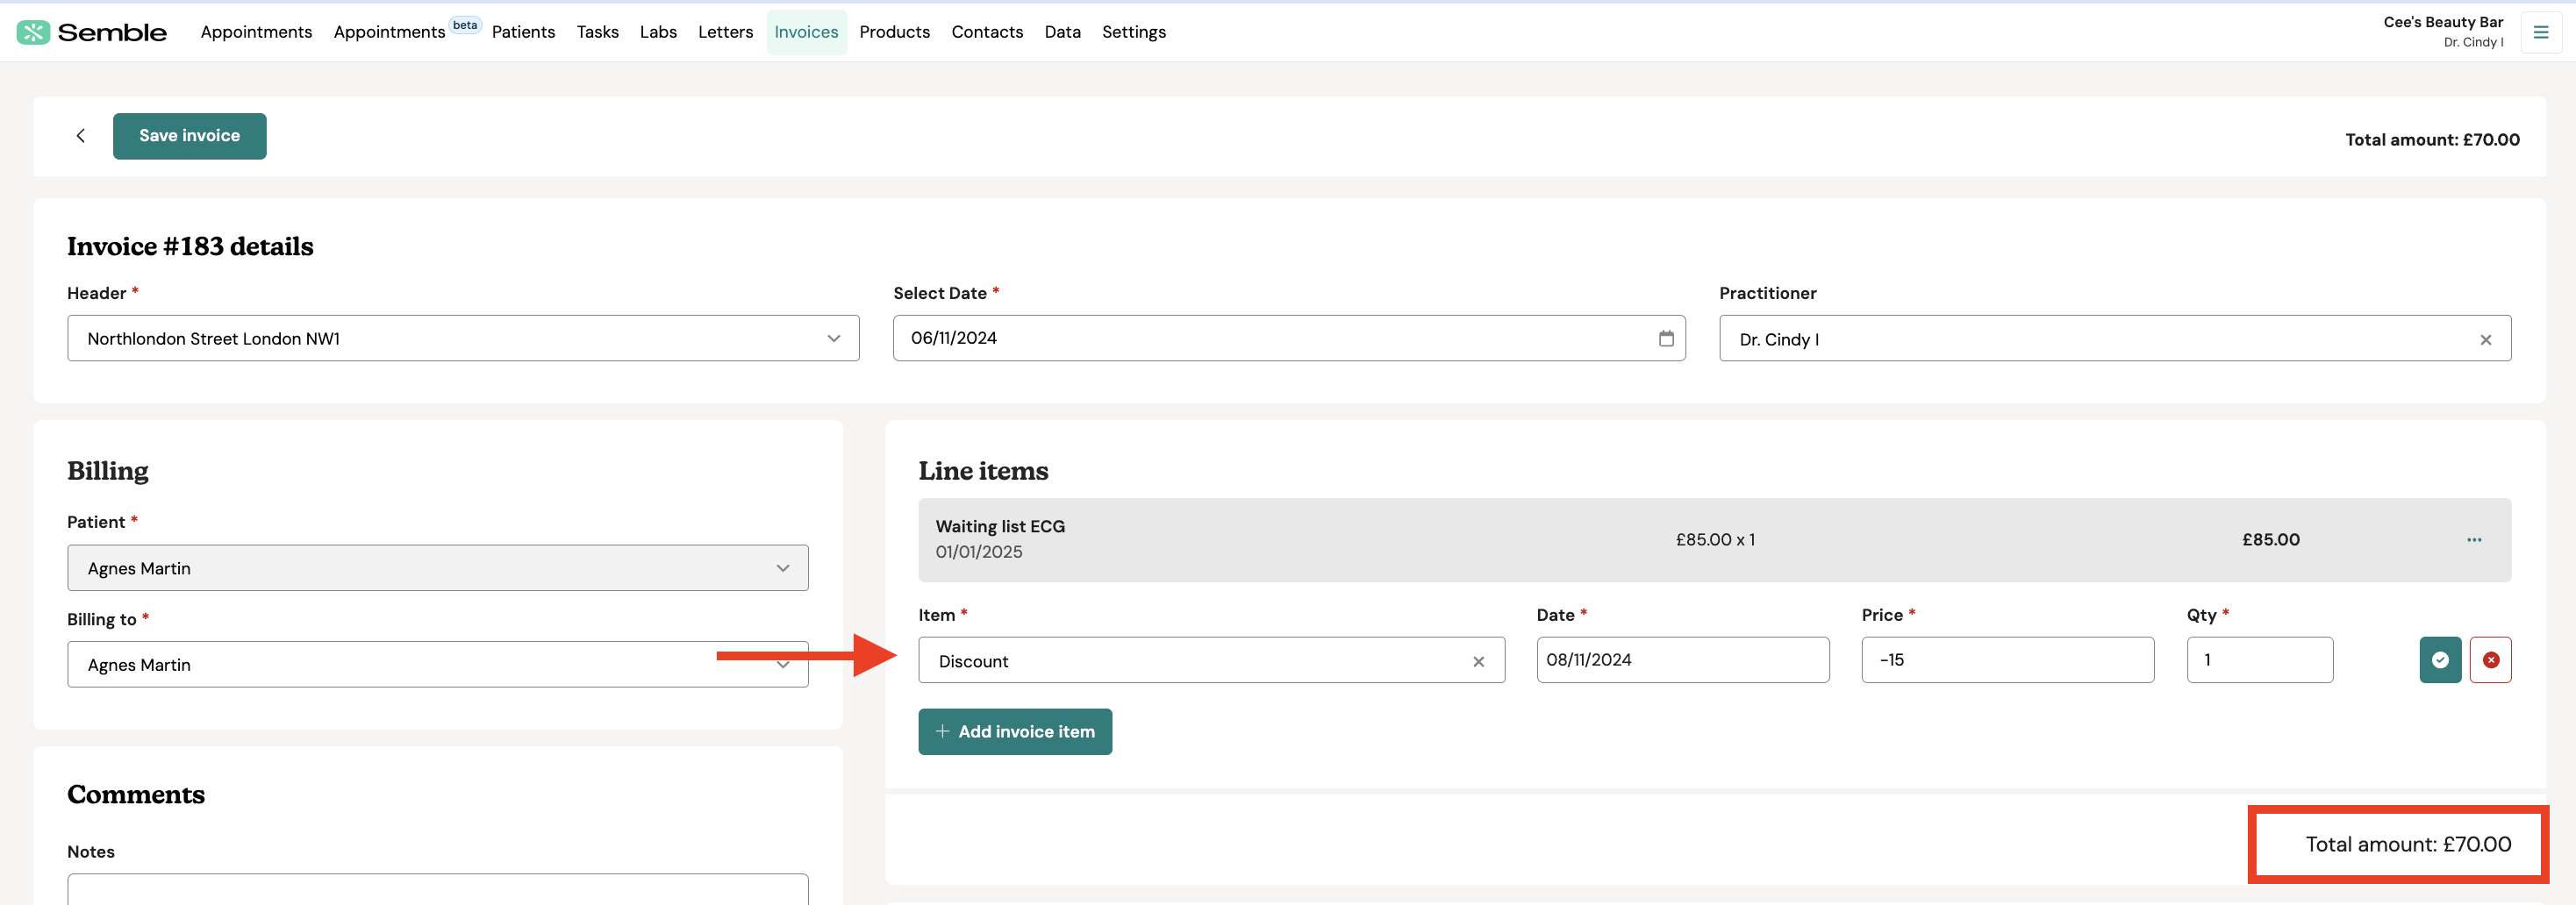
This will reduce the total invoice amount by the discount value.
Enable Future Appointment Invoicing
When this feature is enabled, you can add a future appointment to an invoice as a line item, directly from the Appointments calendar.
You can enable this feature at any time from the Settings page:
1. Go to the Invoice and payment tab.
2. Go to the Invoice section.
3. Tick the Invoice future bookings box.
Invoice an Appointment
When you have enabled the "Invoice Future Bookings" feature for your practice, you can add an appointment as a line item to a patient's invoice, from the Appointments calendar:
1. Select the appointment that you want to add to an invoice.
2. Click on invoice in the appointment window.

You are redirected to the patient's latest unsent invoice, where the appointment has been added as a line item:
3. Click the tick icon to confirm the line item.
4. Click Save invoice.
The invoice is added to the patient's record.
Removing Line Items From an Invoice
When creating a new invoice, you may notice that previous line items appear for some patients. This happens because an appointment or product has not yet been invoiced. You can find more details on how invoicing works here.
To manage these pre-populated items, you have two options:
1. "Remove from Invoice"
-
This option removes the item only from the current invoice you are creating.
-
The item will remain uninvoiced and will continue to appear in future invoices for the patient until it is properly invoiced or removed from all invoices.
2. "Remove from All Invoices"
-
This option removes the item permanently, so it will not appear in any future invoices for this specific patient.
-
Use this if the appointment or product was added in error or no longer needs to be invoiced.
If you regularly see unexpected line items, it's worth checking whether previous appointments or products have been left uninvoiced.
Marking an Appointment as Billed
Once you have created an invoice from the Appointments tab, the appointment will automatically be marked as billed with a money symbol:

You can manually mark appointments as billed:

You can also mark an appointment as not billed:

