How to install the Semble Microsoft Word Add-In
You can now create letters and templates to use in Semble, with Microsoft Word (MS Word) or Office 365 (O365)
There are no requirements for this integration, and it is free for all practices to use.
The integration is available for versions of MS Word and O365 that are 2016 and later.
In this article:
Integrate Microsoft Word (from AppSource)
Integrate Microsoft Word (from application directly)
Upload a Document to a Patient Record
Using Frames instead of Text Boxes
Integrate Microsoft Word (from AppSource)
To download the Semble MS Word add-in:
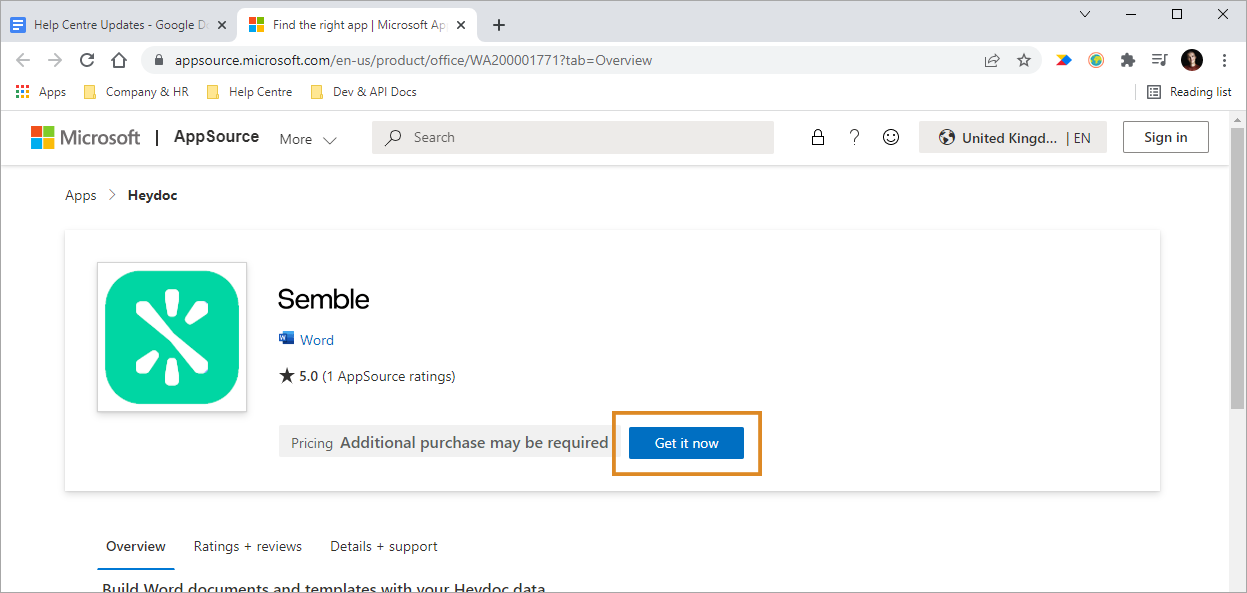
1. Go to the Semble Microsoft AppSource page here.
2. Click Get it now.
3. Fill in your details, and agree to Microsoft's terms of use.
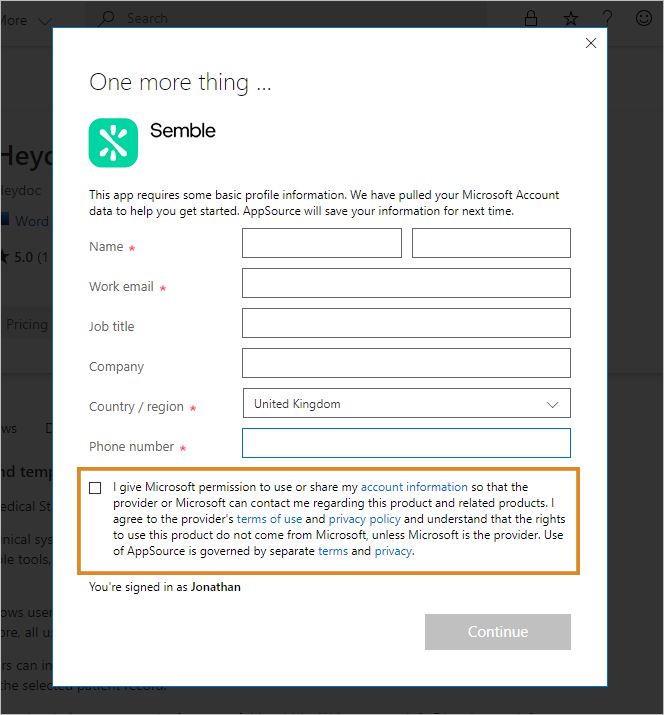
4. Click Continue. You are redirected to the Office Store page.
5. Click Open in Word.
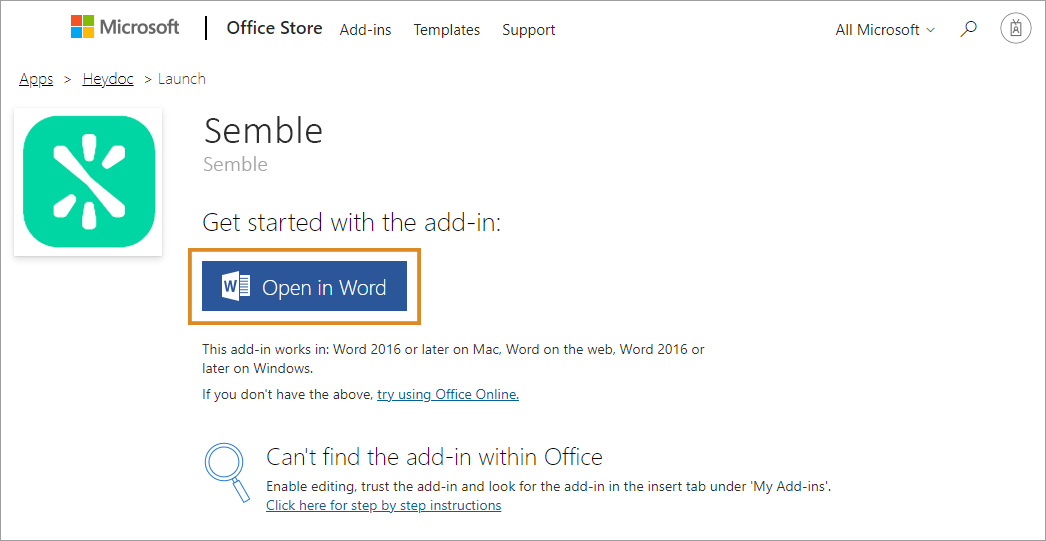
The MS Word application opens.
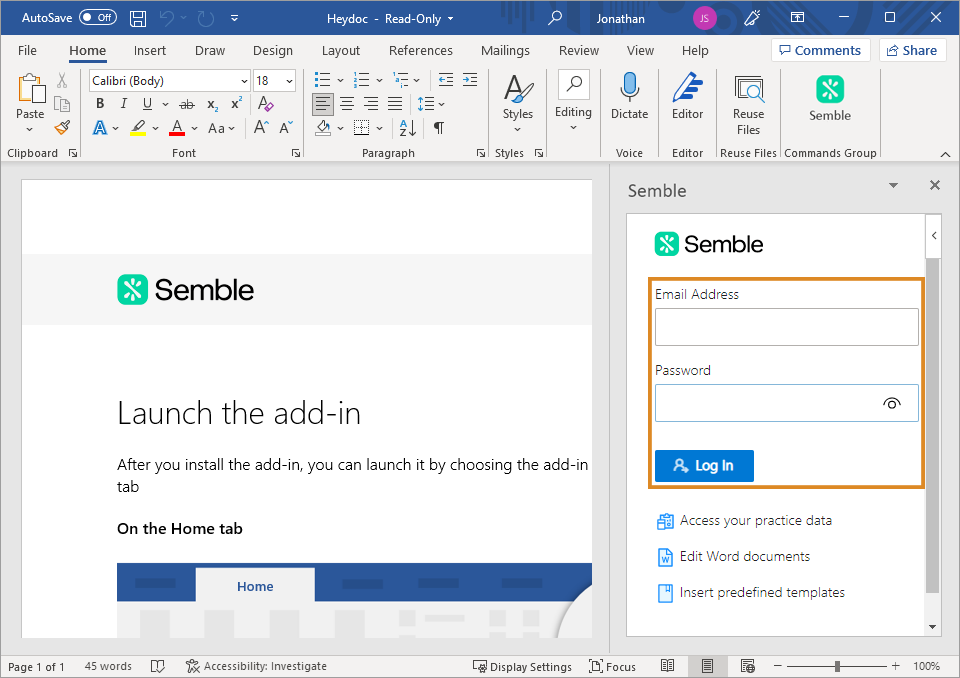
6. Click the Semble icon in the top toolbar of MS Word.
7. Sign into your Semble account.
Note: If this method did not work for you, then try integrating MS Word directly in the application.
Integrate Microsoft Word (from application directly)
To download the Semble MS Word add-in directly from the MS Word application:
1. Open MS Word.
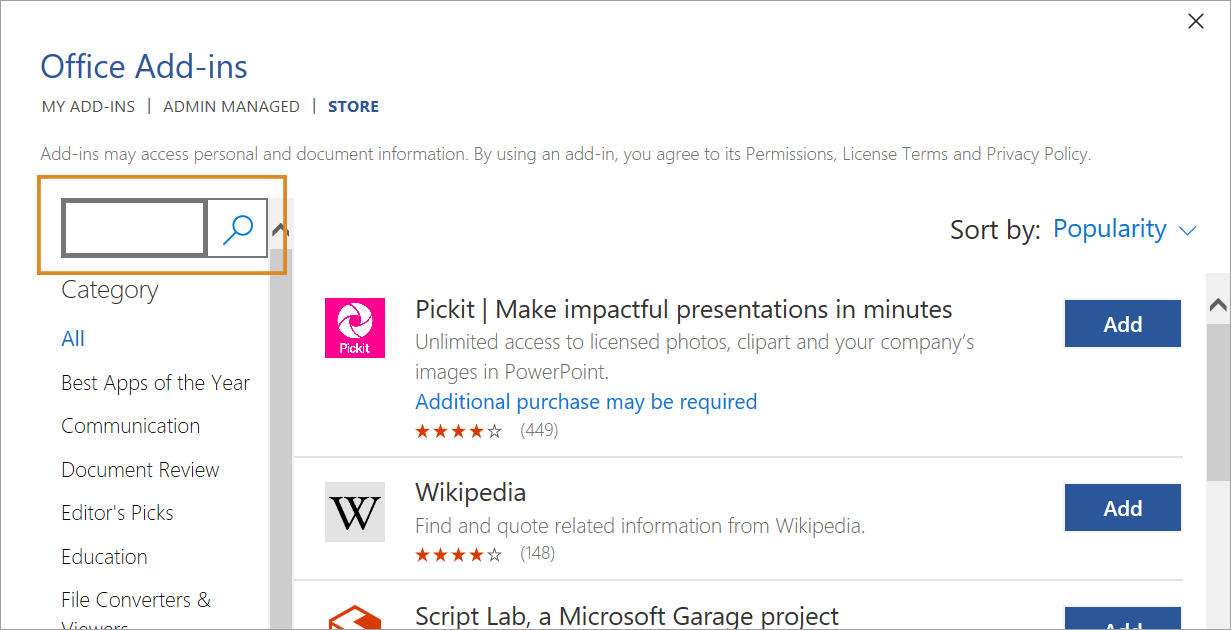
2. Go to the Insert tab in the top toolbar, then click Get Add-ins.

The Office Add-ins window opens.
3. Search 'Semble' in the search bar.
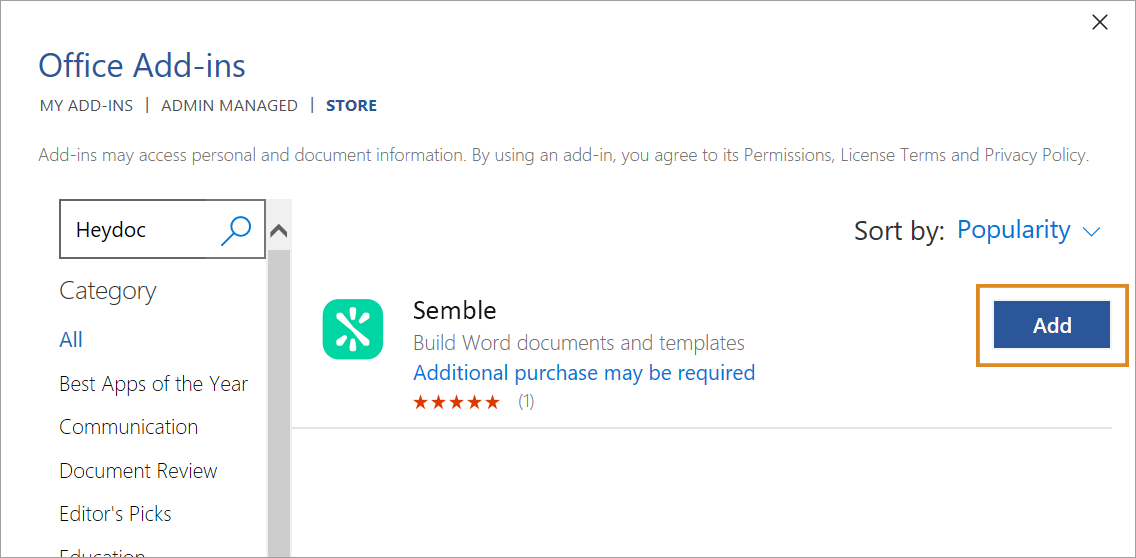
4. Click Add.
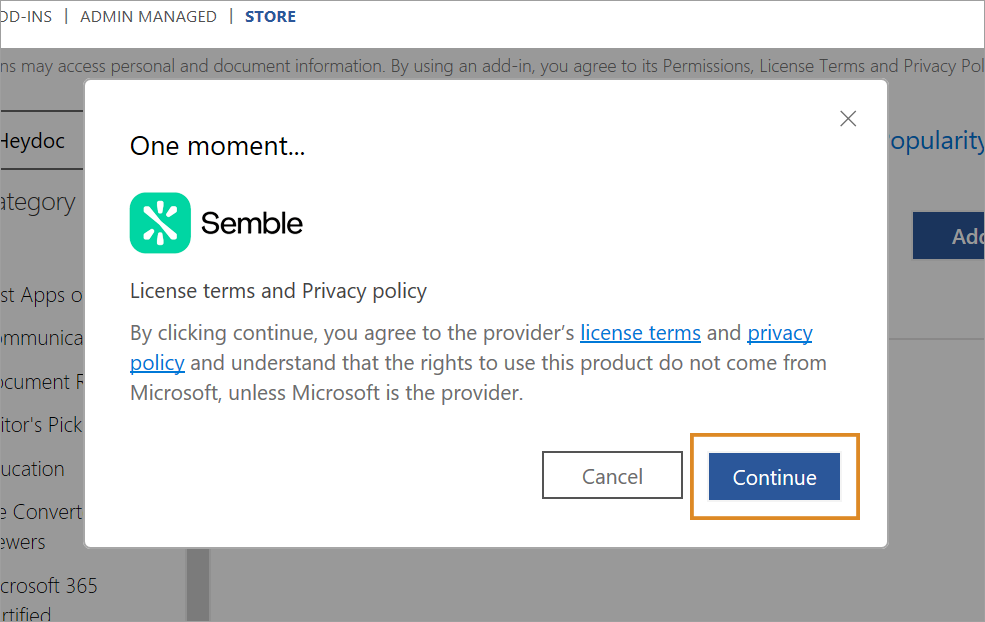
5. Read the License terms and Privacy policy, then click Continue.
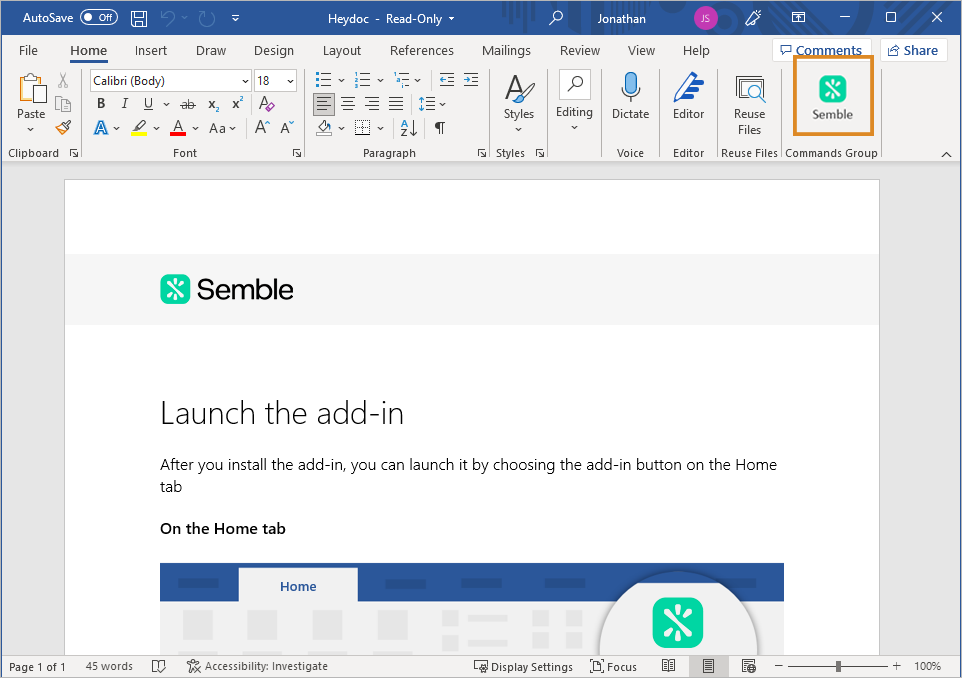
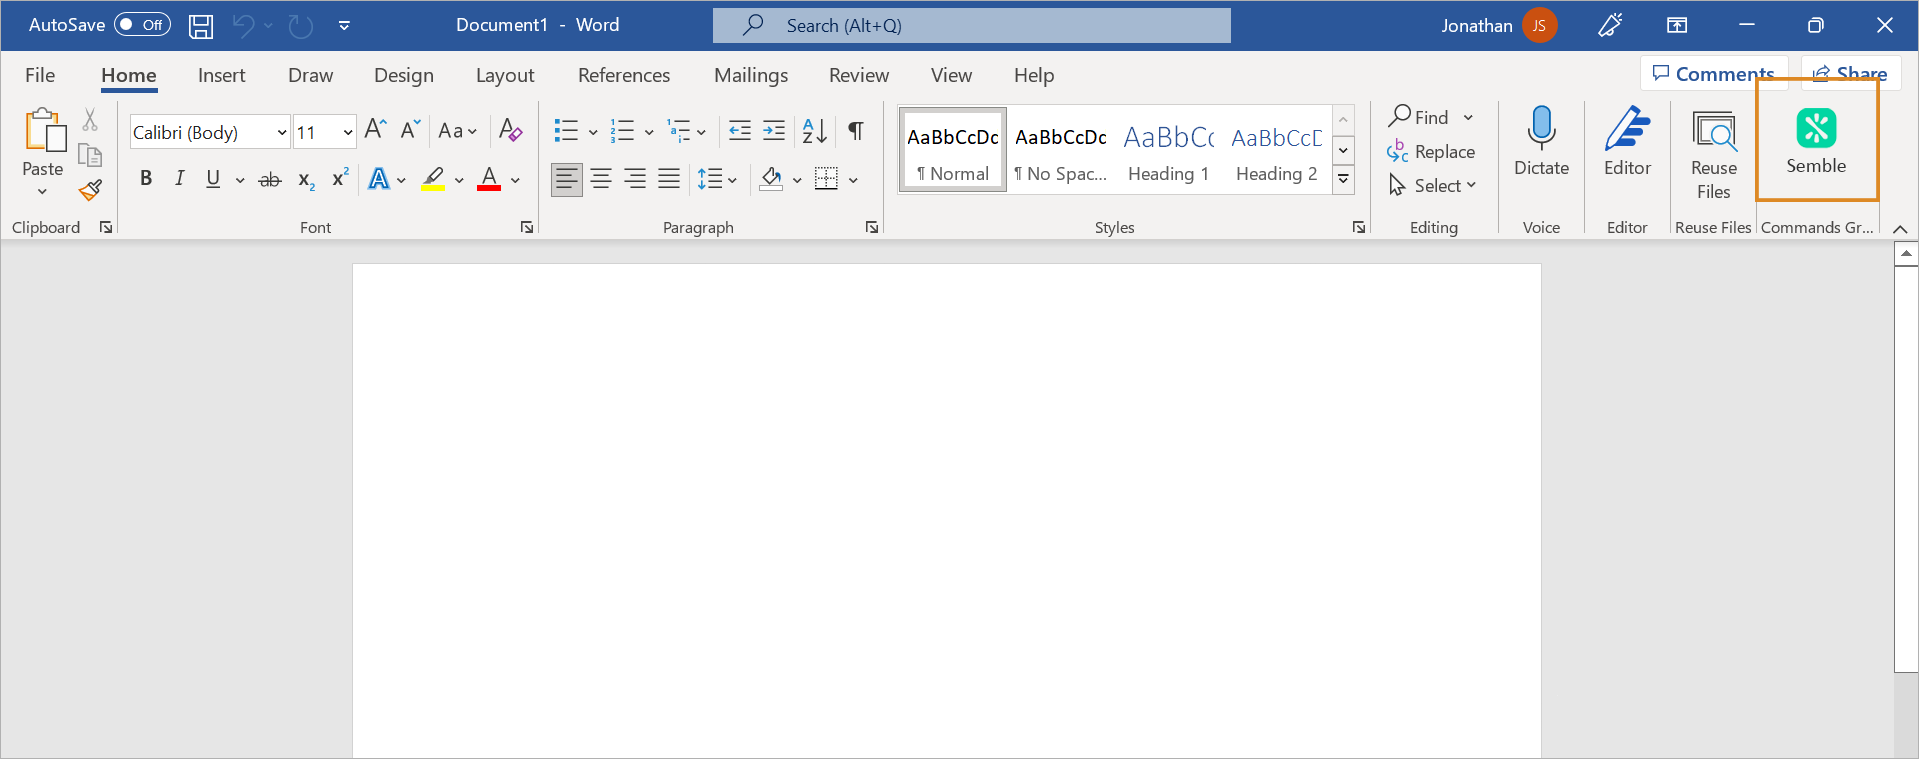
Semble is added to the Home tab of MS Word.
6. Click the Semble icon in the Commands Group section of the top toolbar.
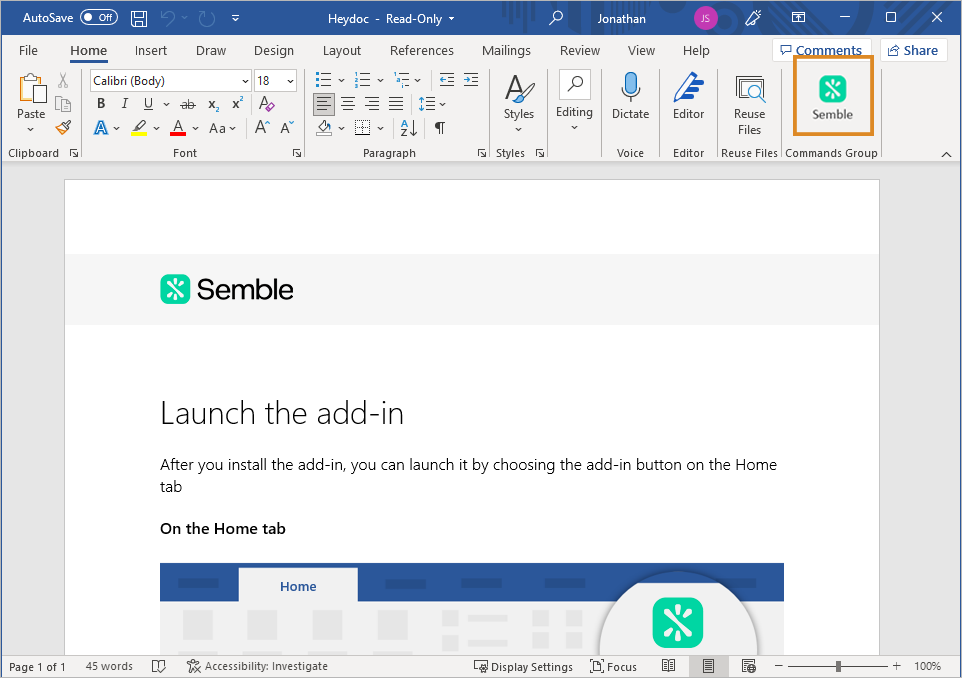
7. Sign into your Semble account.
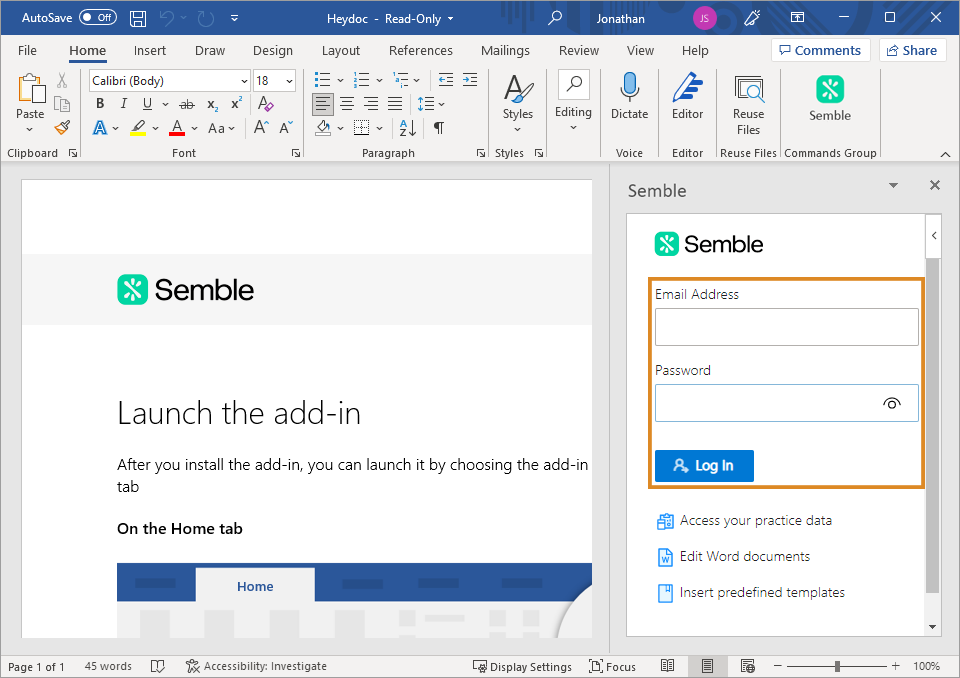
You can now use the Semble MS Word add-in.
Note: If this method did not work for you, then try integrating MS Word from Microsoft AppSource.
Integrate Office 365
To download the Semble O365 add-in:
1. Go to the Semble Microsoft AppSource page here.
2. Click Get it now.
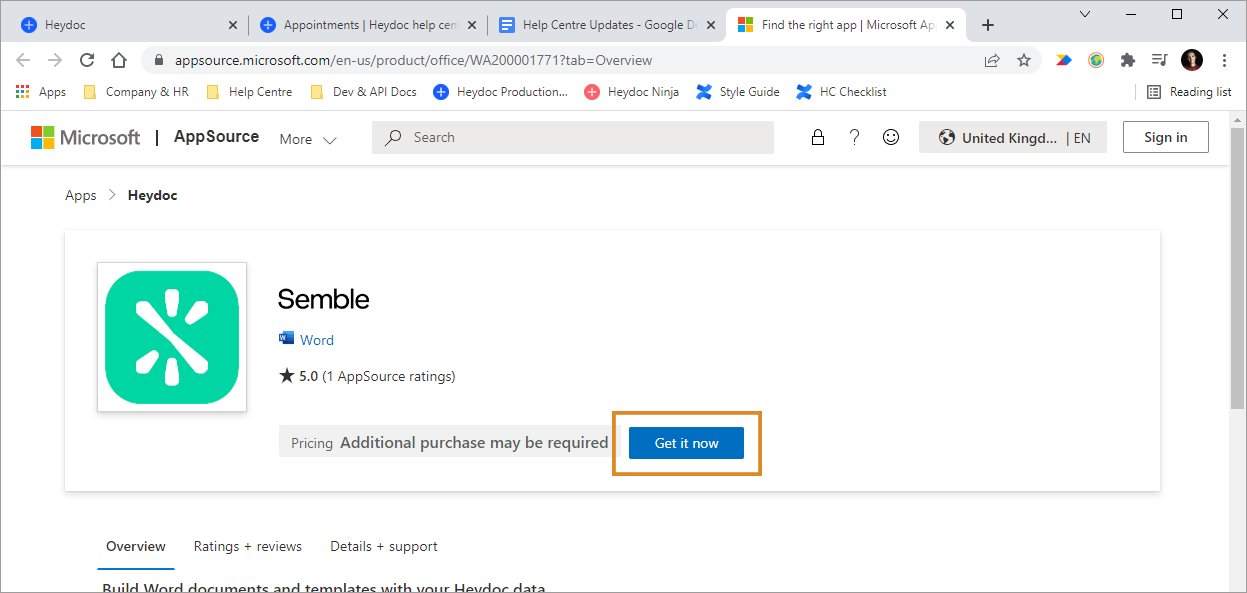
3. Fill in your details and agree to Microsoft's terms of use.
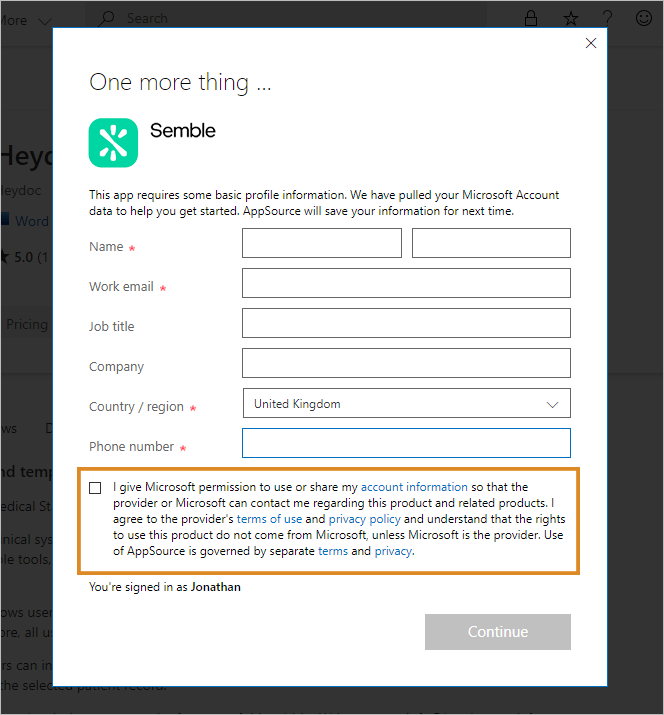
4. Click Continue. You are redirected to the Office Store page.
5. Go to O365 and open a Word document.
6. Click the Semble icon in the Commands Group section of the top toolbar.
7. Sign into your Semble account.

You can now use the Semble O365 add-in.
Create a Template
When you have installed and signed into the add-in, you can create a Semble template to use for future documents.
1. Open the MS Word document that you want to add the automated patient data to.
2. Click the Semble add-in icon in the top right-hand corner.
3. Click Create template at the bottom of the add-in window.
4. Select whether you want to insert Patient or Contact data into your template.
5. Insert the auto-fields you want by clicking your cursor to the place where you want them inserted, then clicking on one of them from the add-in list.
6. Click Save template when you have inserted all the auto-fields you want.
7. Type a name for the template.
8. Click Save.
The template is added to the add-in window.
Using a Template
When you have created a template, you can use it to quickly generate patient and contact information for documents:
1. Open a new MS Word document.
2. Click the Semble icon in the top right-hand corner.
3. Select the template that you want to insert.
The pre-written text and auto-fields appear on the document.
4. Type the name of the patient or contact that you want to have information automated for into the search bar, then select them from the list.
The patient or contact's information is inserted into the document.
You can edit the information as you normally would in a MS Word document, or insert more information by clicking on the auto-fields in the add-in window:
You can also upload the document directly to the patient's record in Semble.
Upload a Document to a Patient Record
When you have used a template to create a document, you can then upload it directly to the patient record:
1. Open the Semble add-in.
2. Select the patient who you want to upload a document for.
3. Click Save to patient file.
4. Type a name for the uploaded document.
5. Click Save.
The file is uploaded to the Documents tab in the patient's record.
Using Frames instead of Text Boxes
You cannot currently insert auto-fields into MS Word text boxes. Instead, you can insert auto-fields into MS Word frames.
To insert frames, you must first activate the Developer ribbon for MS Word. See the following links to find out how to activate the Developer ribbon on your device:
When you have activated the Developer ribbon, you can insert frames for your auto-fields:
1. Select the Developer tab.
2. Click the Legacy Tools icon.
3. Select Insert frame, then click and drag your cursor over the page as you normally would when creating a text box.
You can then insert auto-fields into these frames and create Semble templates as you normally would.
You can also format a text frame by following the steps below.
Format a Text Frame
If you have inserted text frames into your MS Word document, you can apply formatting (such as border shading, and colour fill) to them:
1. Hover your cursor on the edge of the frame until it turns into a cross-directional icon, then right-click.
2. Select either Borders and Shading or Format Frame.
3. Use the menus to apply the formatting you want.
