
Create, edit, and delete users for your clinic
To manage your clinic's users, you must have a role assigned to you that gives you editing permissions for Users.
In this article:
Resending an Invitation for New Users
Roles and Access groups
Linked articles:
Create a new user
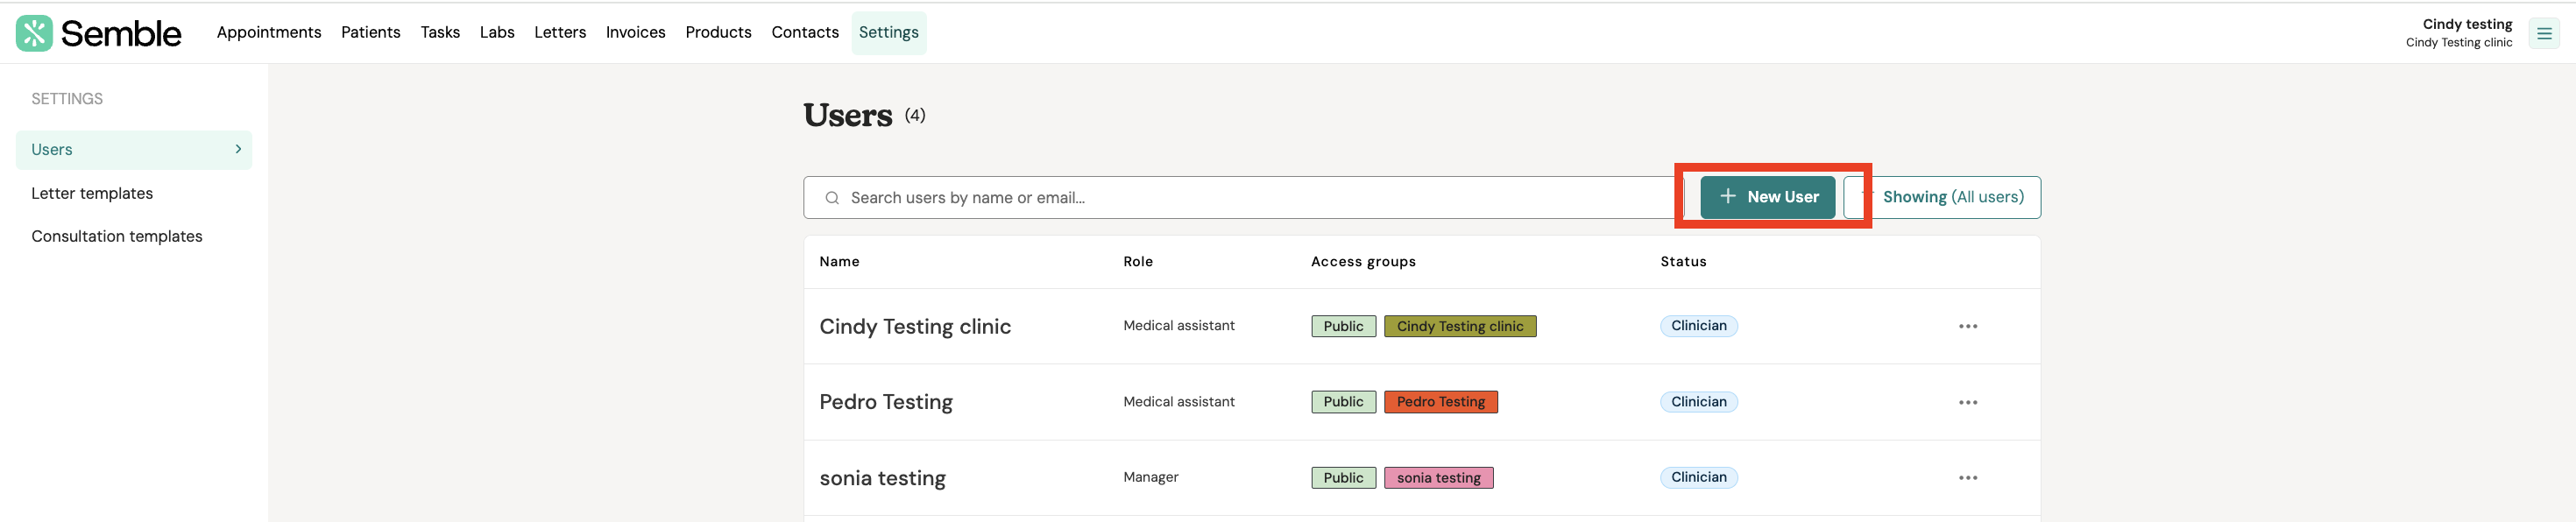
You can create new users for your Semble clinic from the Settings page:
1. Go to the Users tab.
2. Click New User in the top right-hand corner.
3. Enter the new User details, such as title, name, and email.

4. Choose whether the user is a Clinician or not. Ticking this box gives you the option to enter additional credentials for the user, and also allows you to set up availability for them in the Appointments calendar.

5. (Optional) When you check the box indicating that the user is a clinician, a new field called "Medical Speciality" will appear. In the Medical Speciality section, you can select the specific specialty for that user.
You have the option to choose from the drop-down list or enter a specialty manually.

6. (Optional) Upload a signature for the user. Click here for more information on how to do this.
7. Assign the user an access role. This determines the viewing and editing permissions that the user will have in Semble.

8. Fill out the user's Calendar settings. This determines the user's calendar view.

9. Tick and untick the Notification settings that you want the user to have.

10. (Optional) Enter the user's Healthcode Identifier.
11. Click Save in the top right-hand corner of the page.
The new user is sent an invitation email from Semble.
Note: New users are not fully set up in Semble until they click the Create account link in the email, and choose a password.
Resending an Invitation for New Users
If a new user has not received their invitation email or has accidentally deleted it, you can easily resend the invitation. You will need to click on the "Resend invitation to join" button next to their name.

This will send a fresh invitation email, allowing the user to join the platform.
Edit a user's information
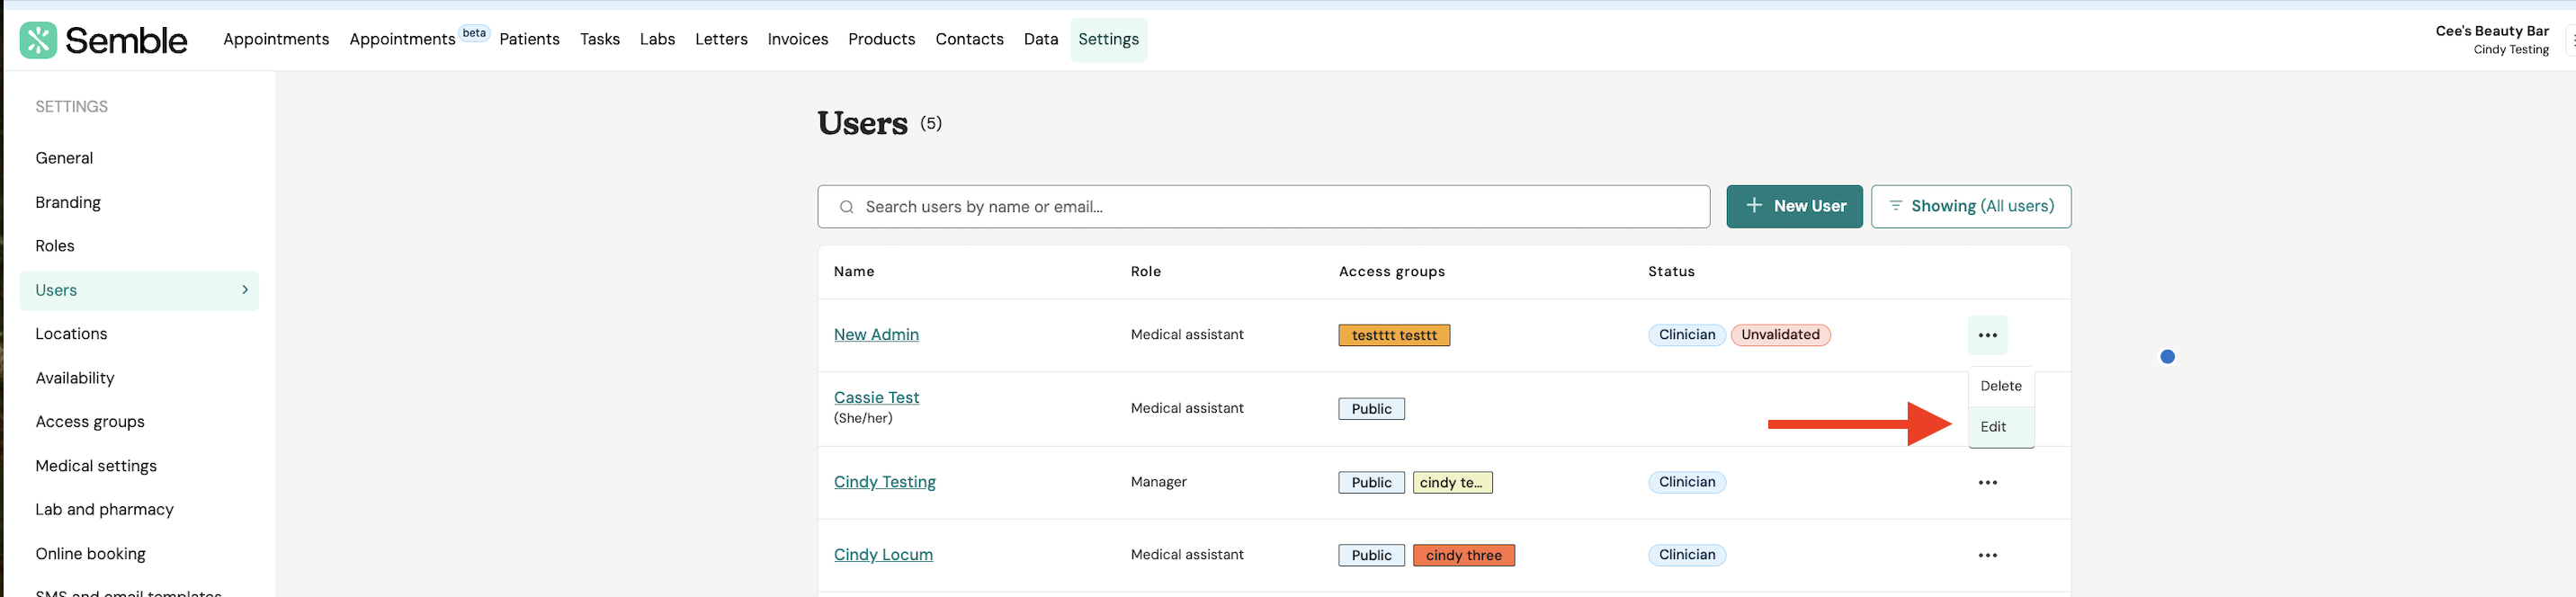
You can edit an existing user at any time from the Settings page:
1. Go to the Users tab.
2. Click on the ellipsis (...) next to the user who you want to edit and select "edit".
3. Make the edits you want.
4. Click Save in the top right-hand corner.
Edit a user email
Note: You cannot edit another user's email address. Each user will need to edit their own email address from their account.
If you would like to change your email address, please do so by following the steps below:
1. Click the 3 lines in the top right hand corner, then click "Account security" and "Update email address" as shown below:

2. You will then see the below page where you will need to fill in your new email address and confirm it as well as your current password and then click "Save":

3. You will then be sent an email letting you know that your email address has been updated for you and you will now be able to sign in using that new email address.
Delete a user
Before deleting a user, we recommend reviewing their tasks and appointments. Ensure you reassign tasks and move any upcoming appointments to avoid data loss or disruptions.
You can delete a user at any time from the Settings page:
1. Go to the Users tab.
2. Click on the ellipsis (...) next to the user who you want to delete and select "delete".

3. Confirm the deletion by typing the full name of the user into the deletion box, then clicking Delete.
Note: Make sure you include any spaces or special characters in the name.

The user is deleted from Semble.
What happens when I delete a user?
Before deleting a user, we recommend reviewing their tasks and appointments. Ensure you reassign tasks and move any upcoming appointments to avoid data loss or disruptions.
When a user is deleted, they will disappear from the Users tab and lose access to Semble. Their tasks will be removed, so it’s essential to reassign them first.
Any letters, patients, invoices, or settings they created will remain, but clinician bookings will no longer appear on the appointments calendar. However, these bookings will still be available in the patient record.
Roles & Access Groups
Roles define what users can access and modify in Semble, determining their ability to view and edit settings, pages, and tabs.
More information on Roles here.
Access Groups, on the other hand, control which patient records a user can see, ensuring only authorized users have access to specific data.
More information on Access Groups here.
The main difference: Roles manage system permissions and actions, while Access Groups control patient visibility.