Products are any item that will eventually end up on a patient invoice. This includes appointments, labs, medications, vaccines, pathways, procedures and memberships.
Note: To create products, you must have a role assigned to you that gives you editing permissions for Products, Locations, and Users.
In this article:
Link a Patient with Contract Pricing
Linked Articles:
Create Bookable Products (eg. Appointments)
Overview of Theatre Appointments
Create a Product
You can create a product from the Products page:
1. Click New.

2. Select the type of product that you want to create from the Type dropdown.

3. Fill out the details of the product.
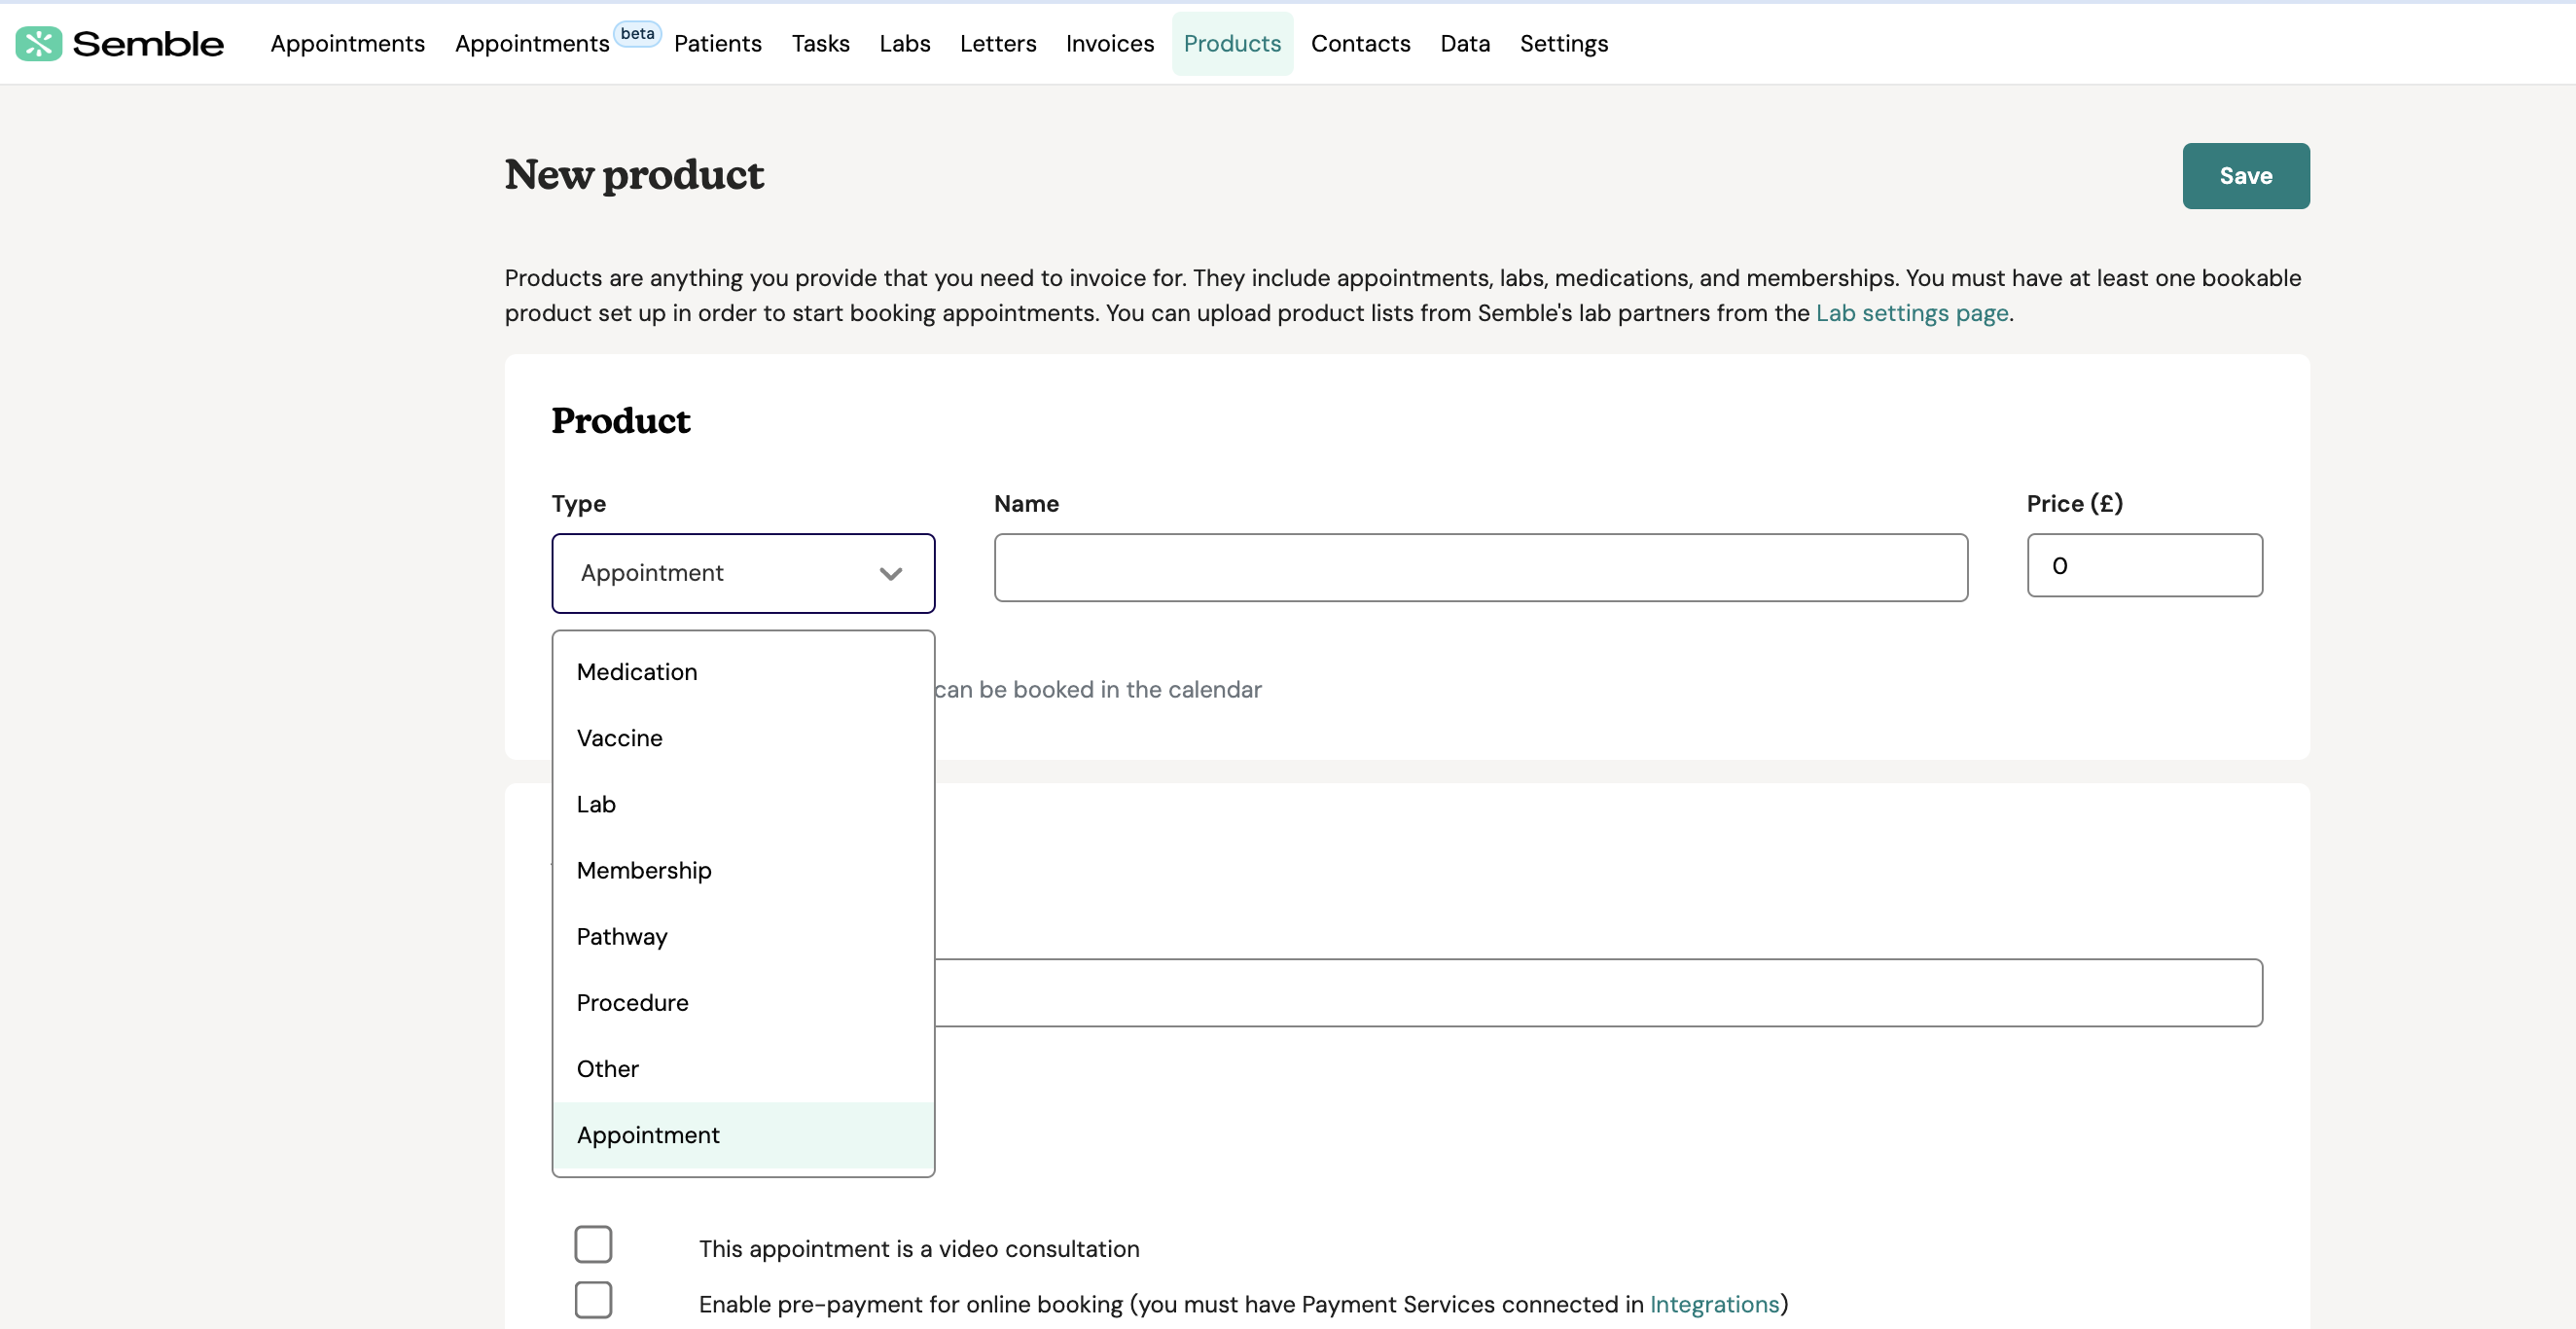
The options available when settings up your products will vary depending on the type of product selected. See the following list for more information on each product type:
-
Appointments
-
Memberships
-
Pathways
-
Procedures
-
Medication (If you create a Medication, you will be able to prescribe it)
-
Vaccine
-
Lab
-
Other
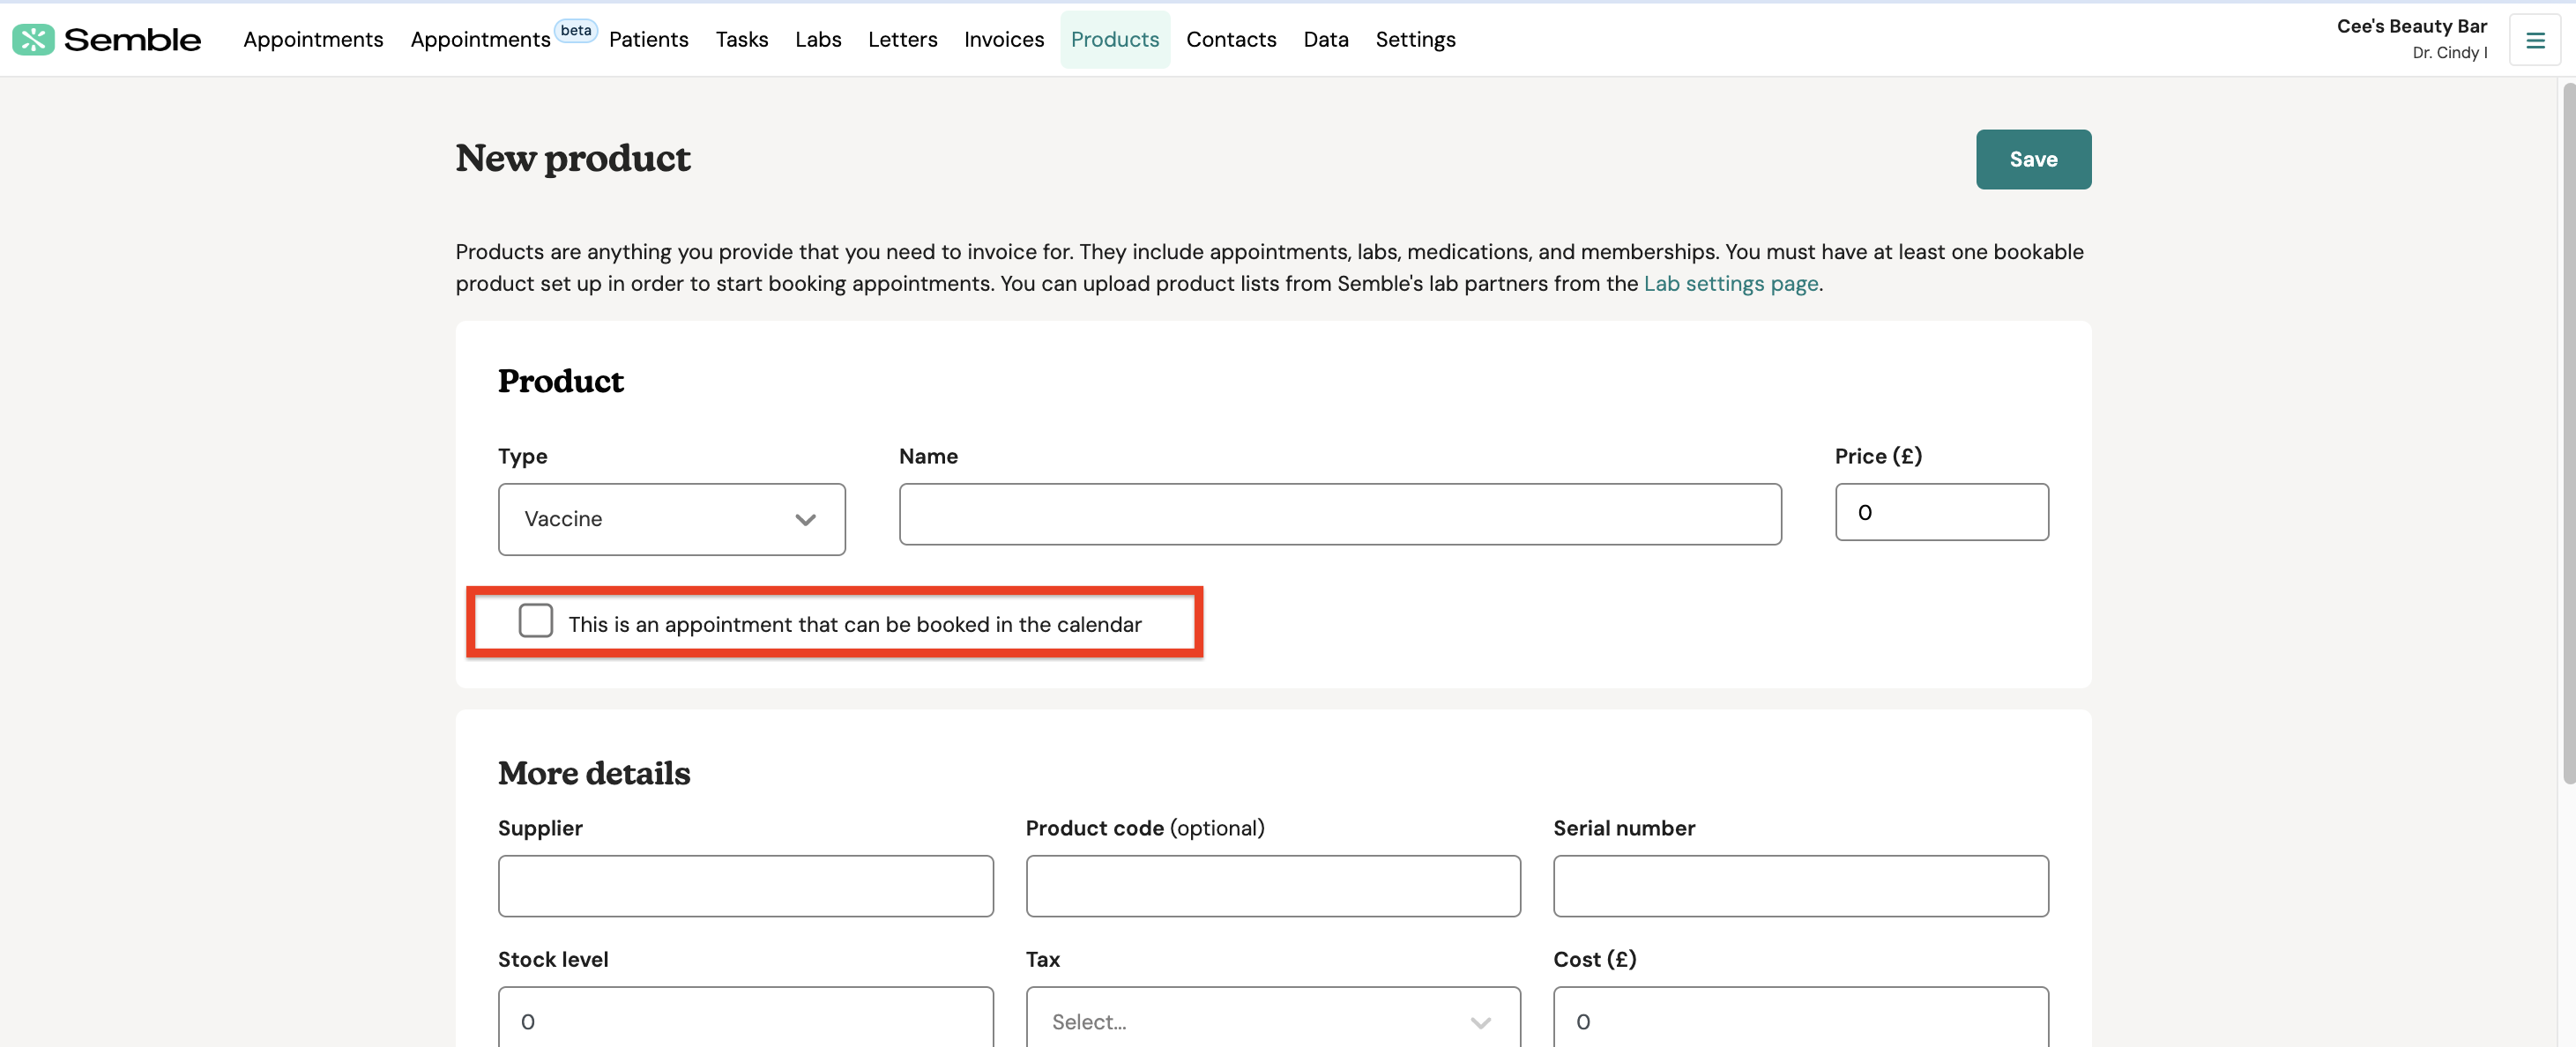
4. (Optional) If the product you are creating is a bookable product, do not forget to tick the box "This is an appointment that can be booked in the calendar".
If you would like to create a bookable product, click here.
5. Click Save.
The product appears in the Products page.
Edit a Product
You can edit a product at any time from the Products page:
1. Select the product that you want to edit.
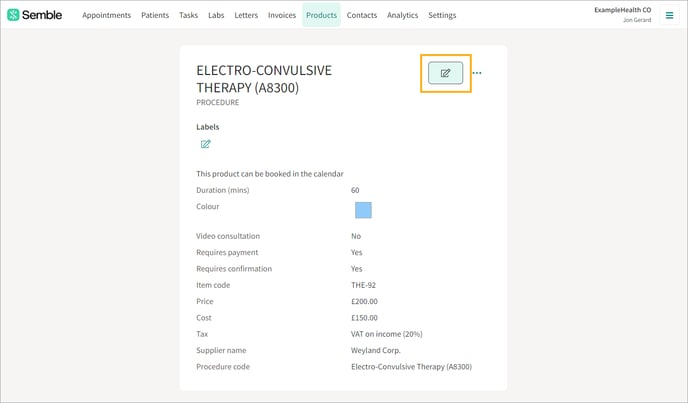
2. Click the edit icon in the top right-hand corner.
3. Make the changes you want.
4. Click Save in the top right-hand corner.
Delete a Product
You can delete a product at any time from the Products page:
1. Click the more options icon next to the product that you want to delete.
2. Select Delete.
3. Type the full name of the product into the confirmation box. Note: Make sure you include any spaces and special characters.
4. Click Delete to confirm the deletion.
The product is deleted from Semble. Bookings and invoices will no longer be able to be made with the product.
Product Pricing
You can edit a product's pricing at any time from the Products page:
1. Select the product that you want to edit the pricing settings for.
2. Click the edit icon.
3. Type a number into the Price box of the product. This is the base price (excluding VAT) that a customer will be charged for the product.
4. Scroll down to the More details section and fill in the following details:
-
Tax: Use the dropdown menu to select a tax rate. This tax rate will be automatically applied to invoices.
-
Cost: Type how much the product will cost your practice. This will not appear on any patient invoices, but will be recorded in your practice's Analytics page.
5. Click Save at the top of the page.
The pricing settings are applied to the product. Now, when you add the product to an invoice as a line item, the tax rate (if applicable) is applied:
Contract pricing
Before you set up a product to have contract pricing, you must have at least one external contact or insurance provider created in Semble.
You can set up a product with contract pricing from the Products page:
1. Select the product that you want to set up contract pricing with.
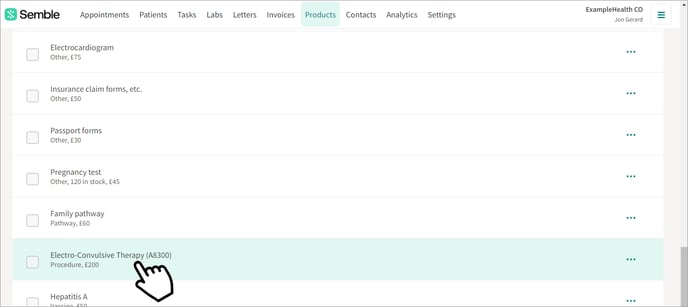
2. Click the edit icon in the top right-hand corner.
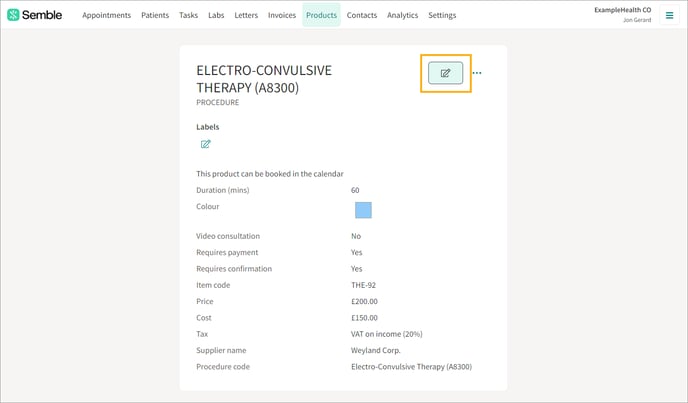
3. Scroll down to the Contracts section, and click Add contract pricing.
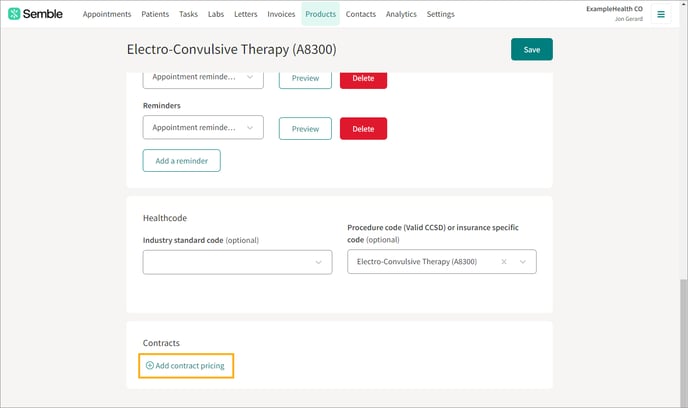
4. Select the external contacts or insurance providers for whom you want to set up different pricing, with the Contact dropdown menu.

5. Enter the price that you want your clinic to charge the contact(s) for the product.
6. Click the tick icon to confirm.

7. Click Save at the top of the screen.
You must now link the contact with the patient. See below for more information.
Link a patient with contract pricing
Before you link a patient with contract pricing, you must first set up a product with contract pricing.
You can link a patient with contract pricing from the Patients page:
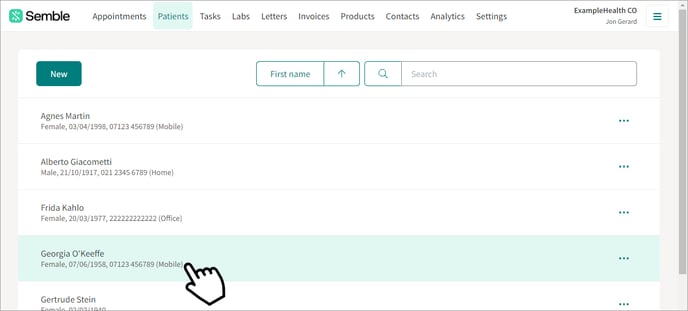
1. Select the patient to whom you want to link the contract pricing.
2. Click the edit icon in the top right-hand corner.
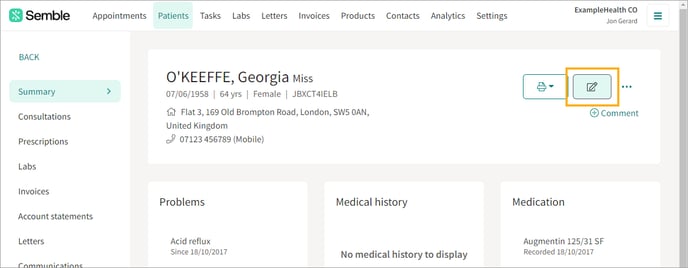
3. Scroll down to the Relationships and emergency contacts section, and click Add relationship.

4. Fill in the details in the Add relationship box.
-
Relationship type: Select either Insurance provider or Paying account.
-
Patient or contact name: Select the external contact or insurance provider you've set up contract pricing with.
-
Policy number and authorisation code: If you selected Insurance provider as your relationship type, you must enter the patient's policy number and authorisation code.
5. Click Add relationship.
6. Click Save at the top of the screen.
When you now create an invoice, you can charge the patient the amount that their insurance provider or payer charges, when you create the invoice.
Delete contract pricing from a product
You can remove contract pricing from a product at any time from the Products page:
1. Select the product that you want to remove contract pricing from.
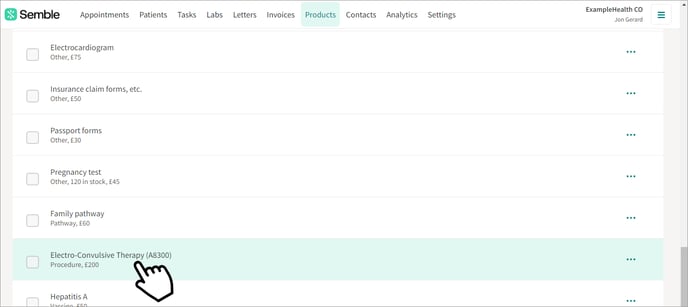
2. Click the edit icon in the top right-hand corner.
3. Scroll down to the Contracts section.
4. Select the more options icon next to the contact whom you want to remove.

5. Click Delete.

6. Click Delete to confirm.

The contract pricing is removed from the product. Your clinic will no longer be able to charge a different price for that product based on that external contact or insurance provider.


