
The Appointments tab lets you create, edit, cancel, and email bookings. Manage schedules, update details, and send confirmations to keep your practice organised and efficient.
The "Appointments" tab in Semble is your central hub for managing patient bookings.
Note: To edit bookings you must have a role assigned to you that gives you the relevant editing permissions. For more information on roles, see here.
Pre-requirements:
In this article:
Book the Same Appointment Again
Find out which patient cancelled their appointment
Emailing an Appointment Confirmation Again
Linked Articles:
Move All Appointments to Other Clinicians or Locations
Requirements
Before you attempt to book an appointment, you must make sure that you have set-up your bookable product correctly. Please click here for more information.
Book a New Appointment
When you have met all the requirements, you can book a new appointment from the Appointments page:
1. Click New in the top left-hand corner.
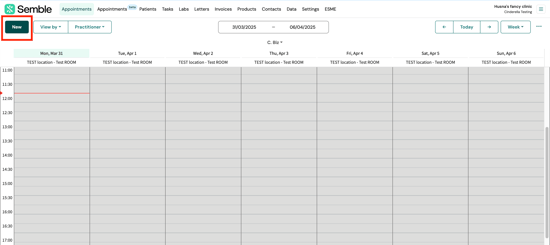
The New appointment window opens.
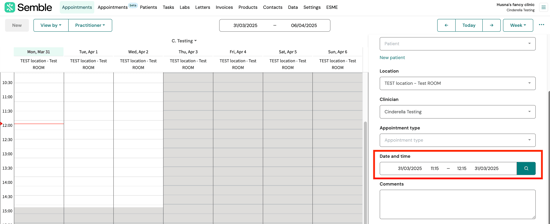
2. Select the patient who you want to make the appointment for. You can also select New patient to create a new patient for the appointment.

3. Use the following dropdown menus to select the basic details of the appointment:

4. (Optional) Type any comments that you want to note for the appointment.

5. Choose whether you want to Send confirmation, reminder and/or follow up messages to the patient. For more information on this, see here.

7. Click Save.
The appointment appears in the Appointments calendar:

You can edit or cancel the appointment at any time.
Next Available Time Slot
When booking a patient an appointment or consultation, you can easily find an available date and time by using the Find available time slot feature in the Appointments calendar.
To book a patient into the next available time slot:
1. Click New.

2. Select a patient registered to your practice, or choose to create a New patient.
3. Fill in the basic details of the appointment as you normally would.

4. Go to the Time section, and click the search icon.
5. Select a date and time from the Find available time slot window.
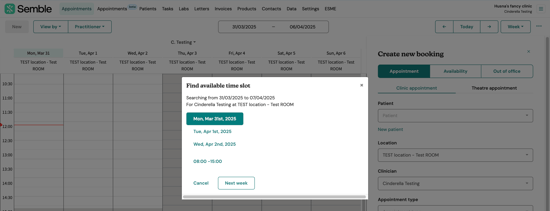
Finish and save the appointment as you normally would.
Book an Appointment Again
You can book another appointment for a patient, from the Appointments page:
1. Select the past appointment that you want to book again from the Appointments calendar.
2. Click the more options icon in the appointment window and select "Book again".
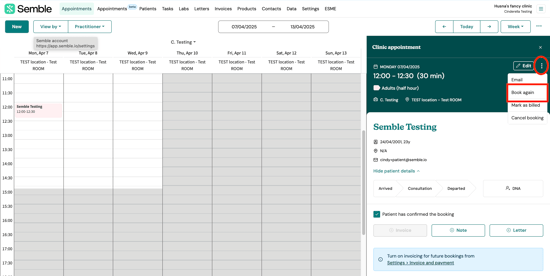
The booking window becomes a New appointment window. The basic details and patient are already filled in.
4. Scroll down to the Time section, and select a time and date for the appointment.

5. Click Save.
Update a Patient's Journey
When an appointment has been made, you can update the patient's journey (such as marking the patient as having arrived) from the Appointments page:
1. Select the appointment from the Appointments calendar.

The appointment window opens.
2. Choose one of the coloured options below the patient's information.

The status automatically updates. You can revert the status update at any time by clicking the same option again.
Edit an Appointment
You can edit an appointment at any time from the Appointments page:
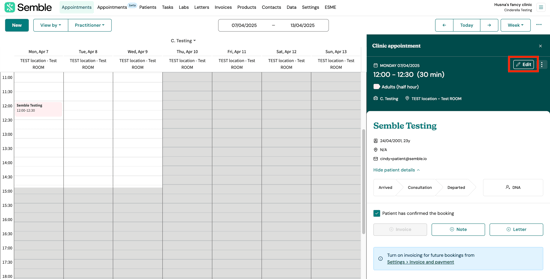
1. Select the appointment you want to edit from the Appointments calendar.

2. Click on edit in the appointments window.
3. Make the edits you want such as time and date.
4. Click Save at the bottom of the appointments window.
Cancel an Appointment
You can cancel an appointment or booking at any time from the Appointments page:
1. Select the appointment you want to cancel.

2. Click the more options icon (...) in the top right-hand corner of the appointment window and select "Cancel Booking"

3. (Optional) Choose a cancellation reason from the dropdown menu.

5. Choose whether you want to email the cancellation confirmation to the patient.

6. Click Confirm.
The booking is deleted from the Appointments calendar.
Patient's Appointment List
In the Appointments tab of a patient's record, you can see an overview of all their appointments, including past, cancelled, and future appointments.
This tab provides essential filtering and management options to help users quickly access appointment details for a specific patient.

1. ‘New Appointment’ Button
-
Clicking the New Appointment button redirects users to the Appointments page in order to create a new appointment.
Currently, this button does not pre-fill the booking form with patient details—it simply navigates to the Appointments tab, where you can manually create an appointment.

2. Edit Appointment
-
Selecting the Edit Appointment option redirects users to the Appointments page. The appointment summary will then automatically open in the sidebar to allow modifications.

3. Status Filtering
Users can filter appointments based on their status, including:
Note: Status options may vary based on the appointment type (e.g., clinic appointments vs. theatre appointments).

4. Type Filtering
Users can filter appointments based on their type, including:

5. Date Range Filtering
Users can retrieve appointments by selecting a specific date range.
-
Example: View all appointments cancelled between 01/12/2023 – 01/06/2024.

6. Reset Filters
Users can reset all filters to default settings:
-
All status and type options selected.
-
Start and end date filters removed.

Find out which patient cancelled their appointment
Set Up Cancellation Email Destination
Before you find out which patient cancelled their appointment, you must first check where your practice's automated cancellation emails are sent to, from the Settings page.
1. Go to the General tab.
2. Scroll down to the Incoming email section.
3. Enter an email into the When a patient books online notify this email

4. Click Save at the top of the page.
Cancellation notification emails will now be sent to that email address. When a patient cancels their appointment, you can now identify who it was.
See which Patient Cancelled their Appointment
When you know where your practice's automated cancellation emails are sent to, you can find out which patient cancelled their appointment, by looking at the patient ID in the cancellation email you will receive from us:
1. Open the cancellation notification email.
2. You can click on the link which will redirect you to Semble, to the right patient. If you cannot click on the link, note down the Patient ID.

3. Go to the Patients page in Semble.
4. Select any patient.

5. Replace the patient ID in the URL of the page with the patient ID that you noted down from the cancellation email:

Make sure you insert the copied patient ID after the patient/ part of the URL, and before the /summary part of the URL:
app.semble.io/patient/PATIENTID/summary
6. Go to the new URL. You are redirected to the patient's Summary page.
7. (Optional) Scroll down to the Appointments section to see which specific appointment the patient cancelled:

Emailing an Appointment Confirmation Again
If for any reason you need to resend a confirmation email to a patient, you can do so at any time from the Appointments page:
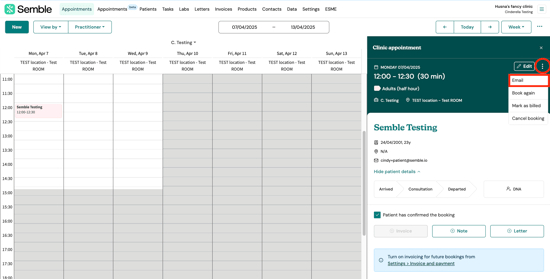
1. Select the booking from the Appointments calendar.

2. Click the more options icon (...) in the booking window and select Email.
4. Click Confirm.
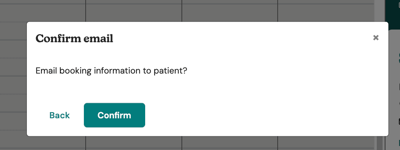
An email containing the booking details is sent to the patient.
You can check that the email has been sent, by going to the Logs tab in the patient's record:

Managing Automated Messages
Click here for a full list of automated messages you can send to patients at different stages—when booking, before their appointment, and after.