Online booking forms give your patients the option to book themselves into appointments at your practice, from any web browser.
In this article:
Share or Embed an Online Booking Form
Linked articles:
Advanced Analytics Integration with Online Booking
Create an Online Booking Form
You can create any number of online booking forms from the Settings page:
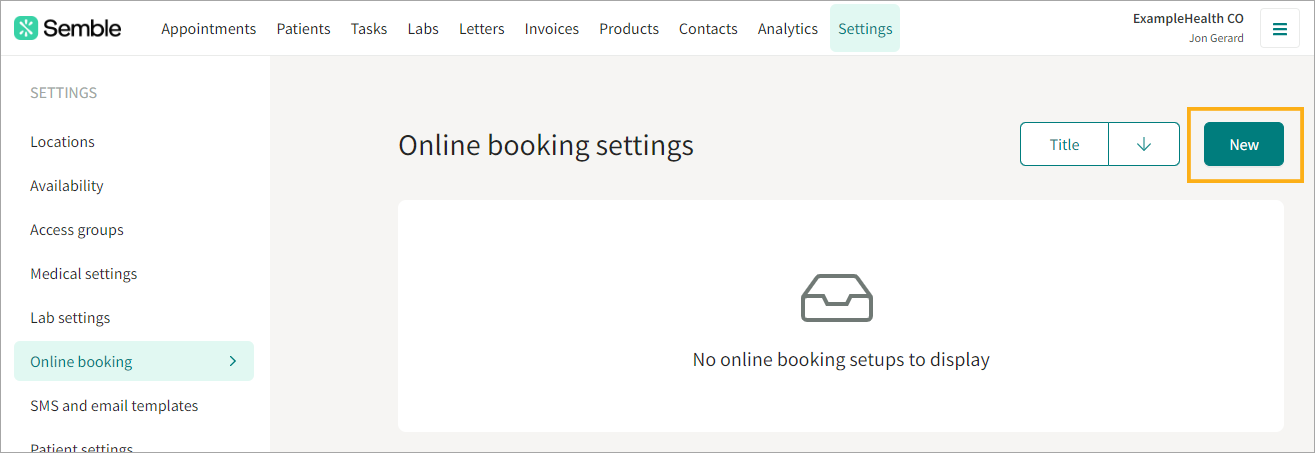
1. Go to the Online booking tab.
2. Click New in the top-right hand corner.
3. Give your new booking form a Title and Description.

4. Fill out the General settings. Hover your cursor over the question mark icons for more information about each setting.

5. Tick Allow patients to book with a specific clinician if your appointments are linked to specific clinicians.
Note: If only one clinician is linked to a certain appointment type, then the patient will only be able to select that clinician for the appointment.
If you do not tick this box only the general availabilities will show in your online booking and not the clinician availabilities.

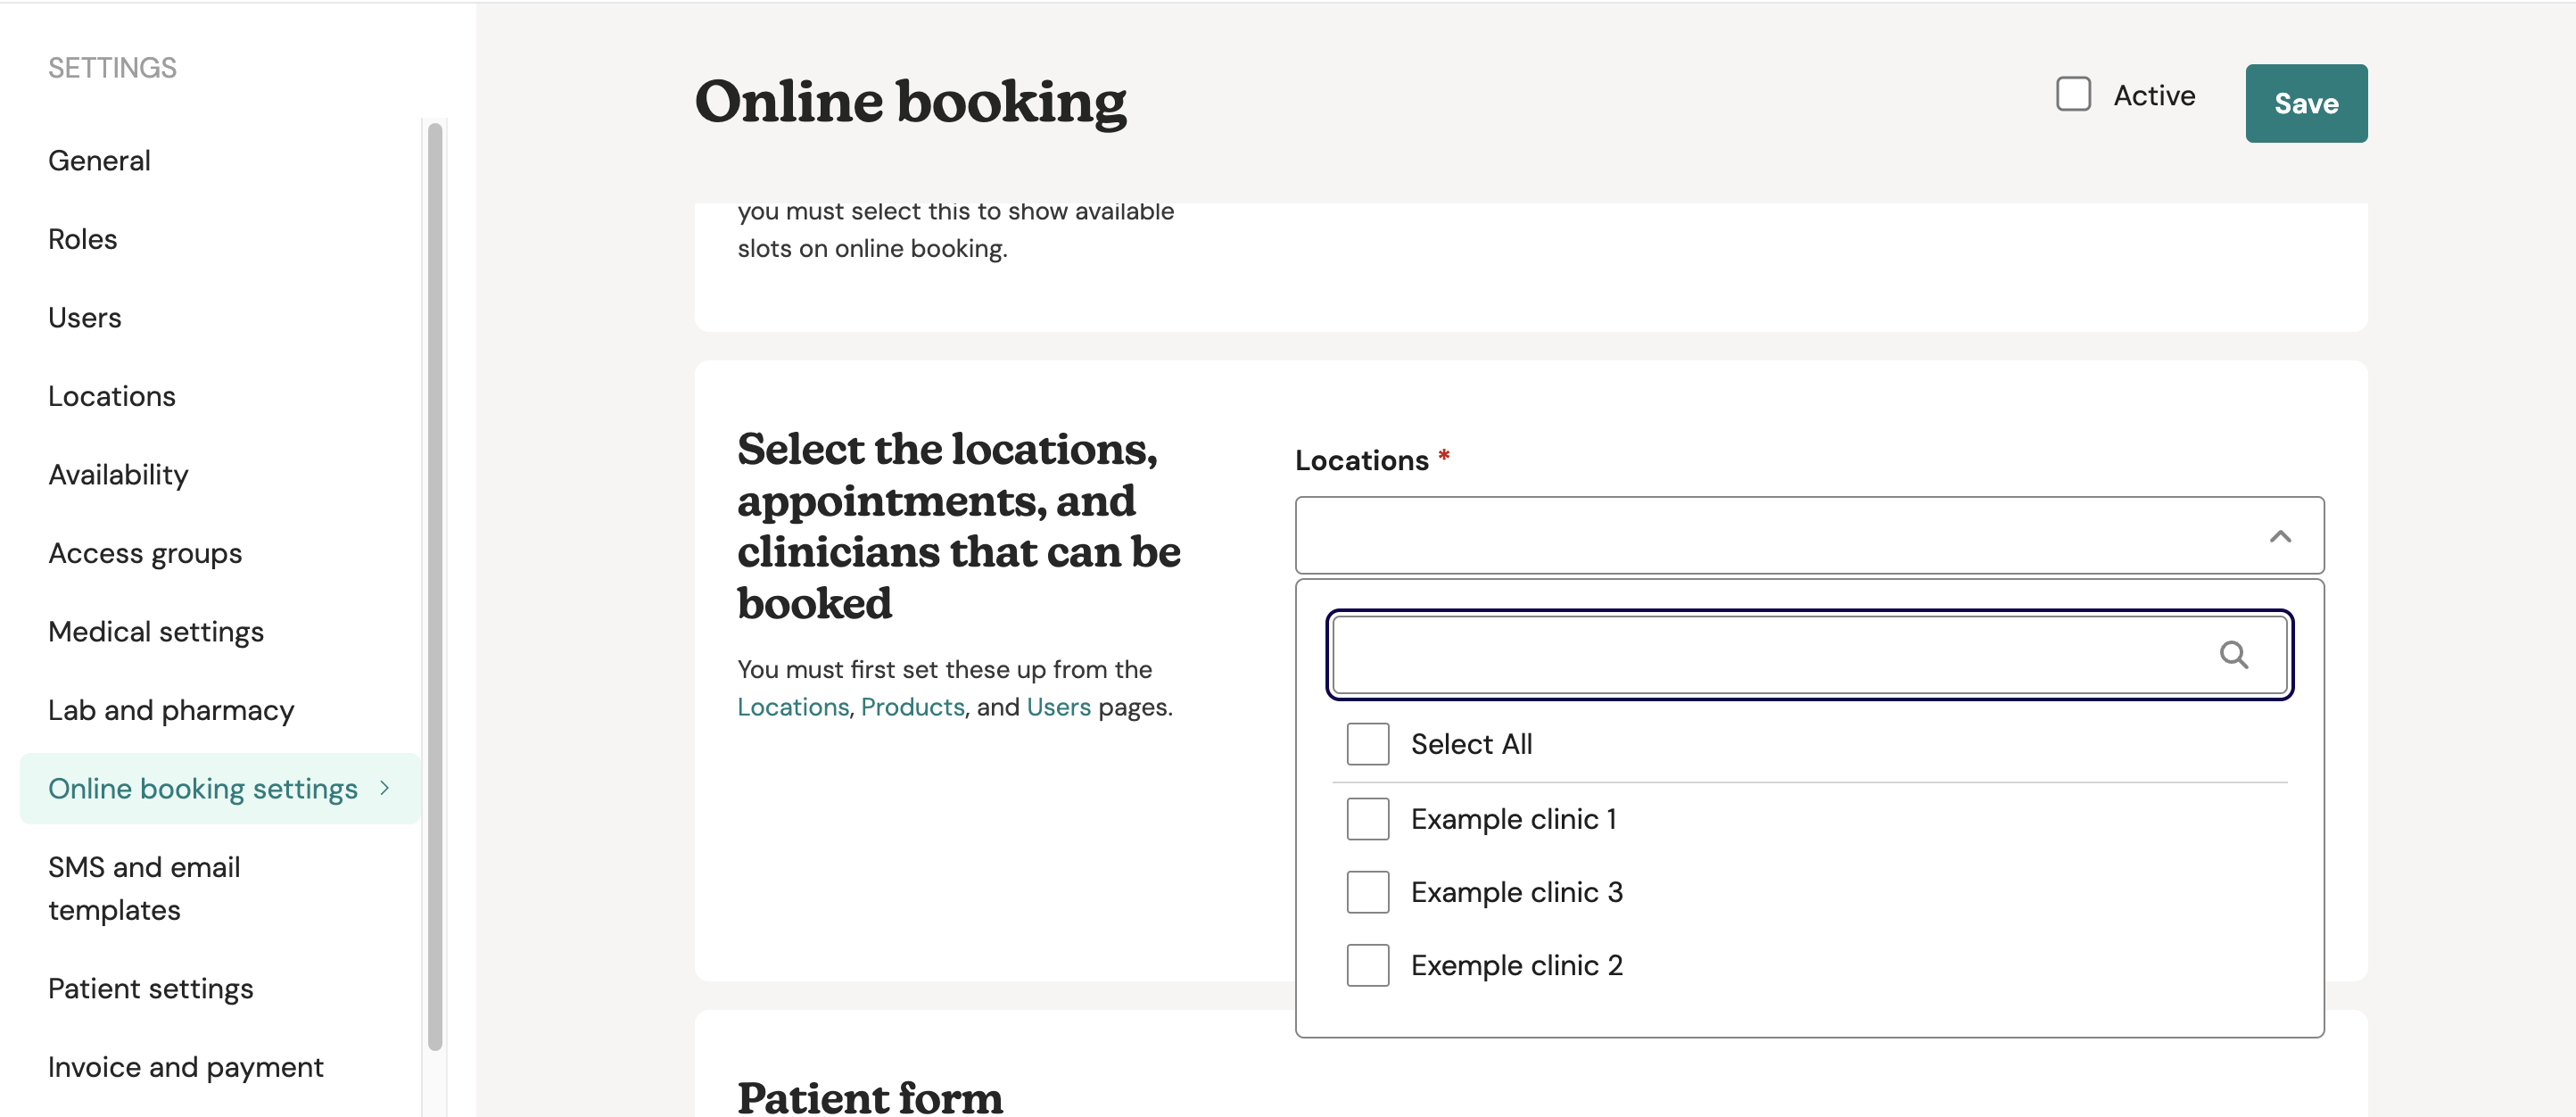
6. Choose which locations, appointments, and clinicians you want patients to be able to select in the booking form, to do so please click on the drop down first:

You can then tick the relevant option(s)
7. Tick or untick any additional settings in the Patient form settings section. These fields will be part of your online booking form, when your patients book they will need to fill these.
If you would like to add your own personal field, you will need to add a Patient Custom ID from your Patients Settings. Click here for more information.
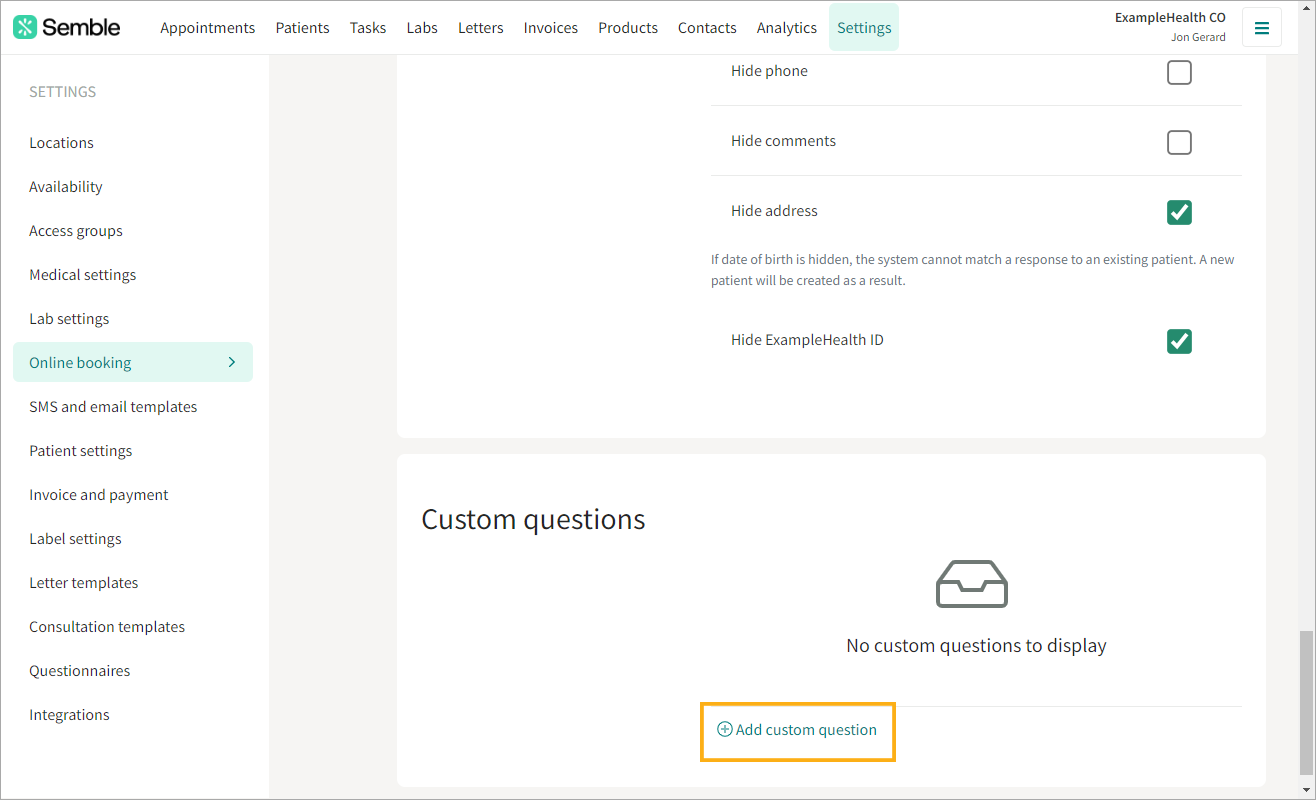
8. Click Add custom question at the bottom of the page to add any additional questions you want for the booking form. Click here for more information.
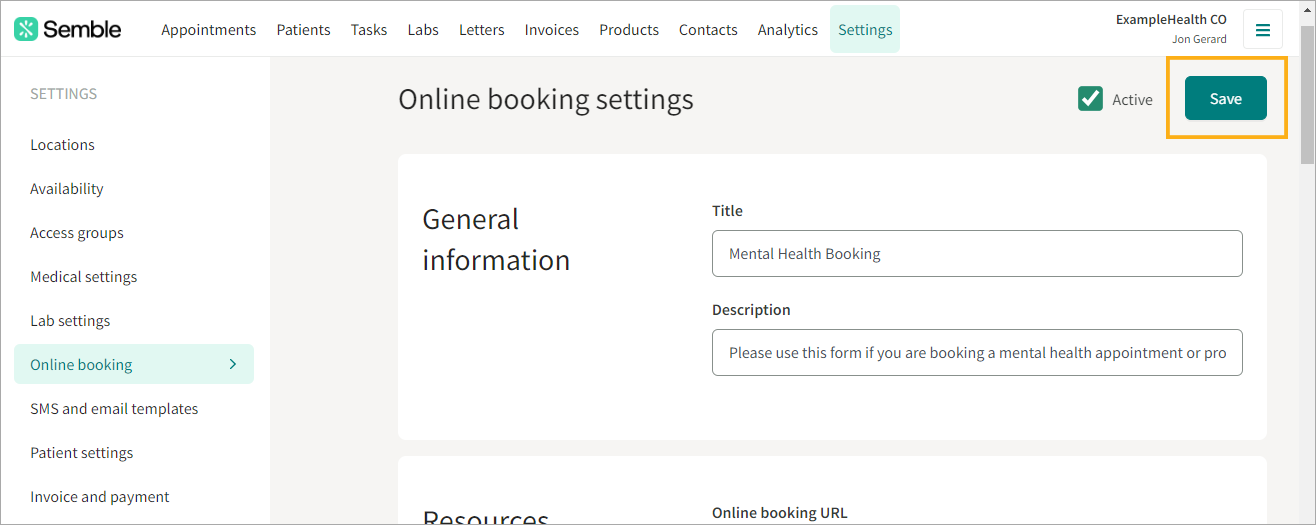
9. Tick the Active button at the top of the page. Leaving this box unticked will save your booking form, but will remove the ability for you to see the online booking URLs.
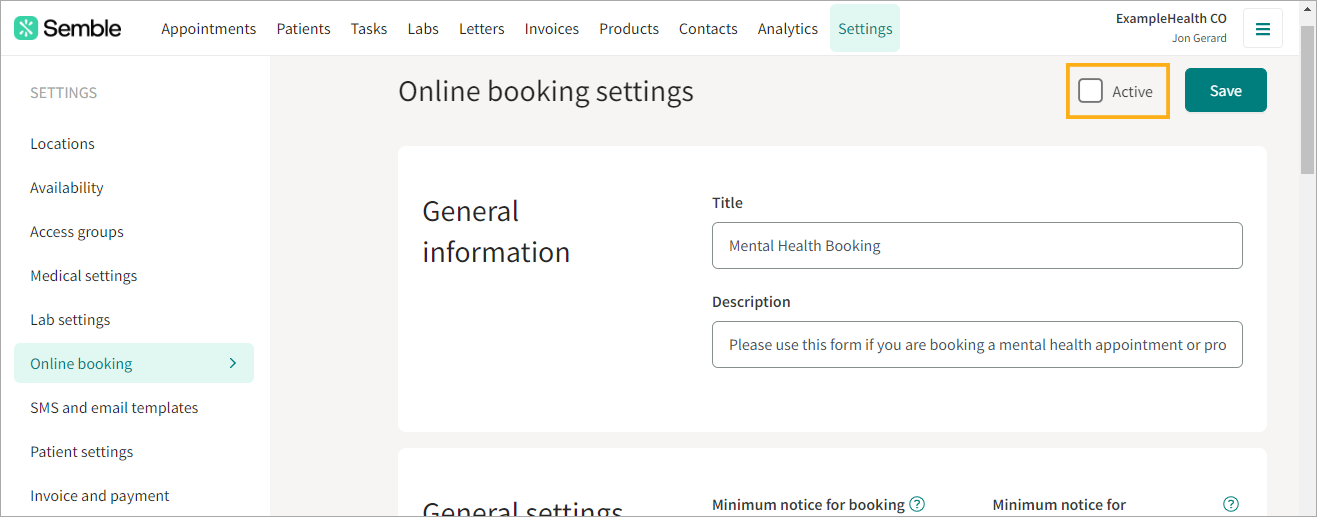
10. Click Save in the top right-hand corner of the page.
The new online booking form appears in your Online booking tab. See below for instructions on how to share or embed the online booking form.
Share or Embed an Online Booking Form
When you have created an online booking form, you can share a URL with your patients, or embed the form as an iframe on a different web page.
You can find the booking form links on the Settings page:
1. Go to the Online booking tab.
2. Select the booking form you want to link to.
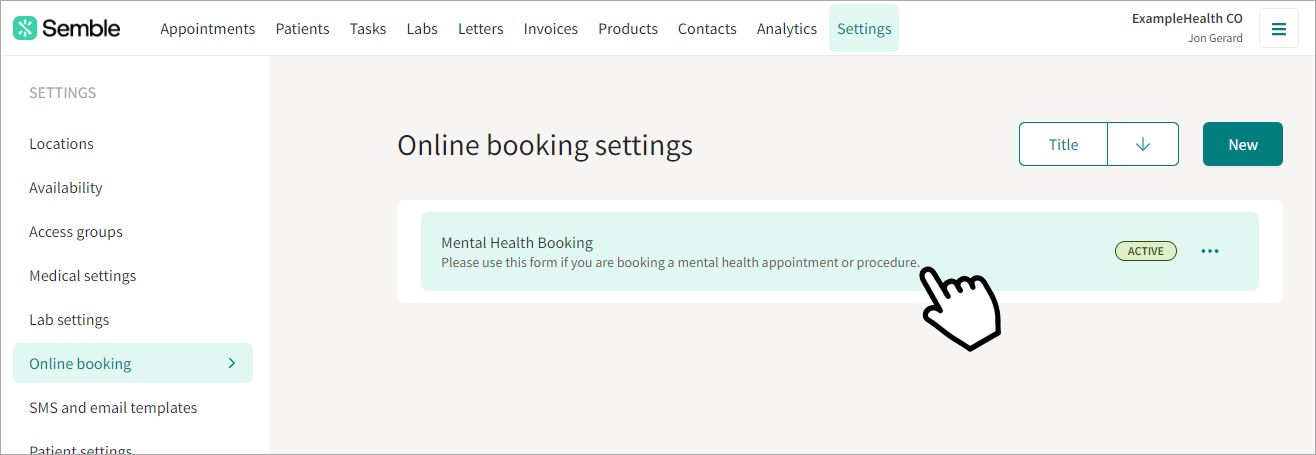
3. Scroll down to the Resources section, then click the copy icon next to either Online booking URL or Embedded iframe code.

The URL or iframe code is now copied to your device's clipboard. You can now paste this link into any channel you want, such as an email or webpage.
Note: If you have enabled one of our new payment methods (such as Apple Pay or Google Pay) and have embedded the online booking into your website, please ensure that the embedded code you’ve added includes the allow="payment" attribute. This is required to support these payment methods correctly.

Edit an Online Booking Form
You can edit an online booking form at any time from the Settings page.
1. Go to the Online booking tab.
2. Select the booking form you want to edit.
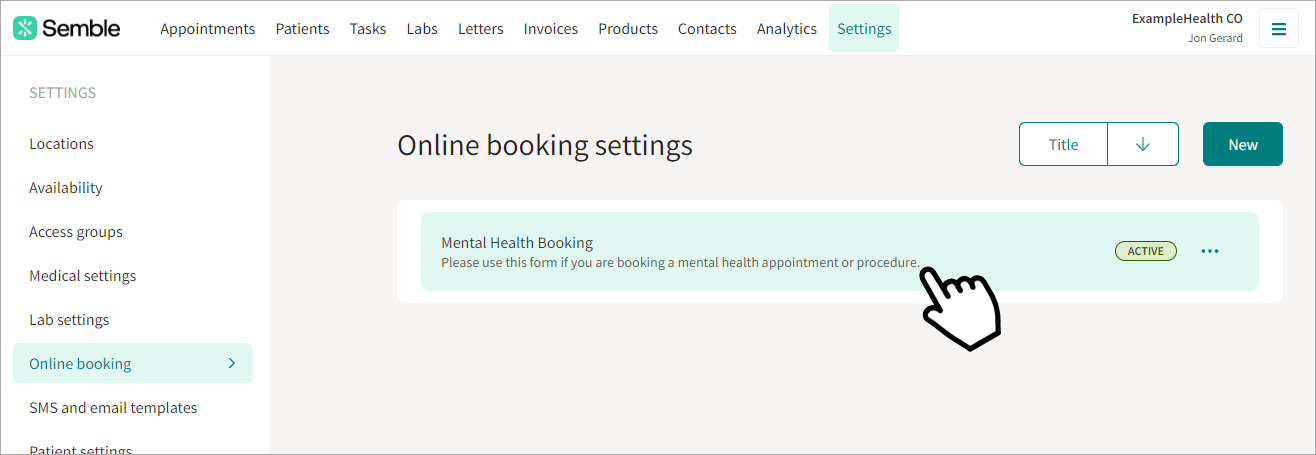
3. Make the changes you want.
4. Click Save in the top right-hand corner of the page.
Add Custom Tick Boxes
Custom tickboxes are a great way to gather additional information or confirm specific requirements from patients during the booking process. Follow these steps to add and configure custom tick boxes on your online booking form:
-
Navigate to Custom Questions
At the bottom of the online booking form setup page, locate the section labeled "Custom Questions". Click on "Add Custom Question" to start creating a new tickbox.
-
Set the Requirement Status
Decide if the tickbox should be mandatory for patients to complete their booking. If you want to make it required, check the option to ensure patients cannot proceed without selecting this tickbox.
-
Add an Internal Name
Use the "Internal Name" field to enter a name for the tickbox that will only be visible to your practice. Choose a clear and descriptive name to simplify auditing and internal reference.
-
Create the Patient-Facing Label
In the "Checkbox Label" field, write the question or statement that will appear to patients on the booking form. Ensure it’s clear and concise to avoid confusion.
-
Save the Tickbox
Once all fields are completed, click on the small tick icon to save your new custom question.
-
View the Updated Booking Form
The newly added tickbox will now appear on your online booking form. Patients will see it during the booking process, and their responses will be recorded as part of their booking details.
Note: If you have set up the custom question to be "required", patients won't be able to book unless they tick the box.
Online Booking Redirect Link
You can edit an online booking form at any time, from the Settings page. Note: You can not have both confirmation text and a confirmation redirect link.
1. Go to the Online booking tab.
2. Select the online booking form that you want to add a redirect link to.
3. Scroll down to the General settings section.
4. Enter the full link of the website that you want to redirect patients to in the Confirmation redirect link box. Note: Make sure that the Confirmation text box is empty before you attempt to enter the link.
5. Click Save.
Now, when a patient completes that online booking form, they will be automatically redirected to the website that you set it to.
The redirect link field will be greyed out if you have a message in the "cancellation text" or "confirmation text" field. This is because if your patients are redirected, they cannot see the message.
Use online booking
If your clinic or practice has set up online booking, they will usually have a booking form displayed on their website.
These are the steps that your patients will take to book with your Practice:
1. Choose an appointment type from the drop down menu.

2. Select a time and date from the available slots. Click the forward and back arrows to navigate to different dates.
3. Fill in your details.

4. Click Book appointment to confirm the appointment. If payment is enabled you will need to pay before being able to book.
A confirmation email or SMS message with all the details of your appointment will be sent to the patient.
